Exporting
The following is an example of a typical workflow for exporting in RPR Plug-in for Houdini:
Launch Houdini and save new
.hipfile in the current directory.Add the Sublayer node.
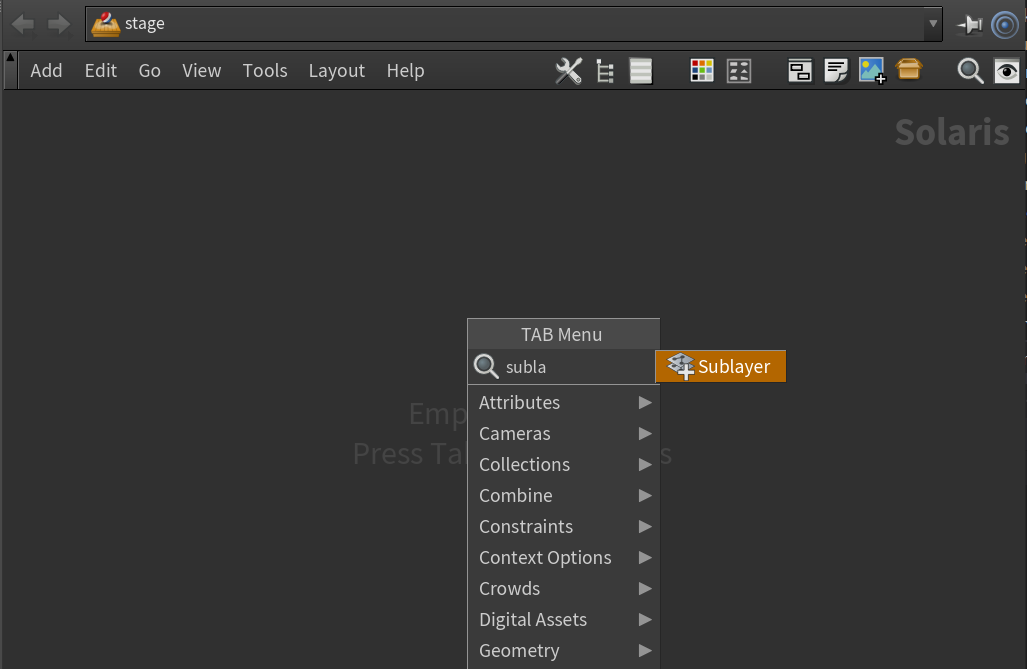
Set the sublayer path to
$HIP/../../../asset/basicScene/generated/scene.usda.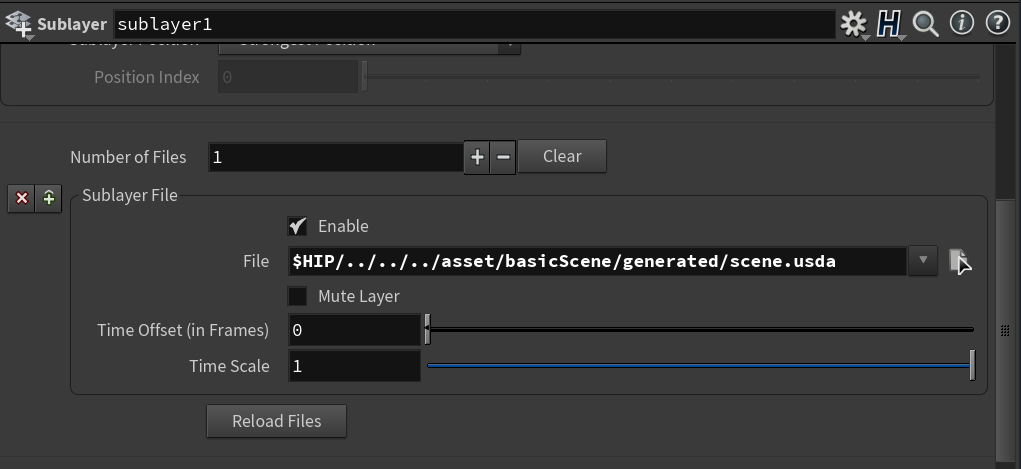
Add the Render Settings node.
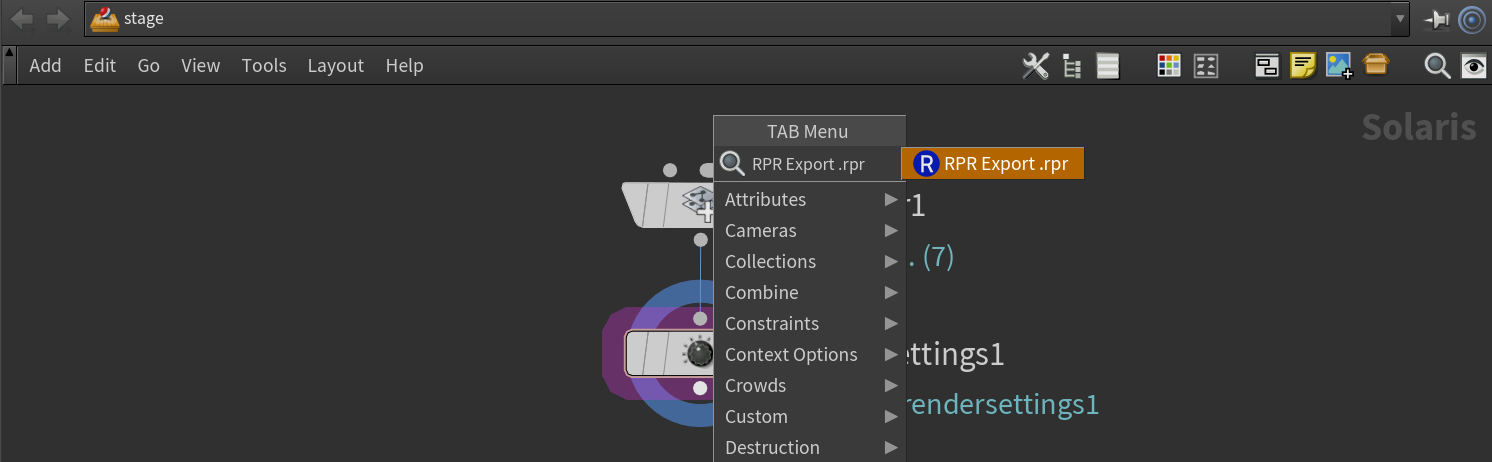
Add the RPR Export .rpr node.
Turn on Display in the node.
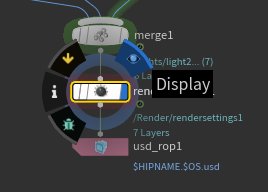
Enter a valid path for the
.rproutput file.
Specify a path to the render settings node.

Now the Render to Disk button should become active. Press this button.

As the confirmation of a successful export, you should find the
scene.rprandscene.jsonfiles in the current directory. These files can be used with theRprsRenderutility or any other software that supports it.
You can download the following sample scene to work on.