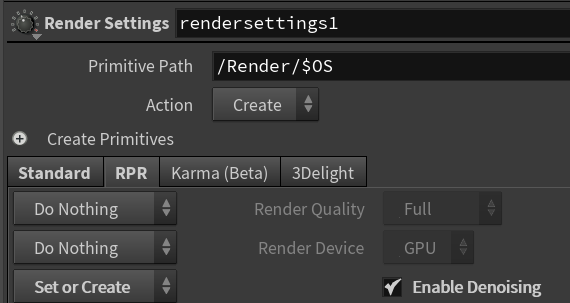
Render Settings
The following is an example of a typical RPR Plug-in for Houdini workflow, with its major exposed controls shown:
Launch Houdini and save the new
.hip*file in the current directory.Add the Sublayer node.
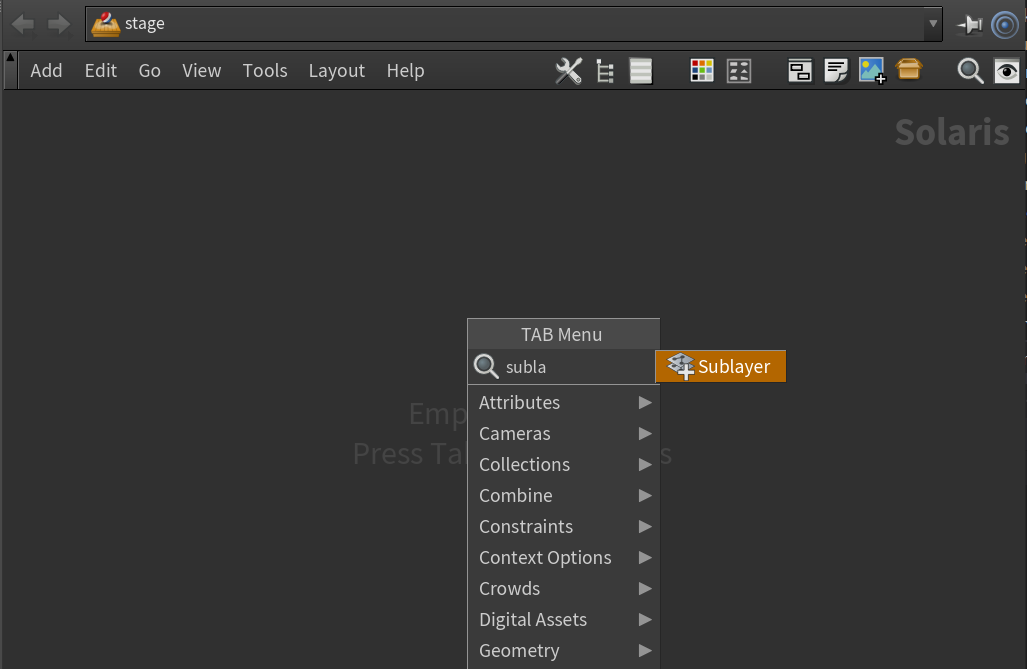
Set the sublayer path to
$HIP/../../../asset/basicScene/generated/scene.usda.
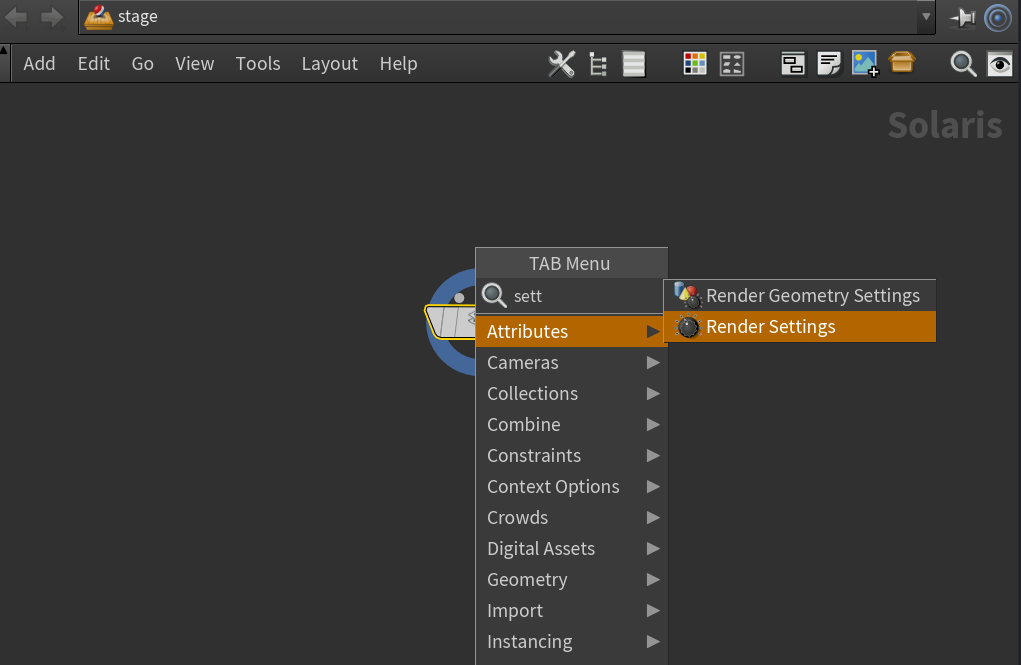
Add the Render Settings node and switch to the RPR tab.
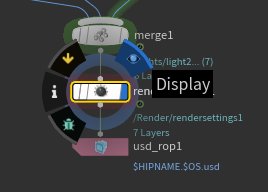
Turn on Display in the node.
Set Max Pixel Samples to 16.
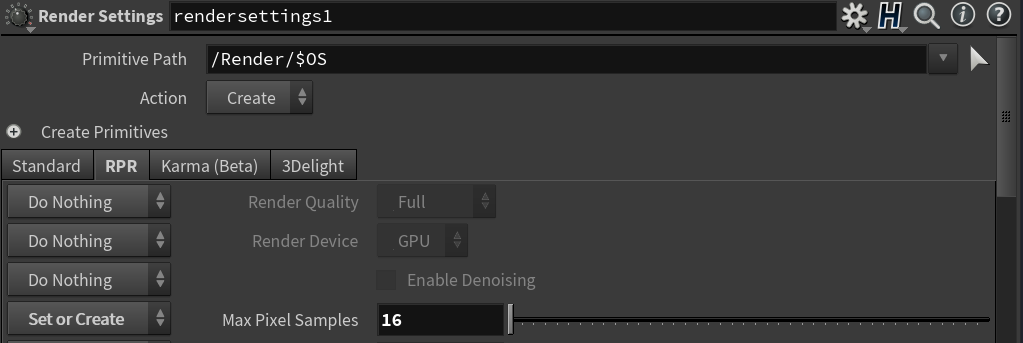
Enable denoising.
Notes
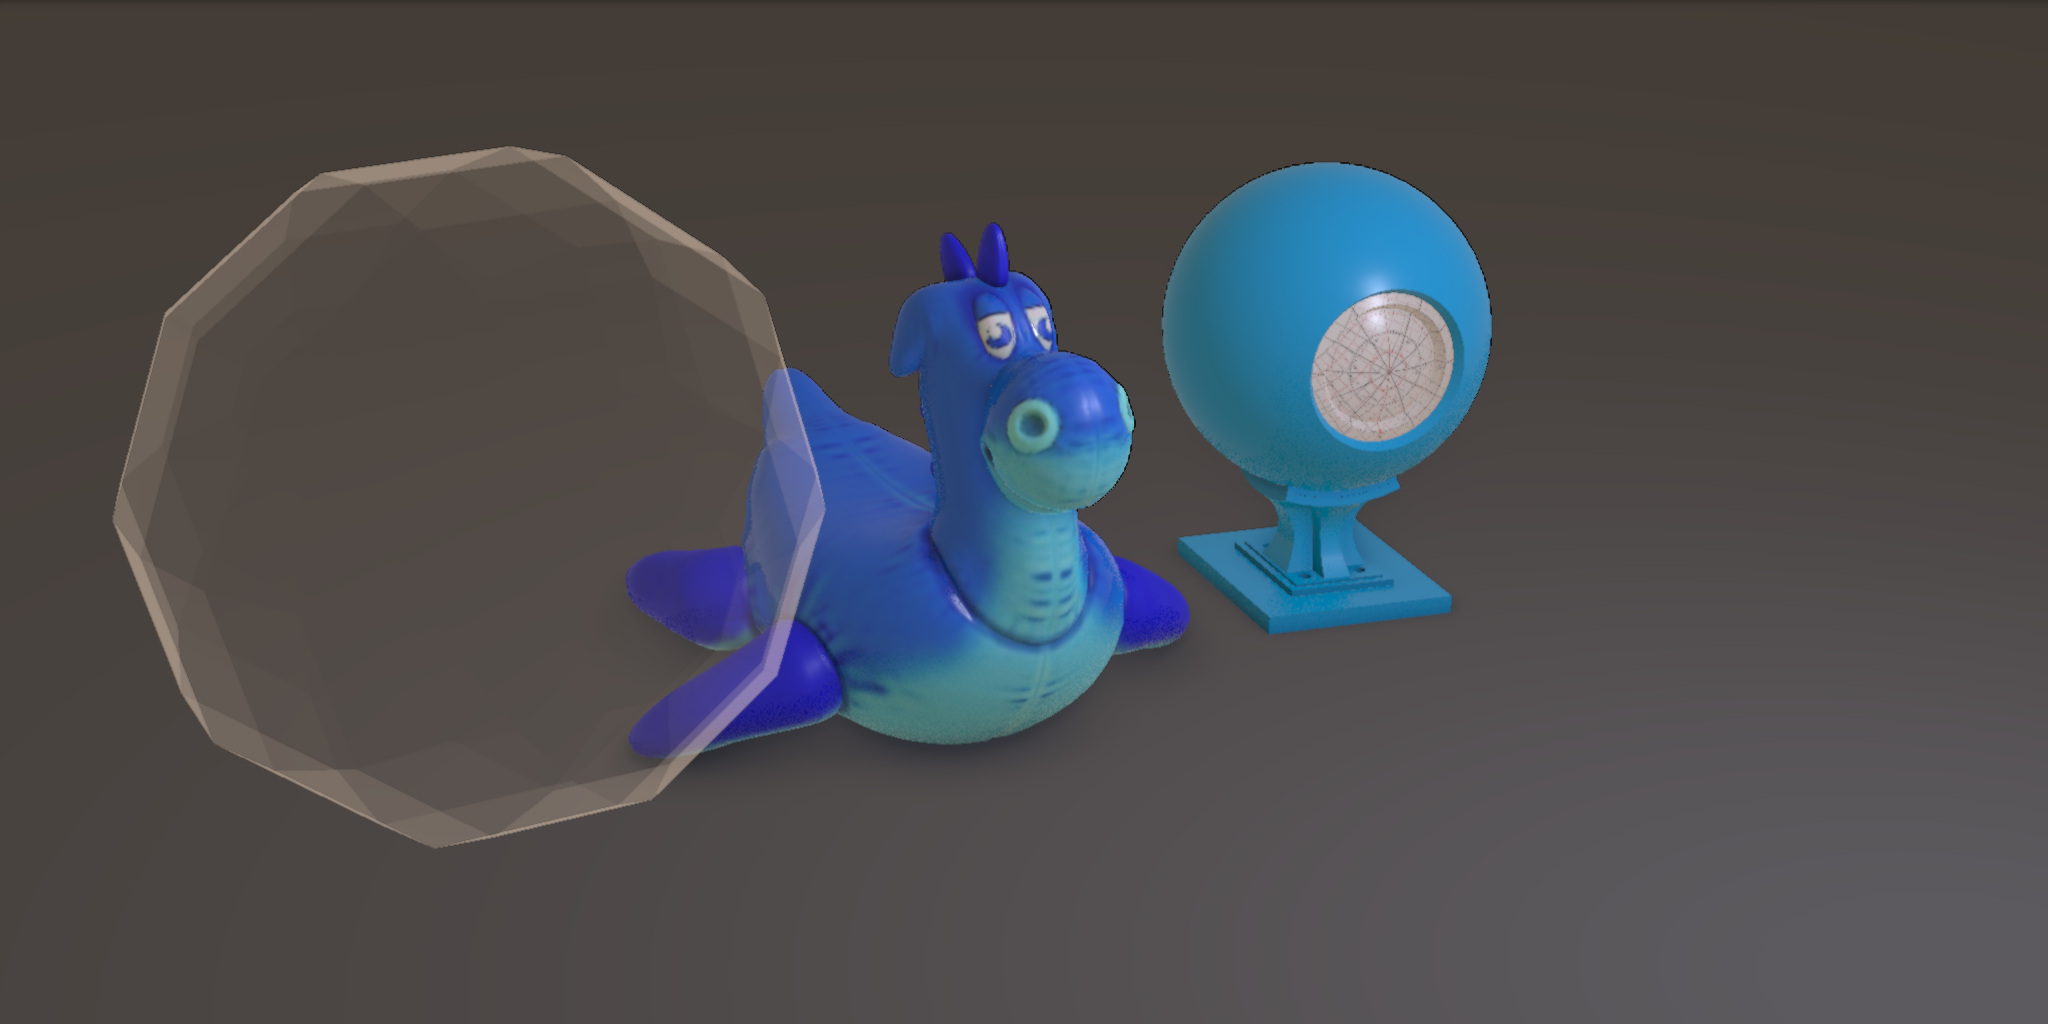
[Not supported in RPR2 yet] Adaptive Sampling is controled by the Min Pixel Samples and Variance Threshold parameters. If the Variance Threshold is set to 0, adaptive sampling is disabled (default behavior). Try to compare render times for plain 1024 max samples and 1024 max samples, 128 min samples and variance threshold set to 0.05.
Duration: 1 min 26 sec
Duration: 35 sec
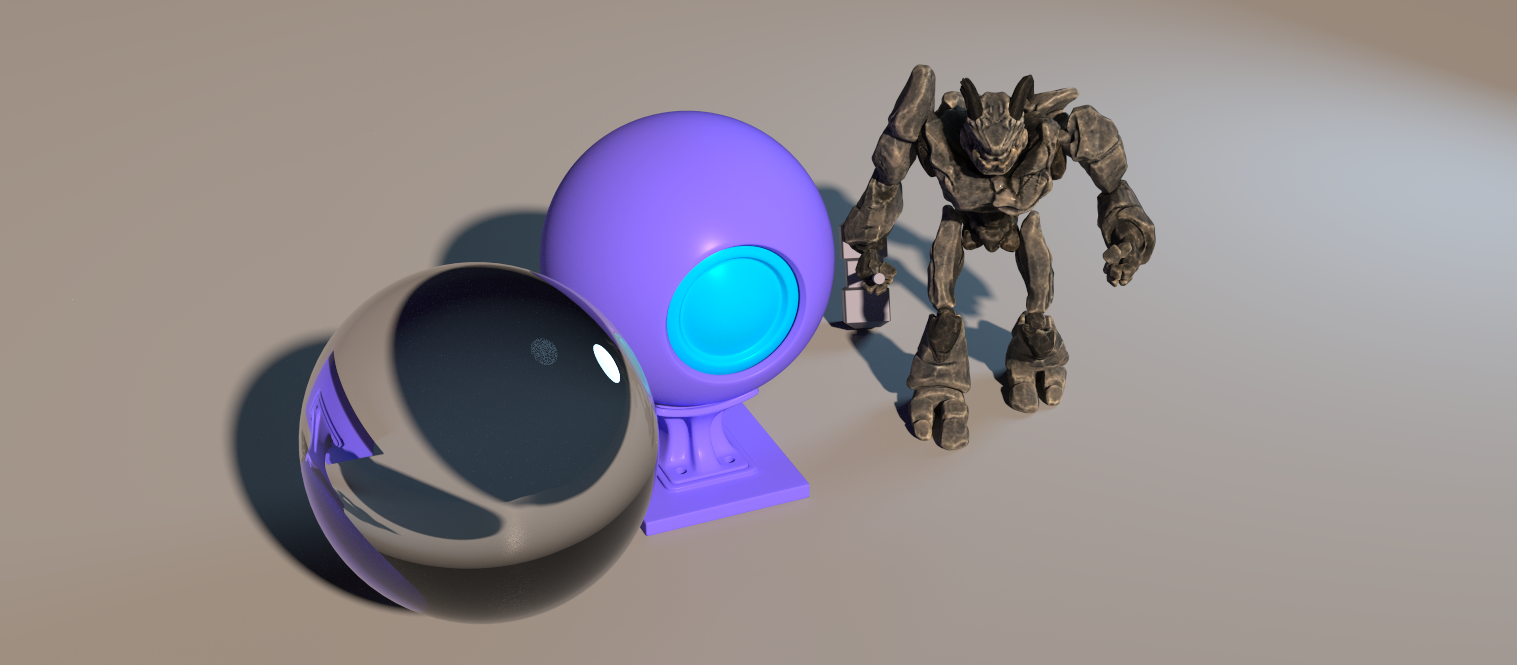
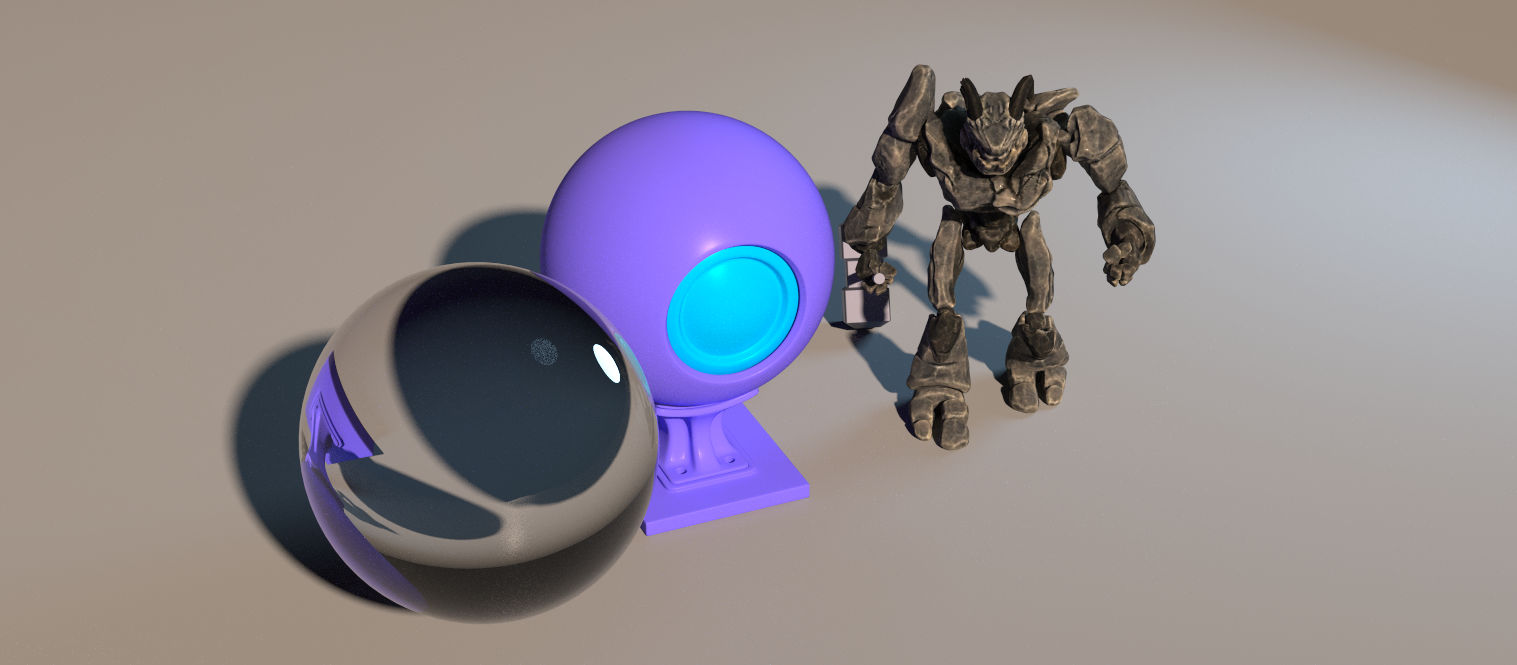
Devices that are used for rendering controlled with the Render Device parameters. Right now, RPR for Houdini is using all available GPUs.
Full Spectrum Rendering is controlled with the Render Quality settings.

FSR mode: full
FSR mode: low
You can download the following sample scene to work on.