RPR Viewer Task Tabs
RPR Viewer’s features are grouped into common “tasks”. These are controlled by the tabs at the top of the application.
In the Viewer, you will find the following buttons at the top for each workflow:
Review: Review existing parts and assemblies
Edit: Manually translate, rotate, or scale objects, add comments
Lighting: Add and edit lights for your scene
Materials: Apply materials from our Material Library (which comes built into the Viewer)
Render: Create your final renders
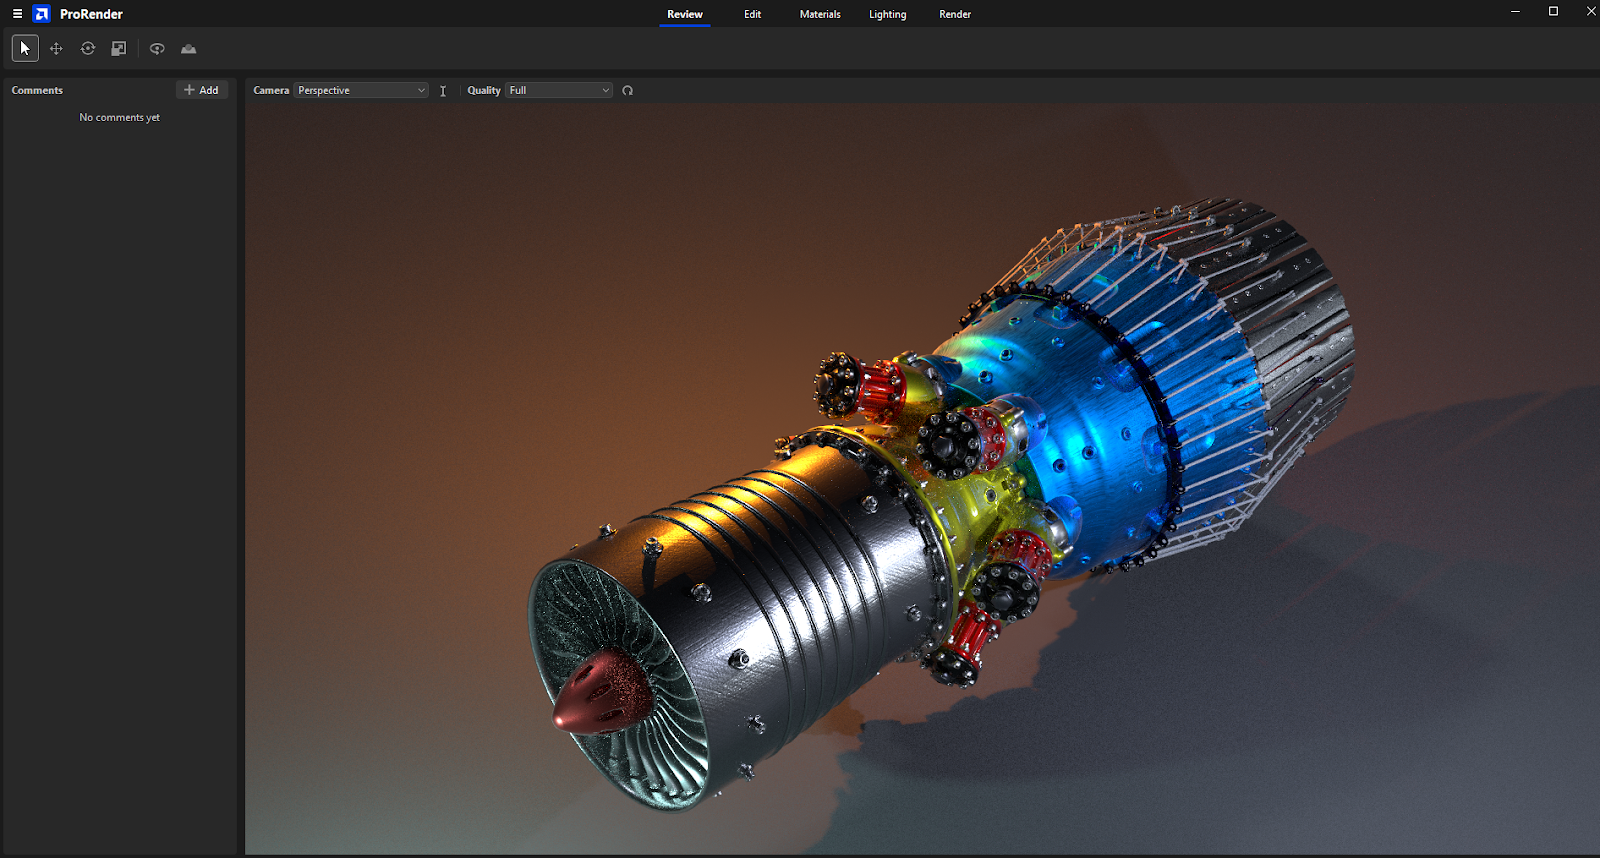
Review
Under this tab, you can review existing parts and assemblies, and comment on them.
The Review tab in RPR Viewer:
Adding a turntable animation:
Adding a ground plane:
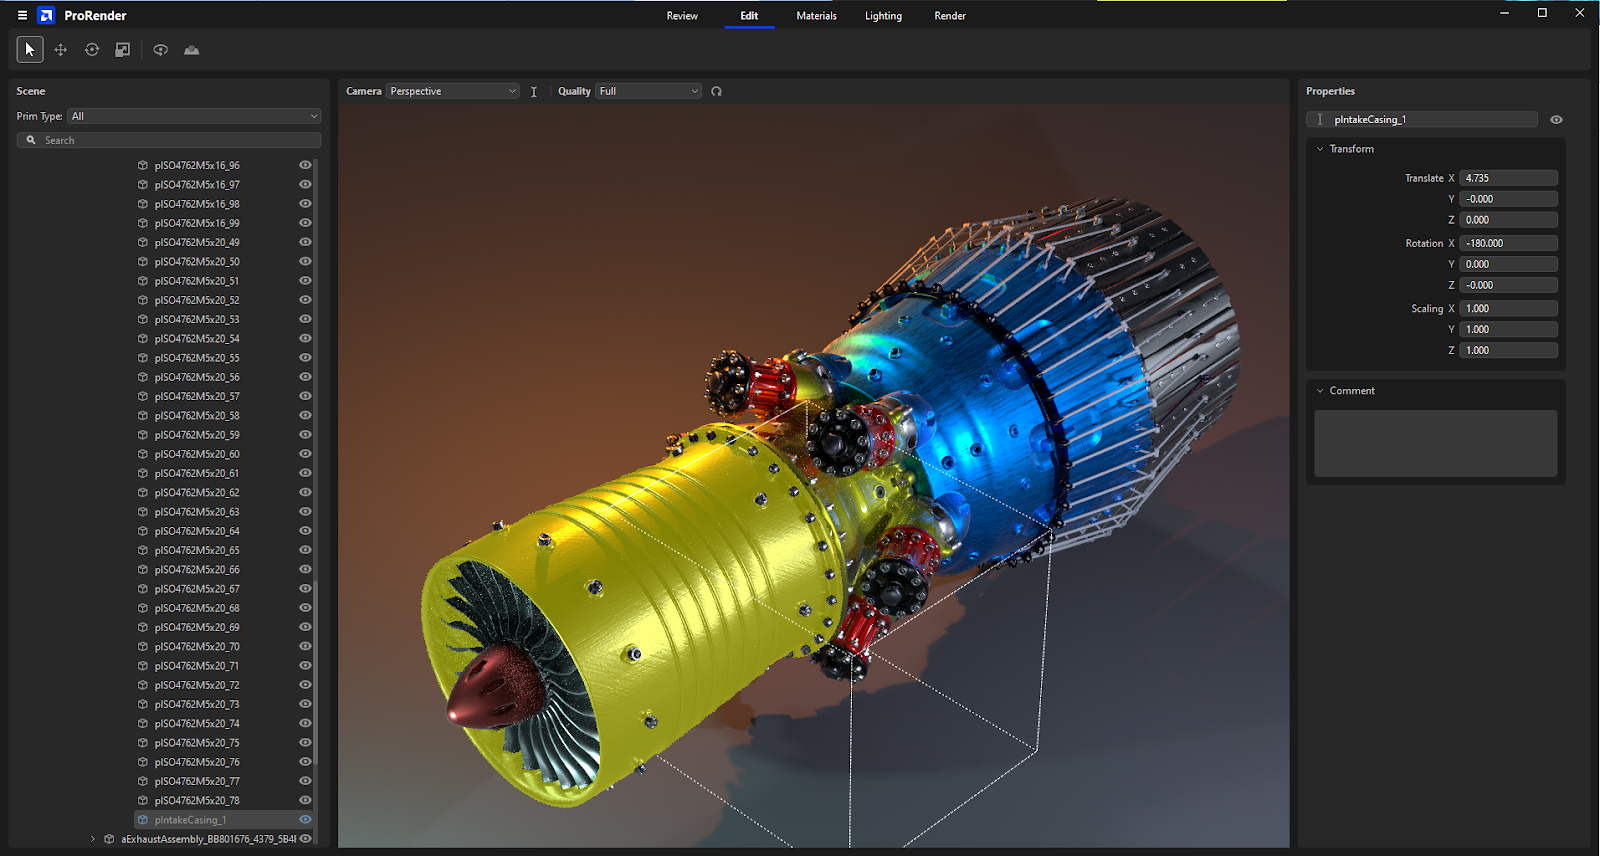
Edit
Under this tab, you can view the hierarchy of a file, manually move, translate, rotate, or scale objects/parts in it, as well as add comments.
The Edit tab in RPR Viewer:
Lighting
Under this tab, you can add and edit lights for your scene.
The Lighting tab in RPR Viewer:
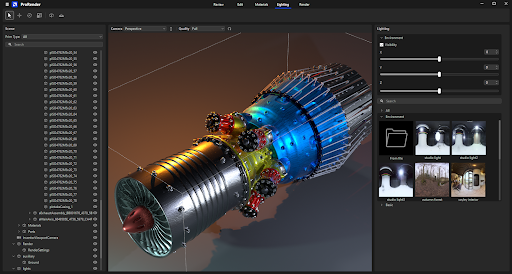
In the right part of the Lighting view, there will be a tool palette. Use it to add/edit lights for your scene. The workflow and user interface are intuitive and self-explanatory.
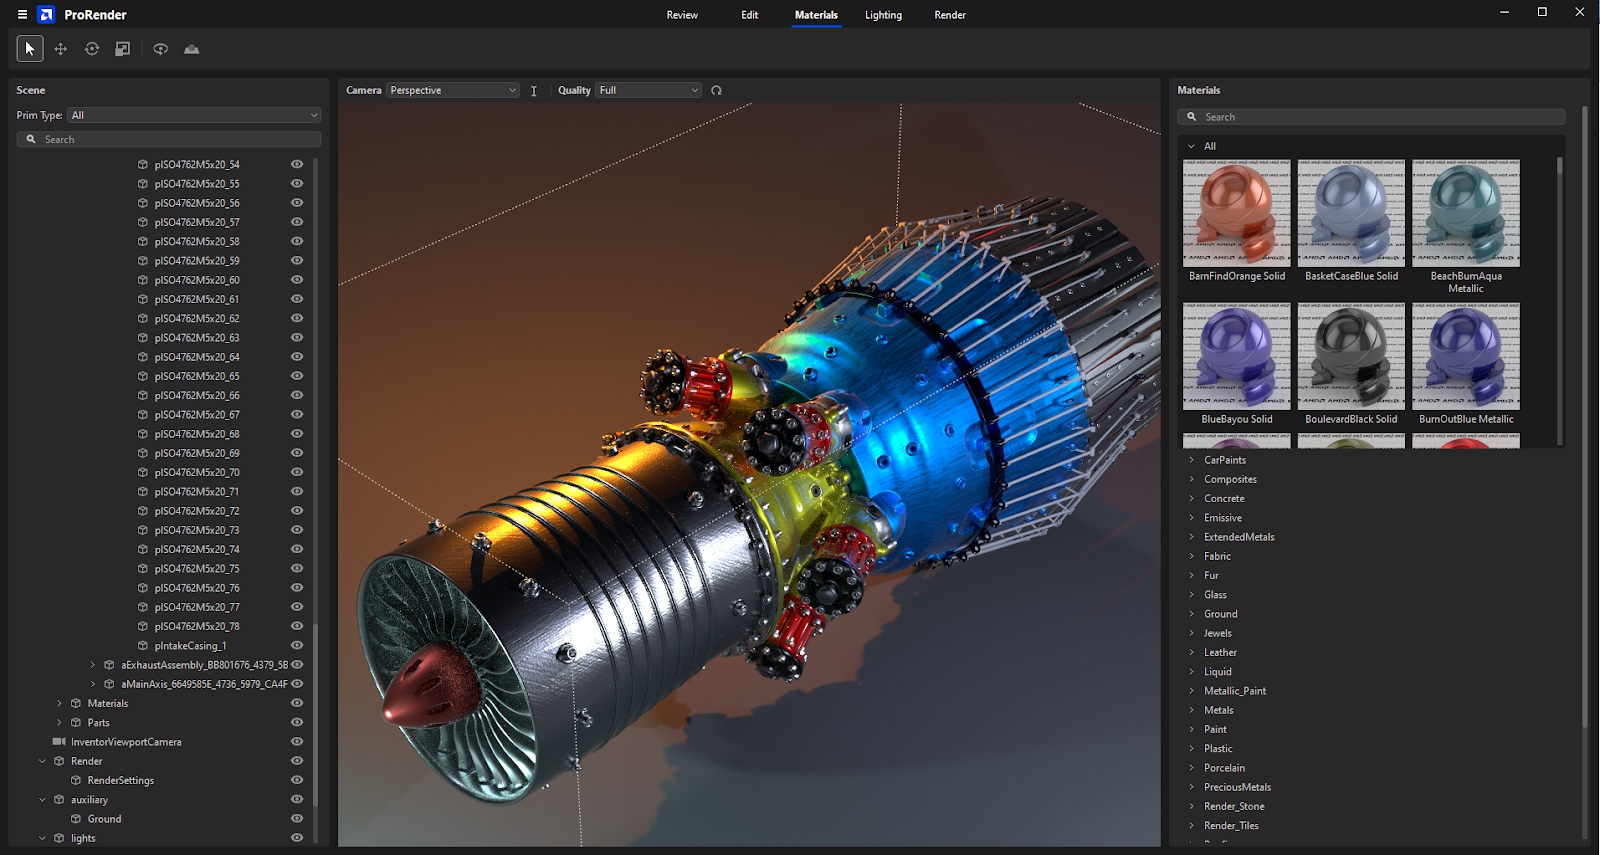
Materials
Under this tab, you can apply materials from our Material Library (which comes built into the Viewer).
In the right area of the screen, there is a list of the Radeon ProRender Material Library included. Click an object, then double click a material to apply it to the object, or drag the material onto the object. For an overview of materials, see here.
Expanding the list of materials will give a list of categories. You can also search for a material by name.
The Materials tab in RPR Viewer:
Applying materials:
Render
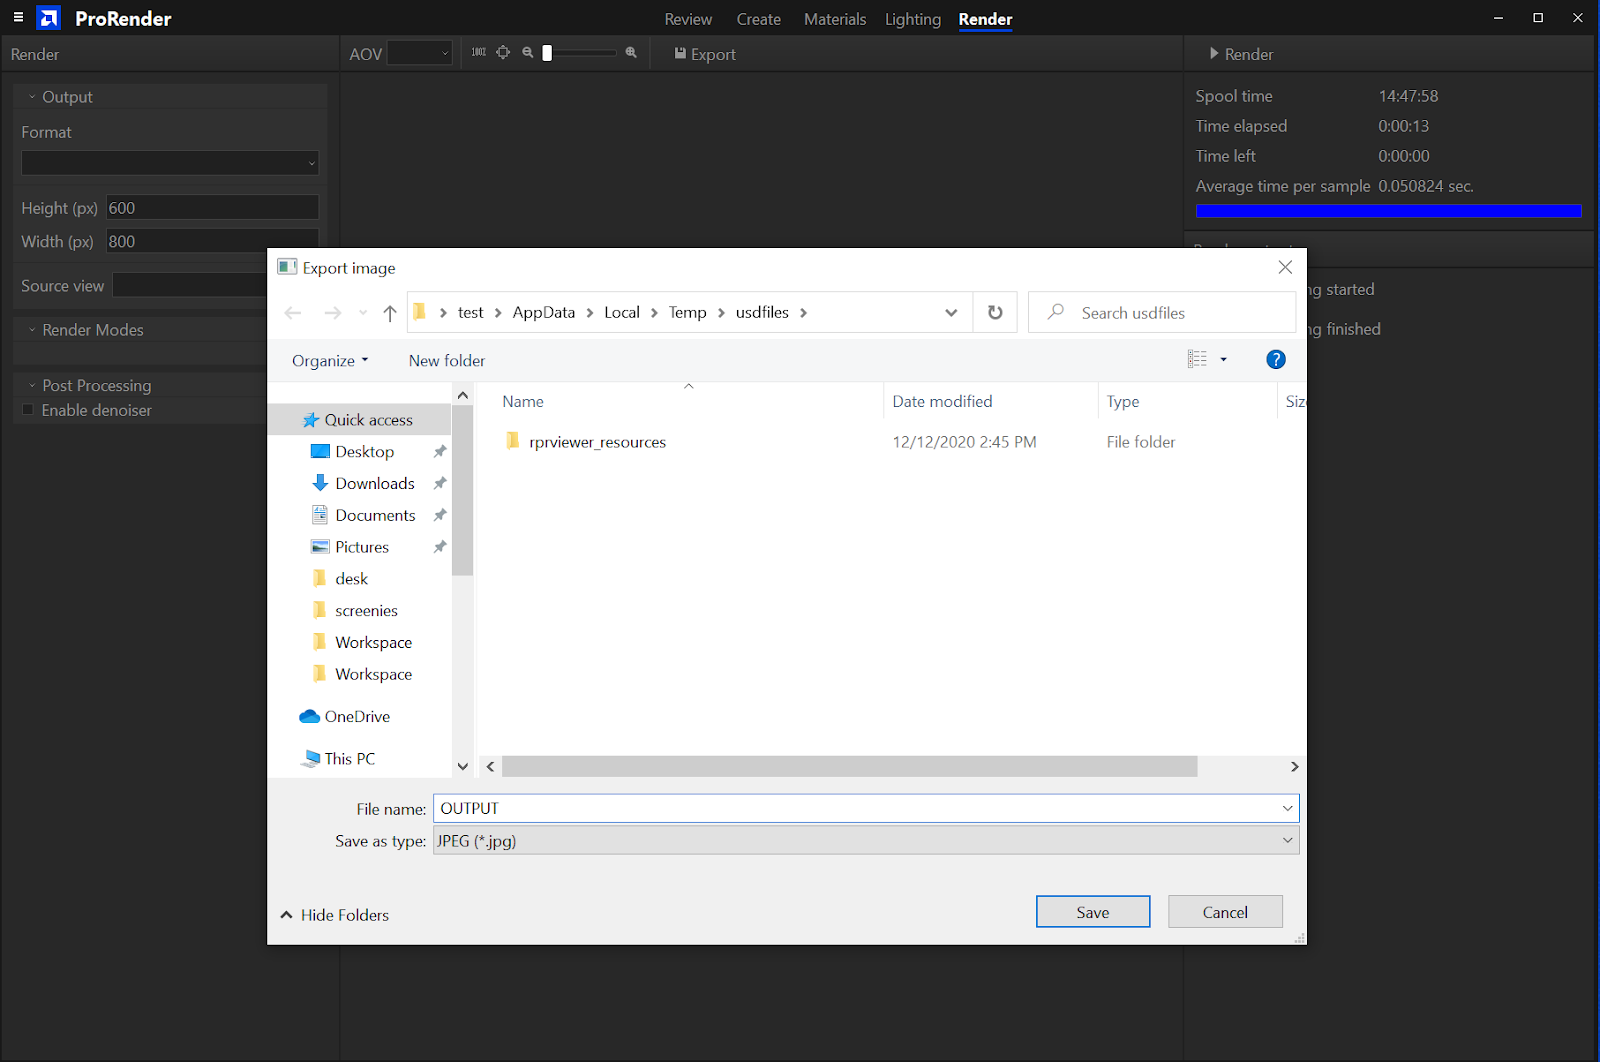
The Render tab is where the final rendering and saving of images take place. To render an image, click the render button in the upper right corner.
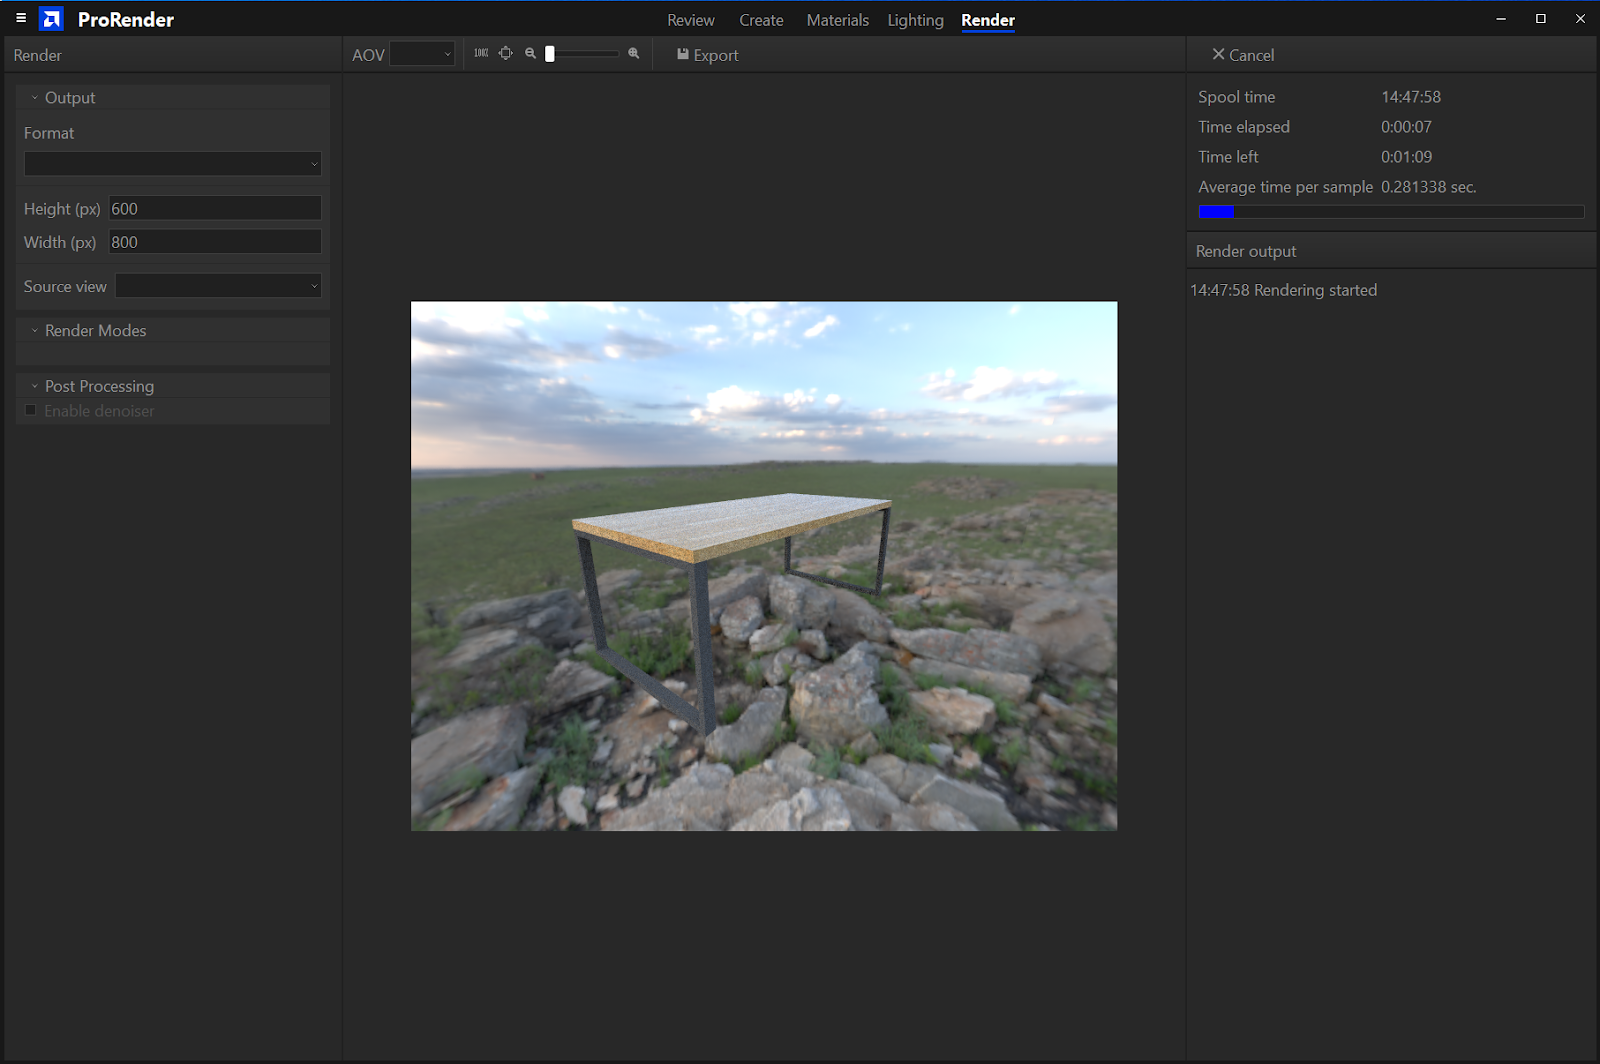
After a render is started, the image will be shown in the middle of the screen. After a render is finished, click the Export button to save the image to the disk.