Sun & Sky
For outdoor render, AMD Radeon ProRender offers Sun & Sky background simulations.
Sun & Sky Setup
To set up the Sun & Sky environment in the scene:
Make sure that AMD Radeon ProRender is set as the active render engine in Maya.
For details, see Switching to AMD Radeon ProRender in Maya.
Add the RPRSky node using one of the following methods:
From the main menu, select Radeon ProRender > Lights > Create or Select a Sky Node.
Switch to the Radeon ProRender shelf and click the Create or Select a Sky Node icon.
Open the Render Settings window, switch to the Effects tab, expand the Environment section and click Create next to the Sky label.
After you add the Sky node, the default lighting will be removed and replaced with Sun & Sky environment.
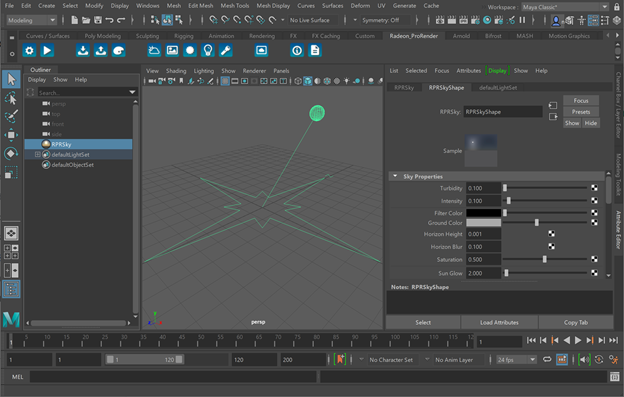
In the Outliner, select the RPRSky node.
In the Attribute Editor, switch to the RPRSkyShape tab.
Specify Sun & Sky settings as described in this section below.
Sun Position
To modify the position of the sun, you can use of the two models: Altitude/Azimuth or Time/Location. Both models support a set of Sun & Sky parameters for exterior lighting setup.
Altitude/Azimuth
This model allows the artist to modify the position of the sun in the sky using the Azimuth and Altitude parameters. When choosing the desired position of the sun, note that the angle of the sun also affects the softness of shadows and the environment color.
Azimuth
The Azimuth parameter controls the placement of the sun by rotating the sun around the horizon. The azimuth value is an angle between 0 to 360 degrees.
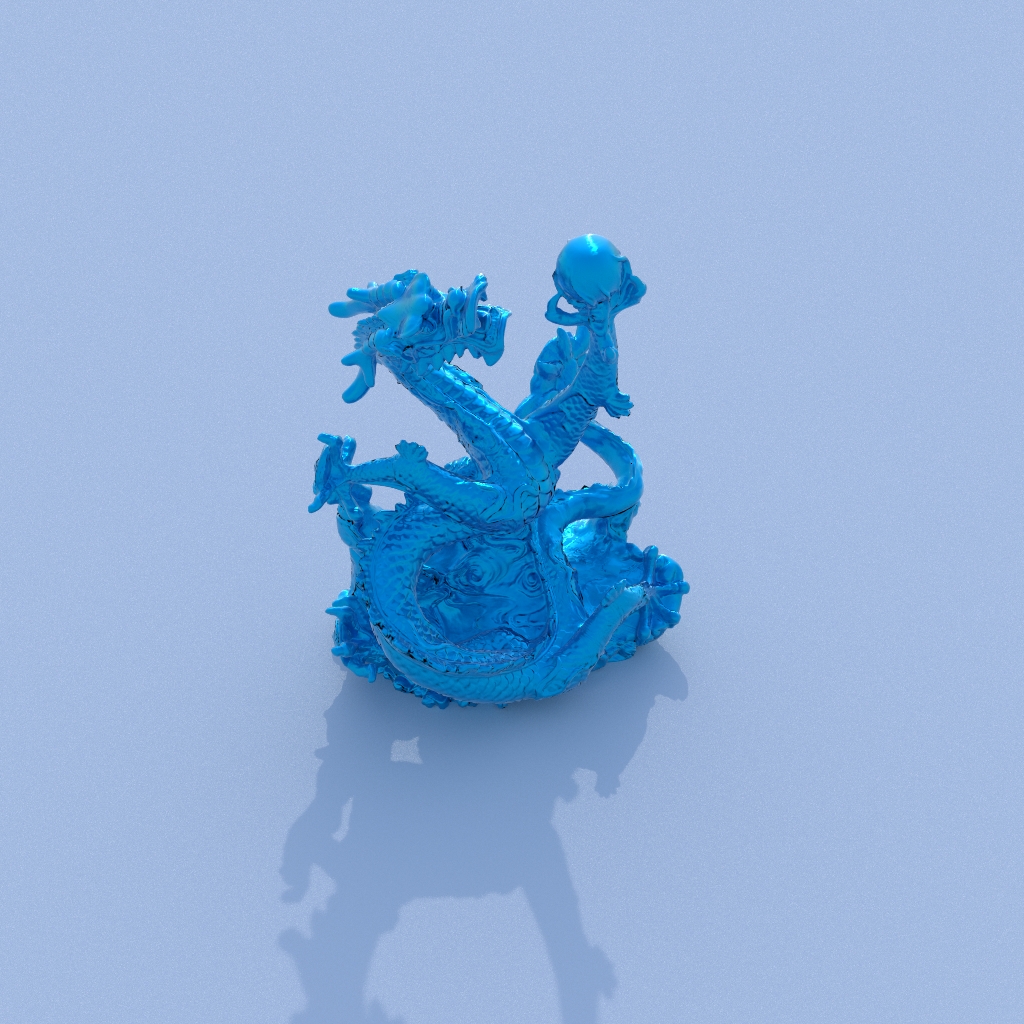
Azimuth: 0 |
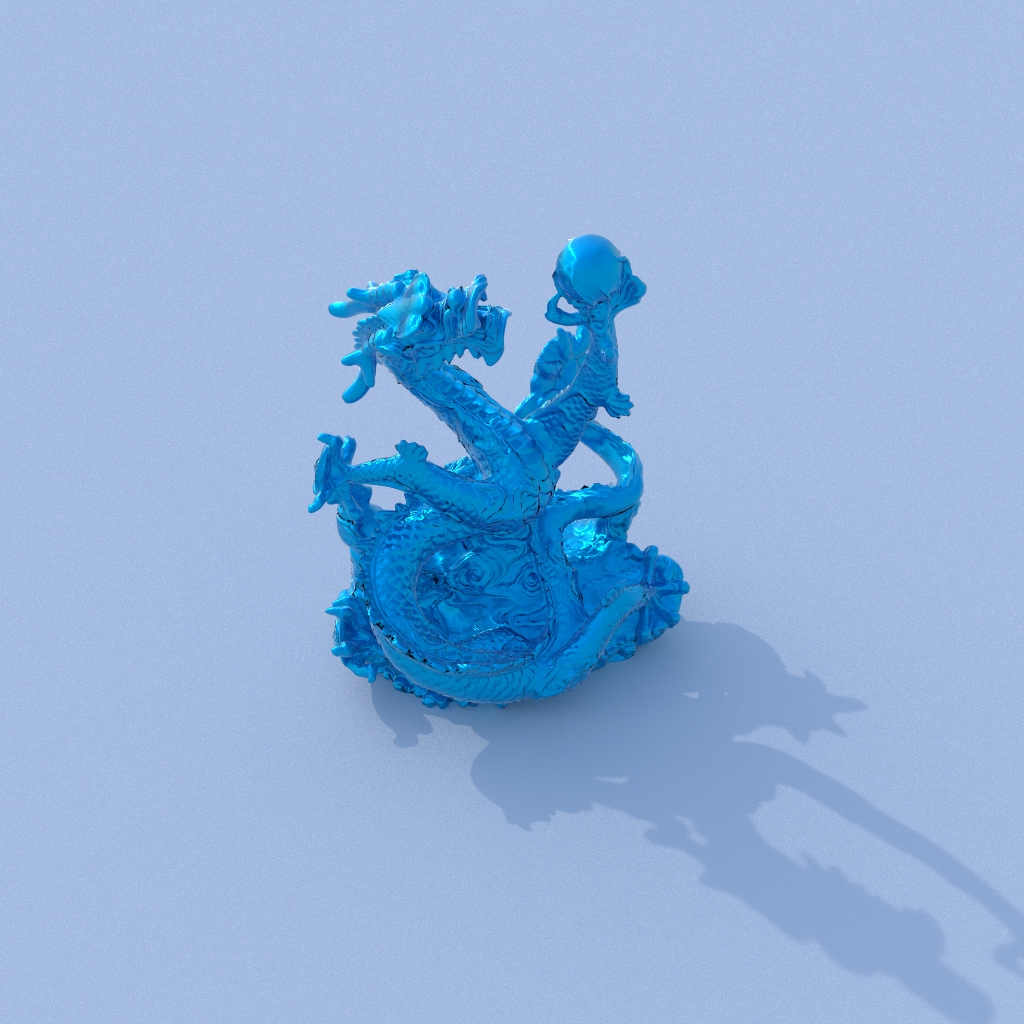
Azimuth: 50 |
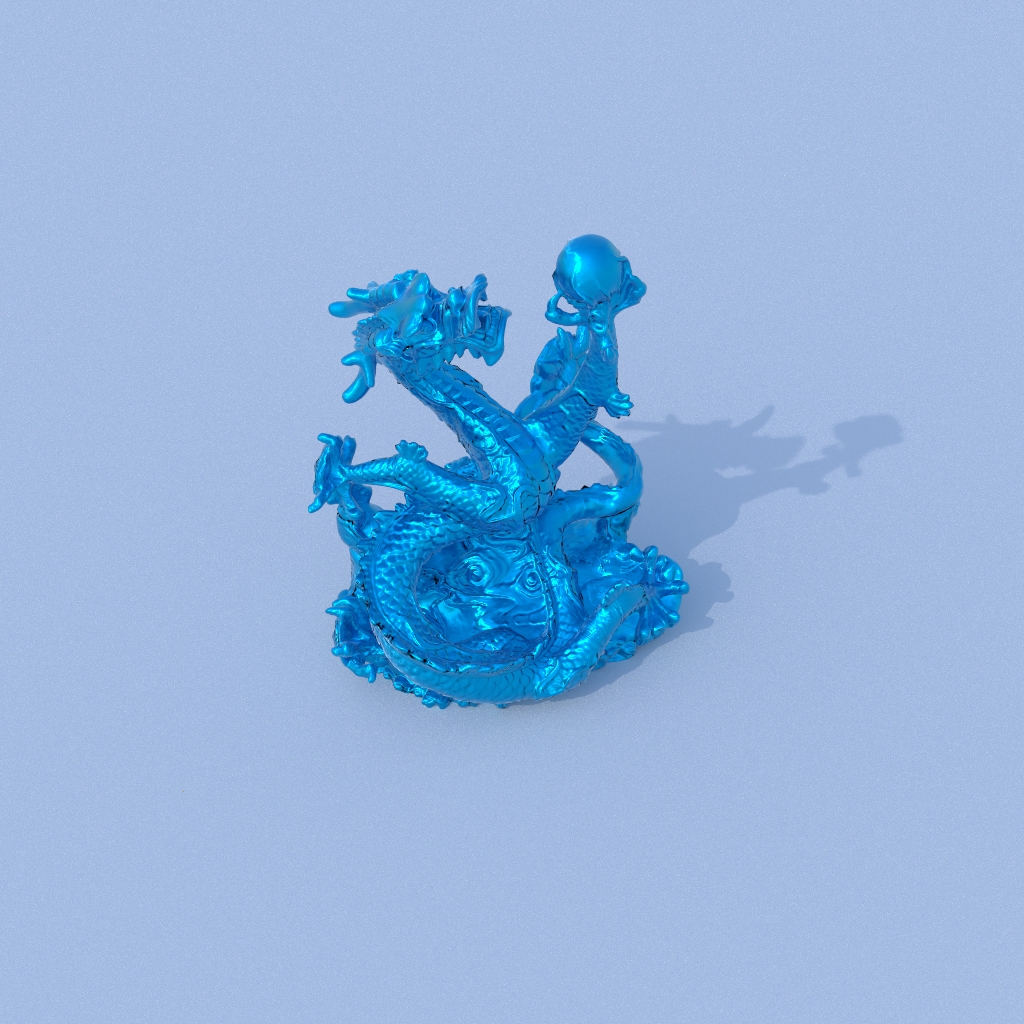
Azimuth: 140 |
Altitude
The Altitude parameter controls the height of the sky from the observable horizon. The altitude value is an angle between -90 and 90 degrees (the sun is at zenith at 90 degrees).
Note that the sun altitude changes the environment color and brightness. You can decrease or increase the altitude value to simulate a sunset or sunrise.

Altitude: 5, 10, 20, 30, 40, 50, 60, 70 |
Time/Location
This model allows you to simulate lighting for any place in the world at any given time.
For a precise position of the sun, you can use options like year, moth, date, hours, minutes, seconds, time zone, latitude and longitude.
Get Location
Alternatively, you can use the Get Location button to display a map and pick any location on the planet with a mouse click.
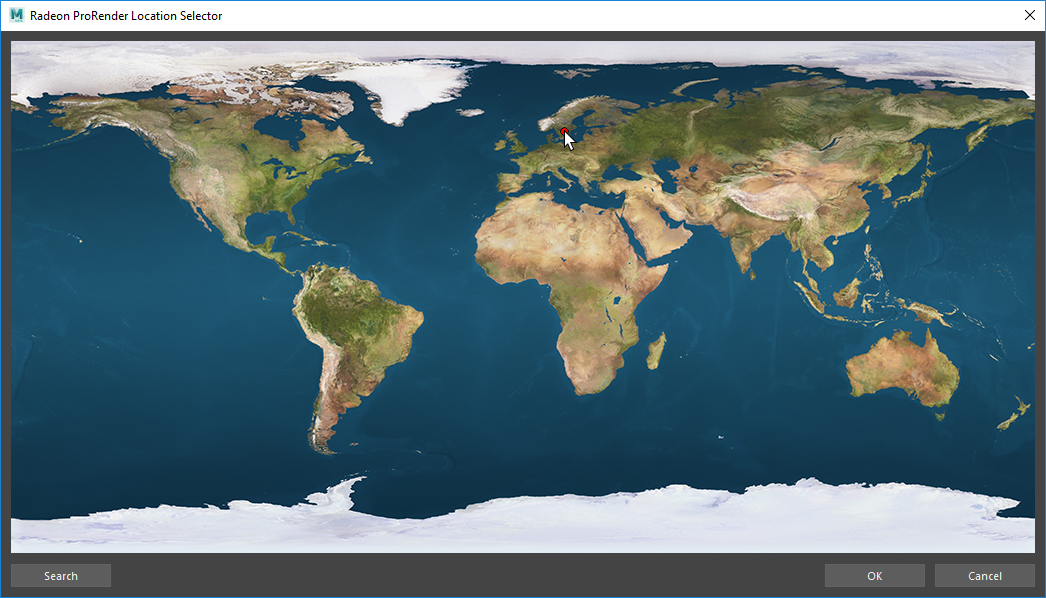
Search
You can also search for the name of the largest nearby city to define the required location.
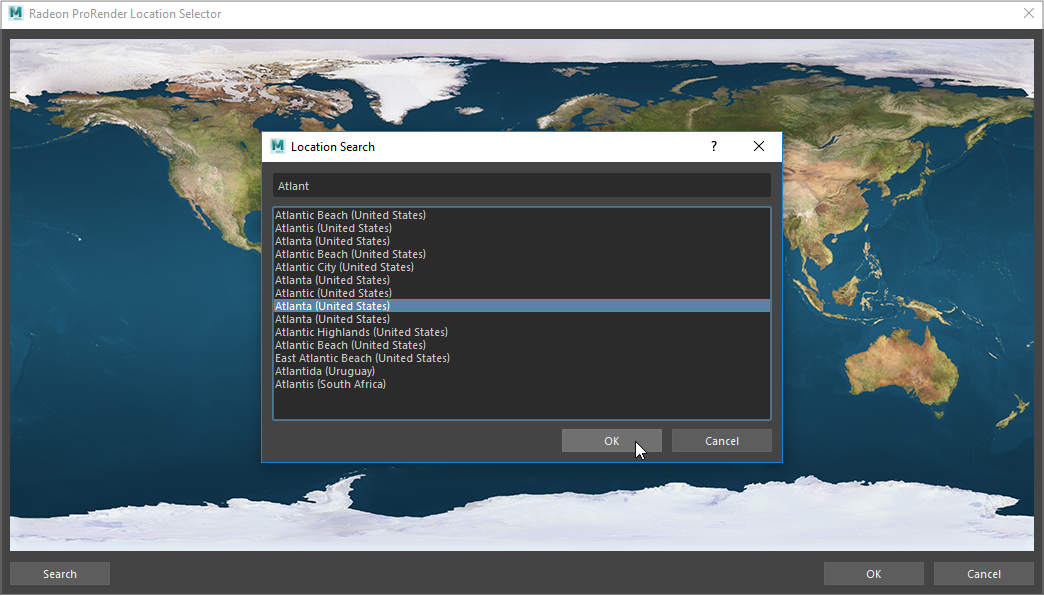
Sky Properties
Both the Altitude/Azimuth and Time/Location models share the same set of properties for controlling the final look of the sun and sky.
Turbidity
The Turbidity parameter simulates the amount of micro-particles or “dust” in the air, and describes the haziness of the sky.
The turbidity value affects the appearance of the sun, shadows as well as the color of the sky. Lower turbidity values give clearer and deeper sky, sharper shadows and greater sun glow. Higher values simulate more dust in the air, producing more reddish and foggy sky with blurry shadows and darker overall illumination of the scene.
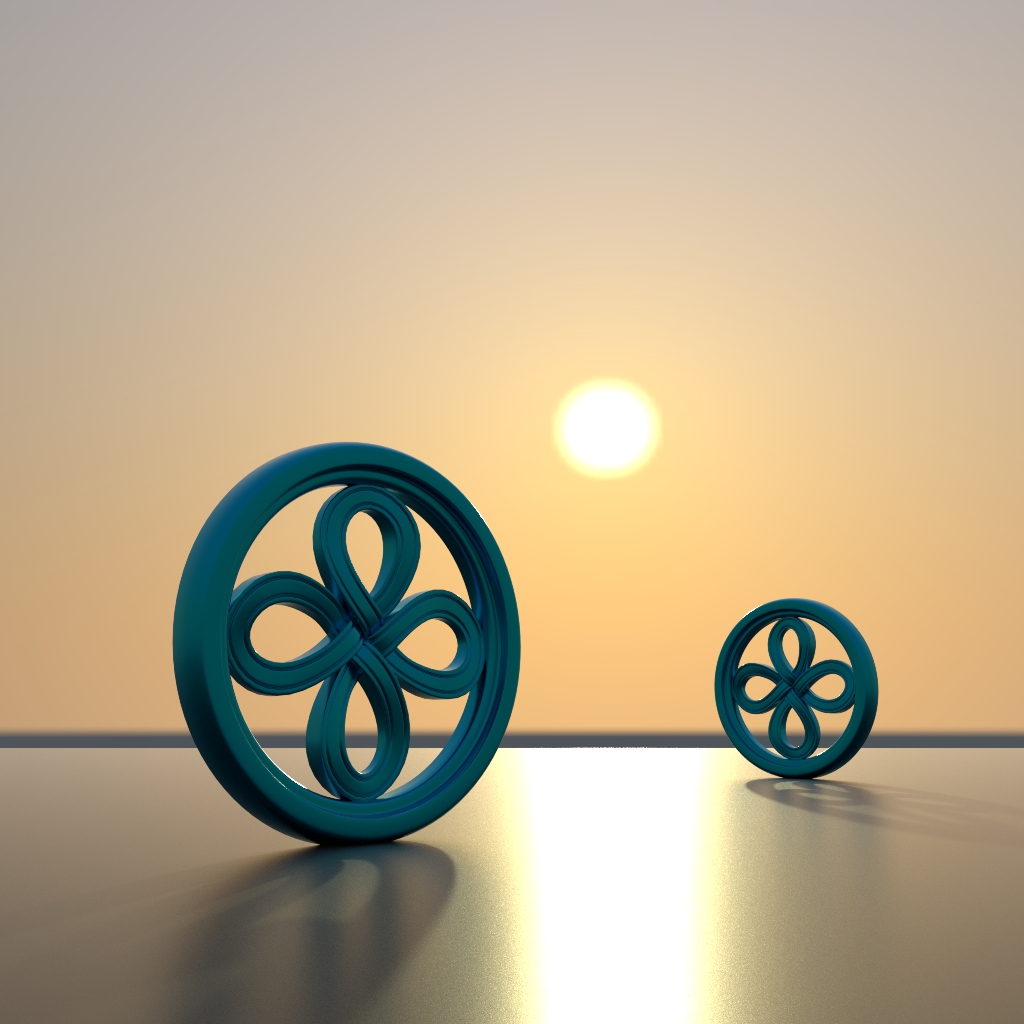
Turbidity: 0 |

Turbidity: 15 |
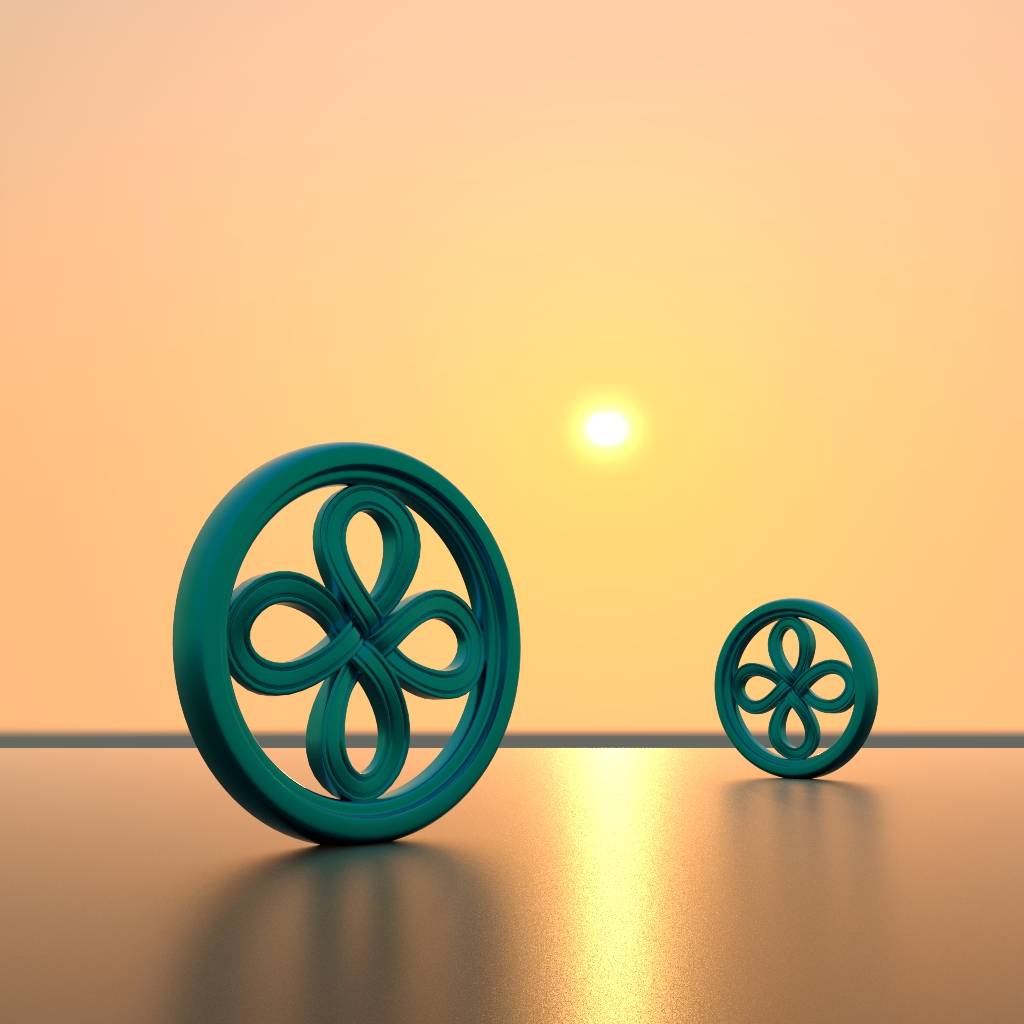
Turbidity: 50 |
Intensity
The Intensity parameter describes the amount of light emitted. This is a global multiplier that controls the overall brightness of illumination and affects the color, reflections and shadows in the scene.
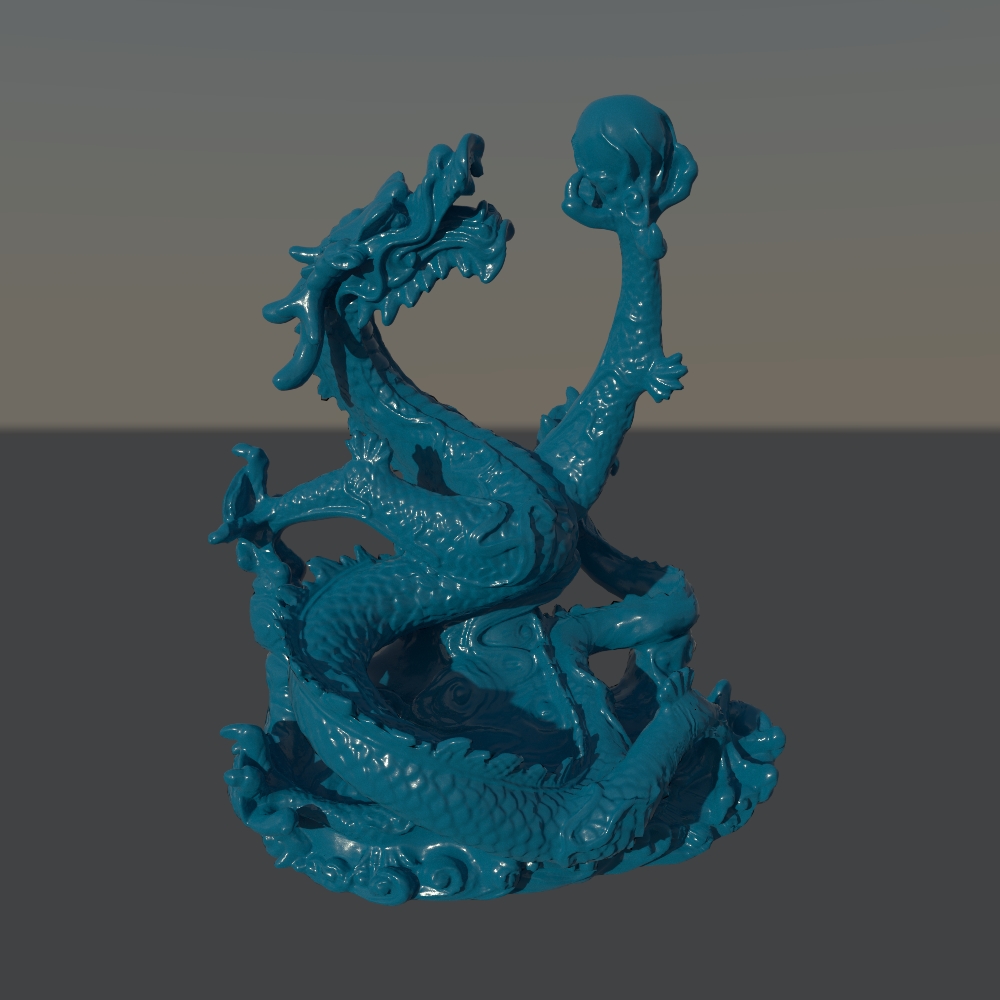
Intensity: 1 |
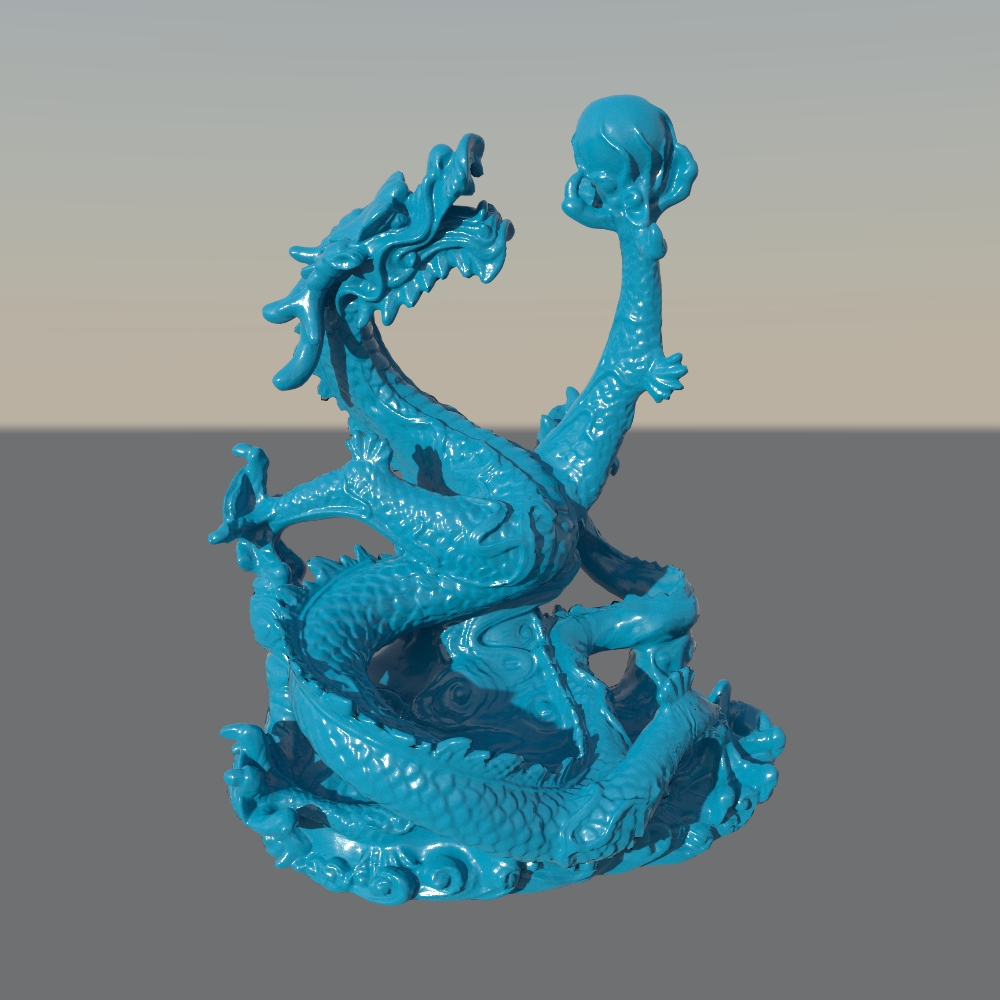
Intensity: 3 |
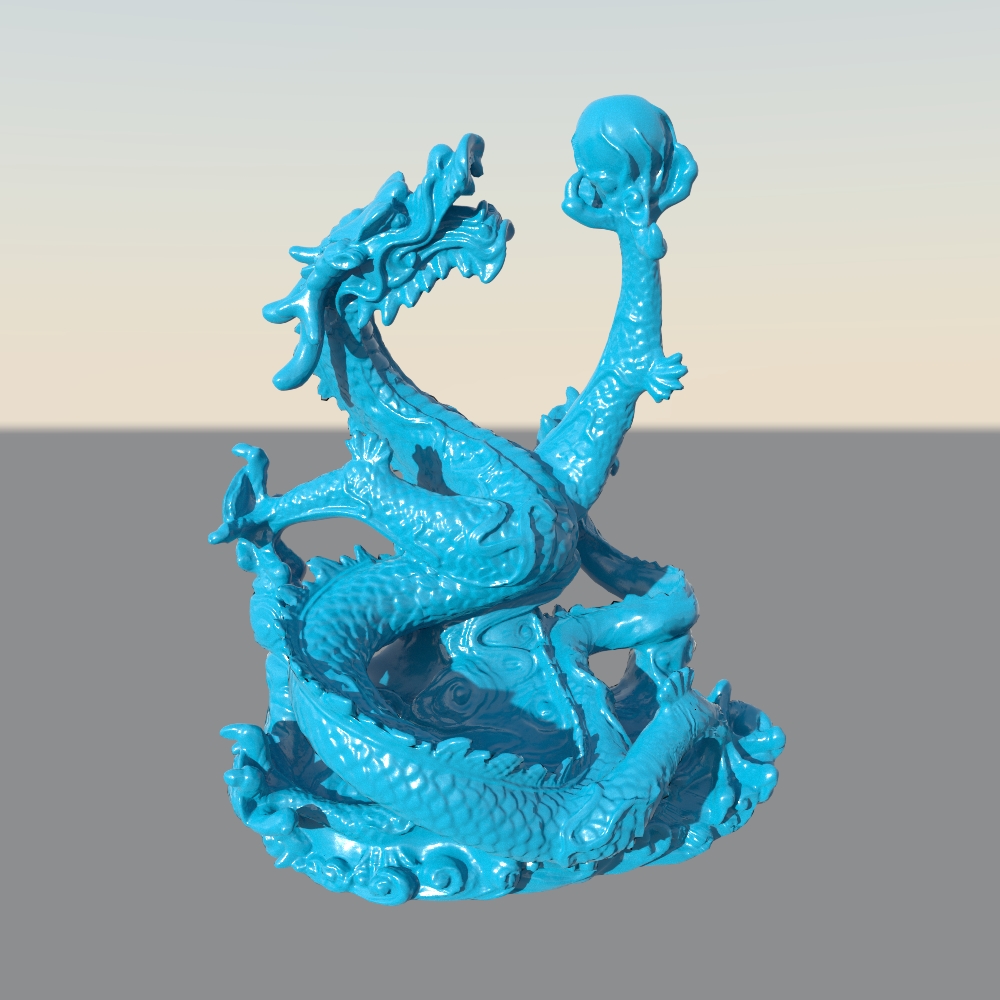
Intensity: 5 |
Filter Color
The Filter Color parameter is used to add a tint of color to the sky.
By default, this value is set to black, which means that the color of the sky will be defined by the sun’s position and orientation. However, for a more artistic look, you can choose an environment filter color other than black.

Filter color: default |
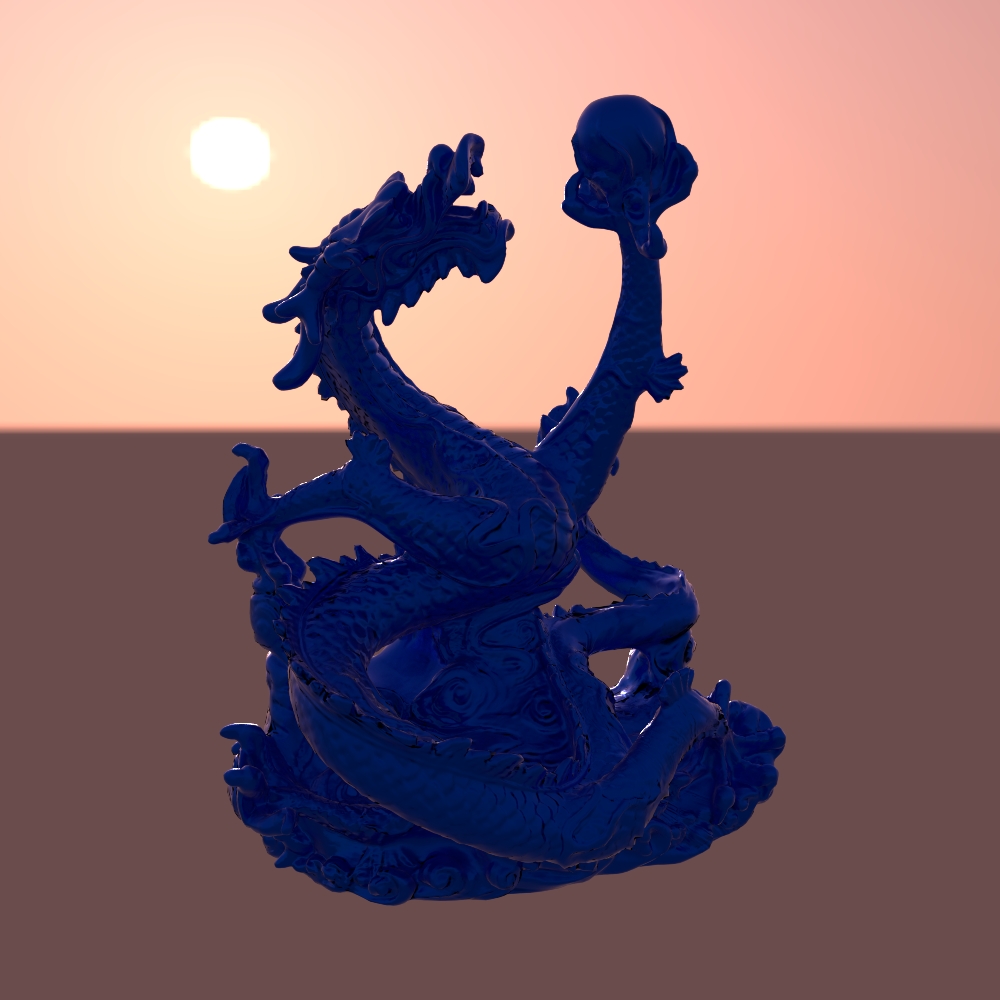
Filter color: red |
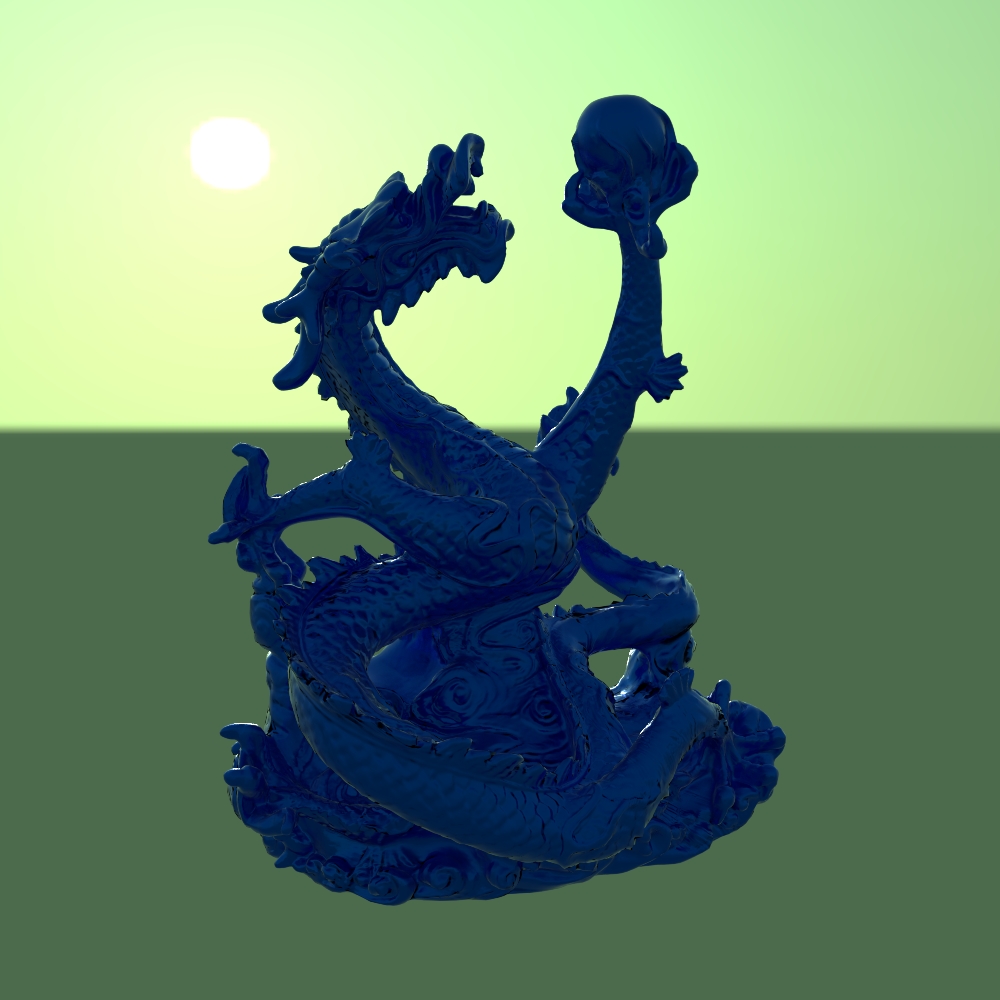
Filter color: green |
Ground Color
The Ground Color parameter controls the color of the ground below the horizon line. The ground color also affects the amount of light that is bounced back from the ground to the scene.
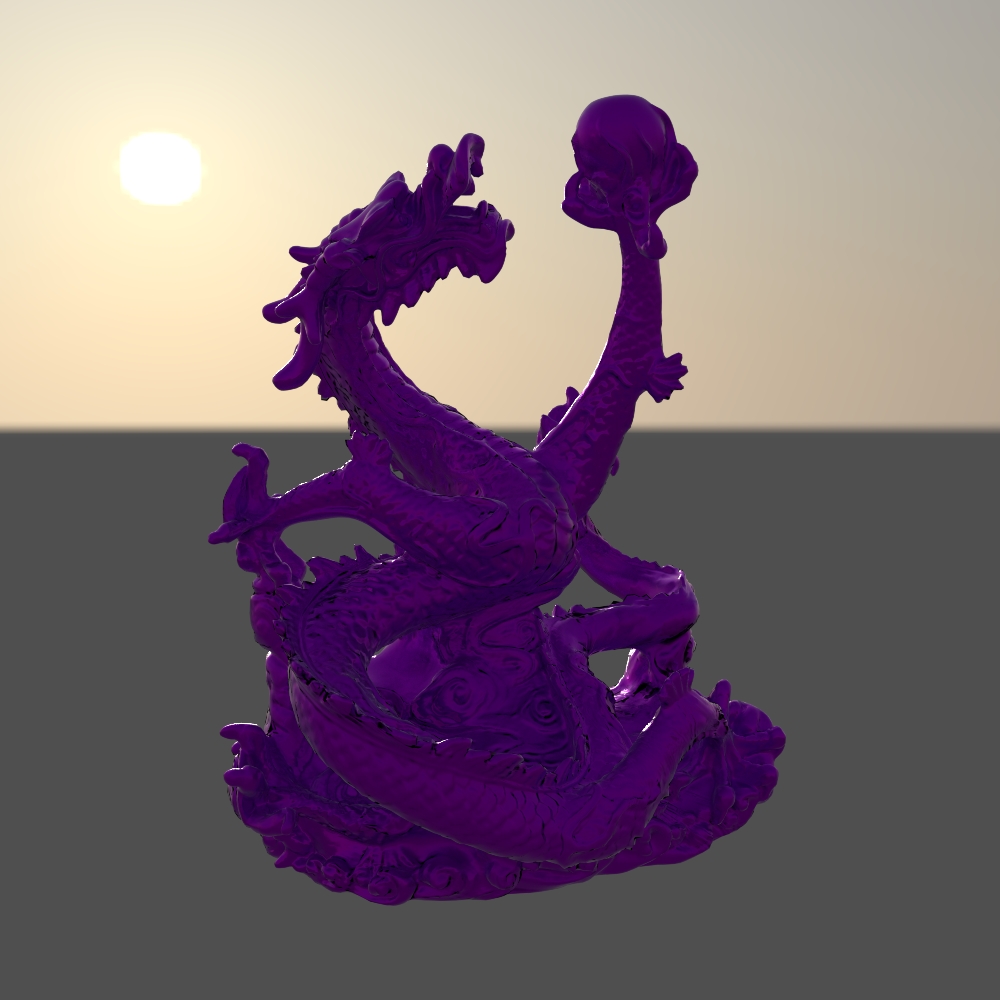
Ground color: default |
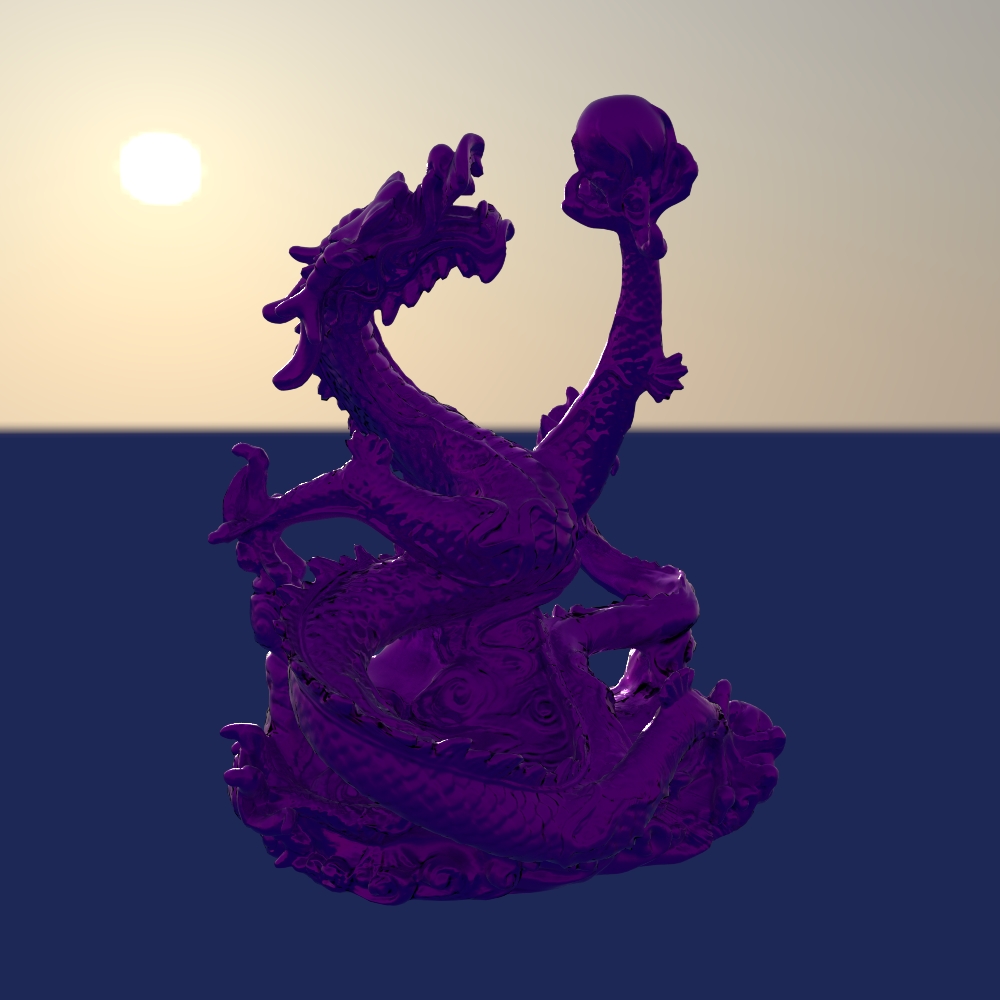
Ground color: blue |
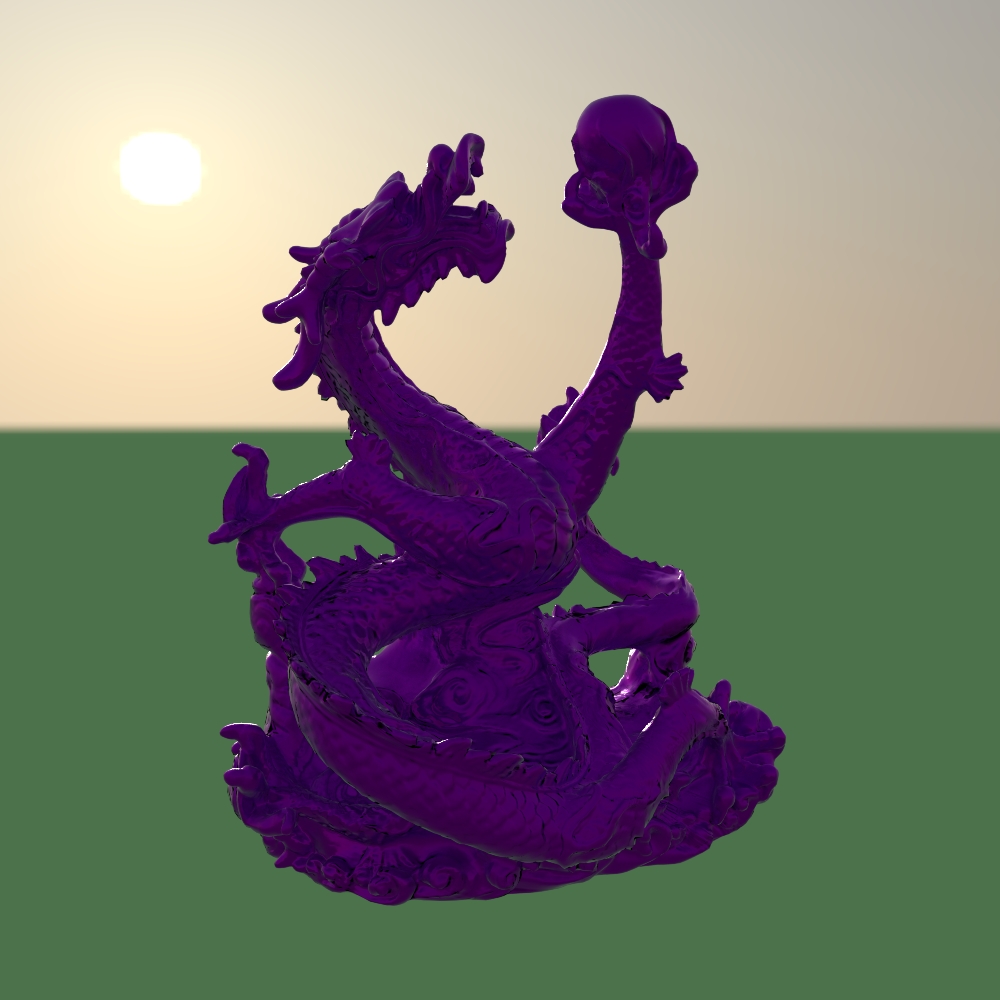
Ground color: green |
Horizon Height
The Horizon Height parameter allows you to raise or lower the horizon line.
Values above 0 push the horizon up, and values below 0 lower the horizon line. In most cases, however, you should keep the default horizon height.
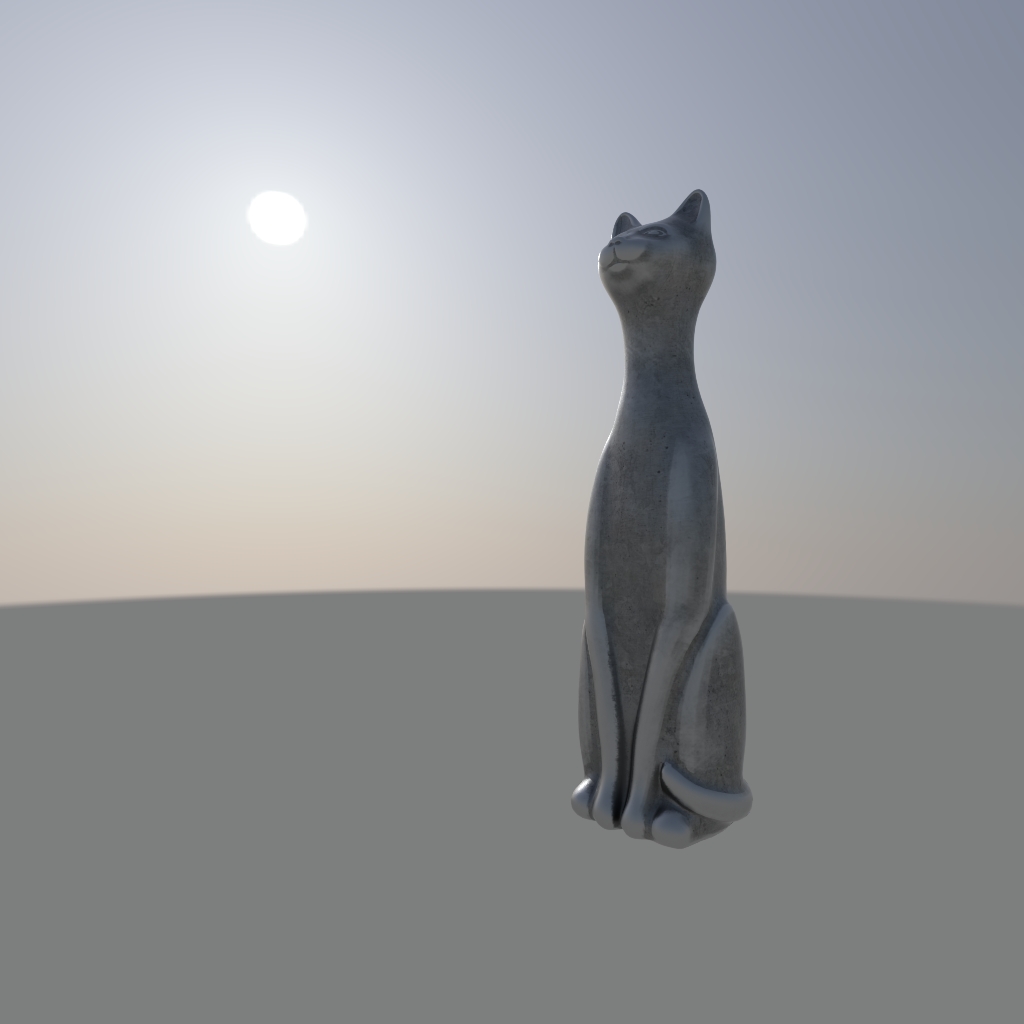
Horizon height: -1 |
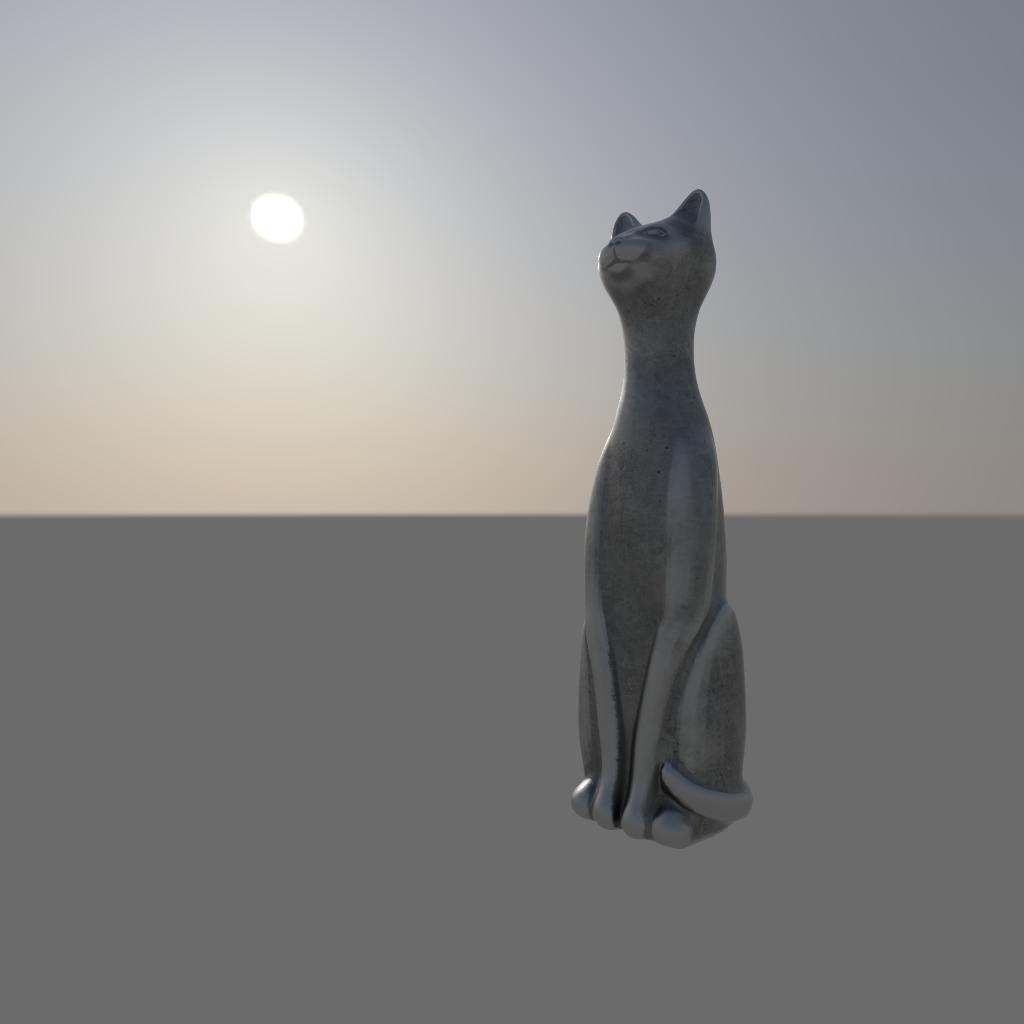
Horizon height: 0 |
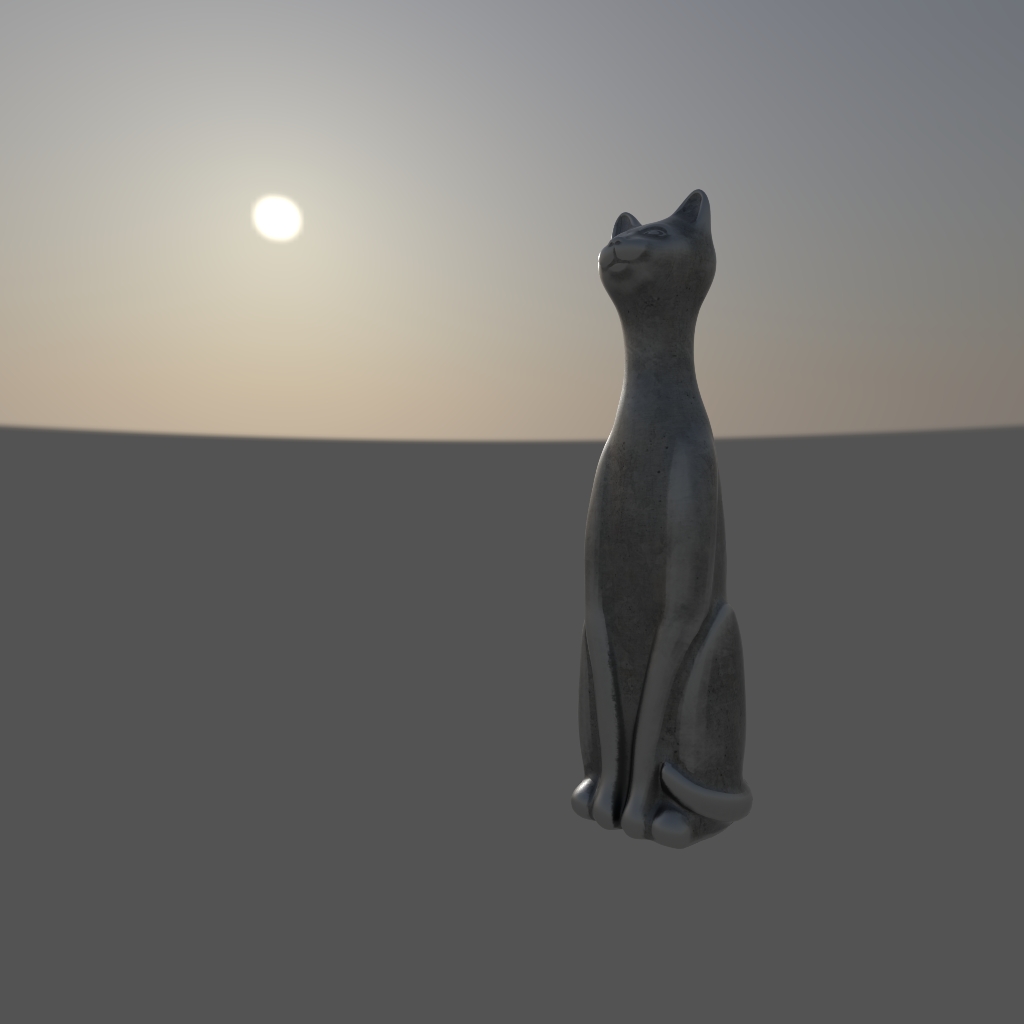
Horizon height: 1 |
Horizon Blur
The Horizon Blur parameter controls how defined the horizontal line is. Lower values give a sharper ground and horizon line, which may sometimes look less realistic. Increasing the value blurs the horizon, and can be used to achieve the effect of sun in the mist.

Horizon blur: 0.1 |
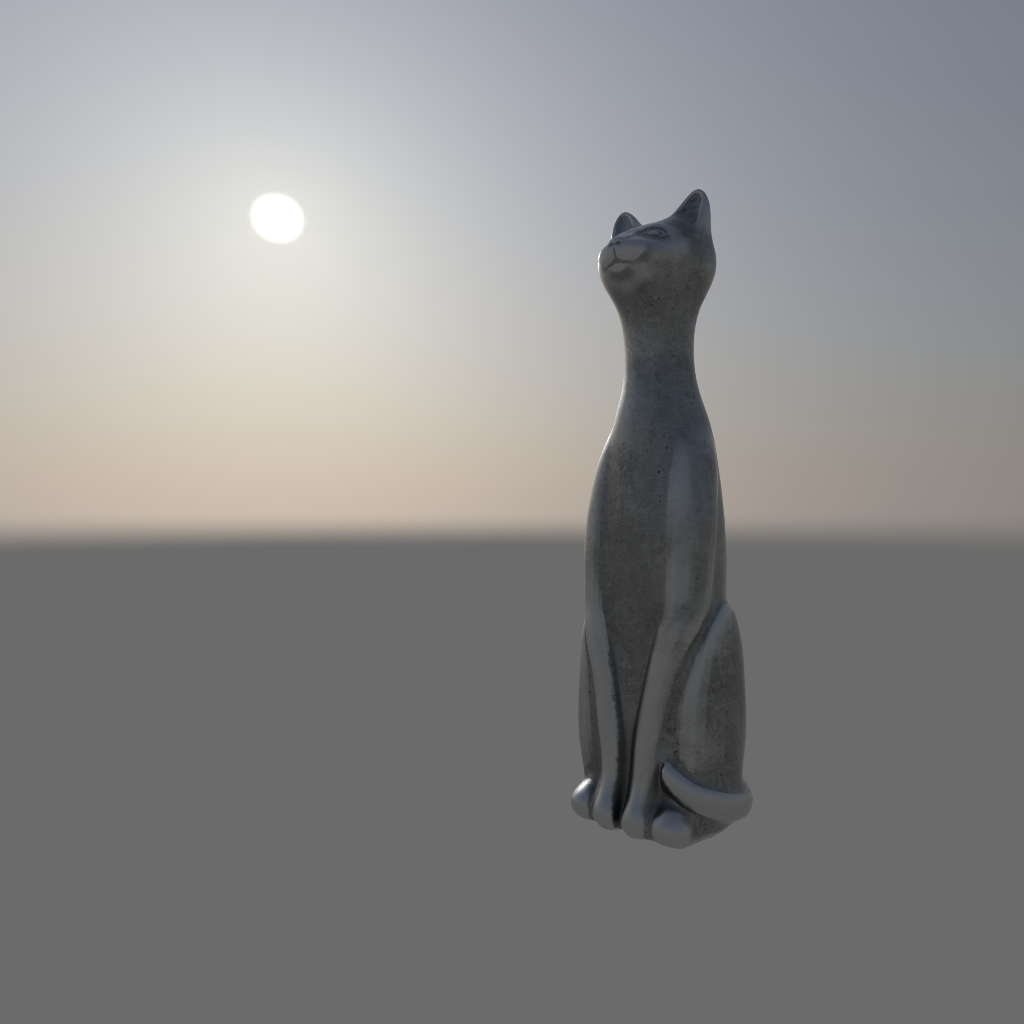
Horizon blur: 0.5 |
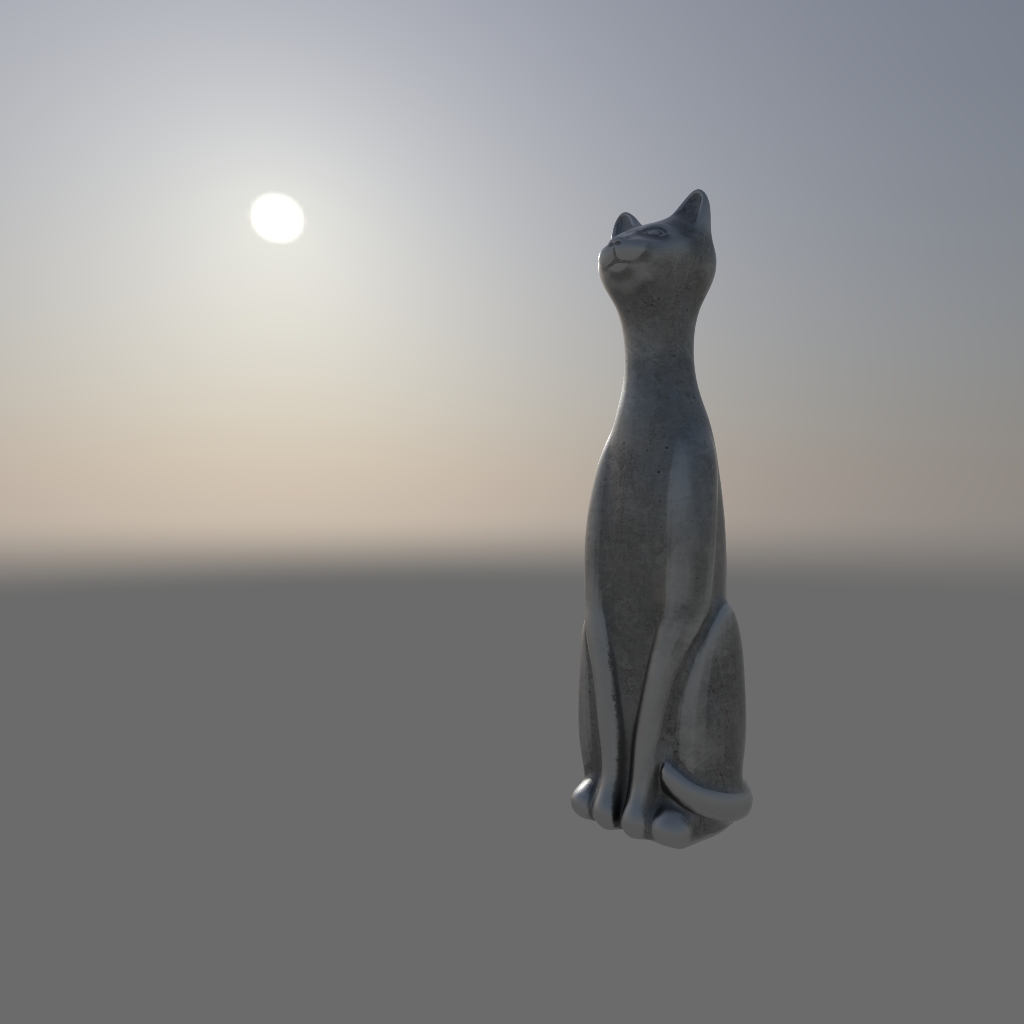
Horizon blur: 1 |
Saturation
The Saturation parameter controls the color saturation for the physically accurate sun light.
The value range for this parameter is [0-1], where 0 gives a shade of grey, and 1 saturates the color of the light and gives a strong yellowish tint to the sky.
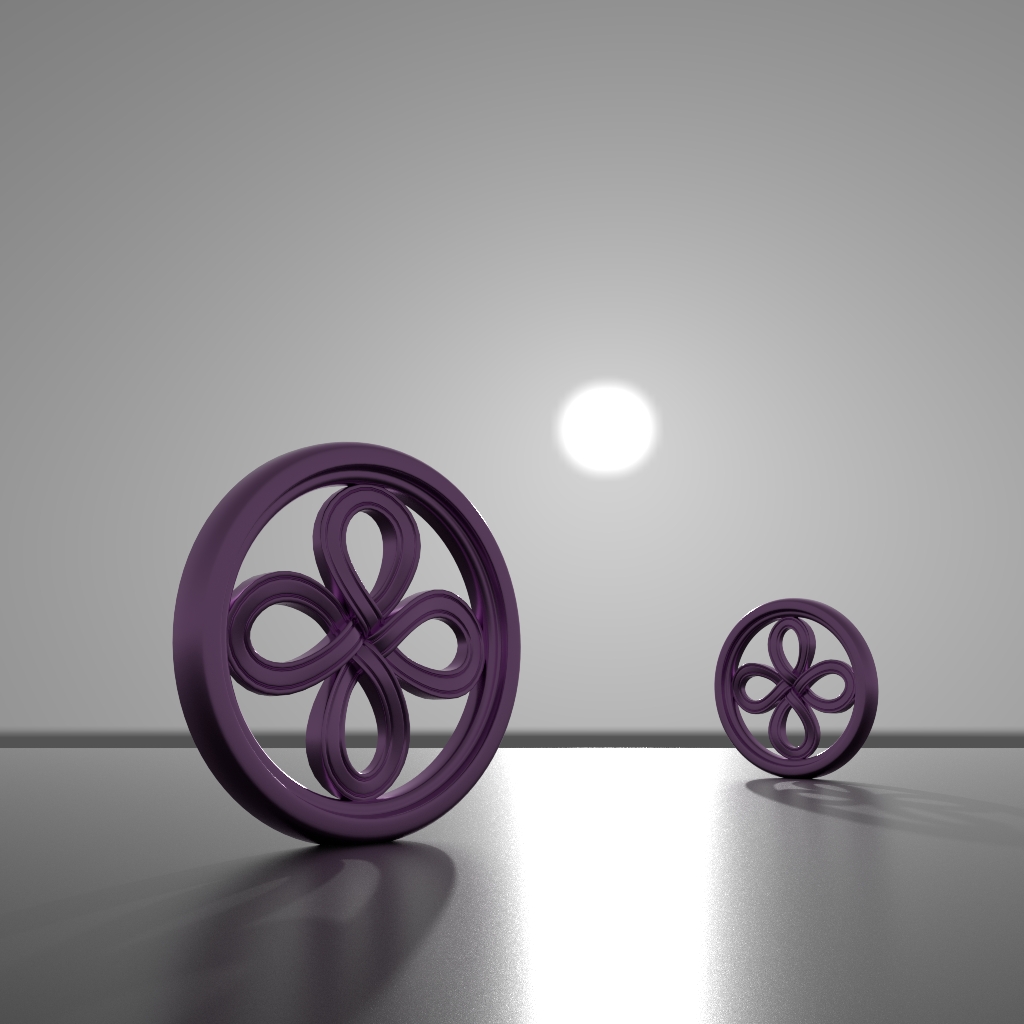
Saturation: 0 |

Saturation: 0.5 |

Saturation: 1 |
Sun Glow
The Sun Glow parameter controls the size of the glowing halo around the sun disc. Higher values increase the glow strength.
Note
It is not recommended to increase this value too much, because the sun will start looking pixelated. If you need a larger sun, consider increasing the sun disk value instead.
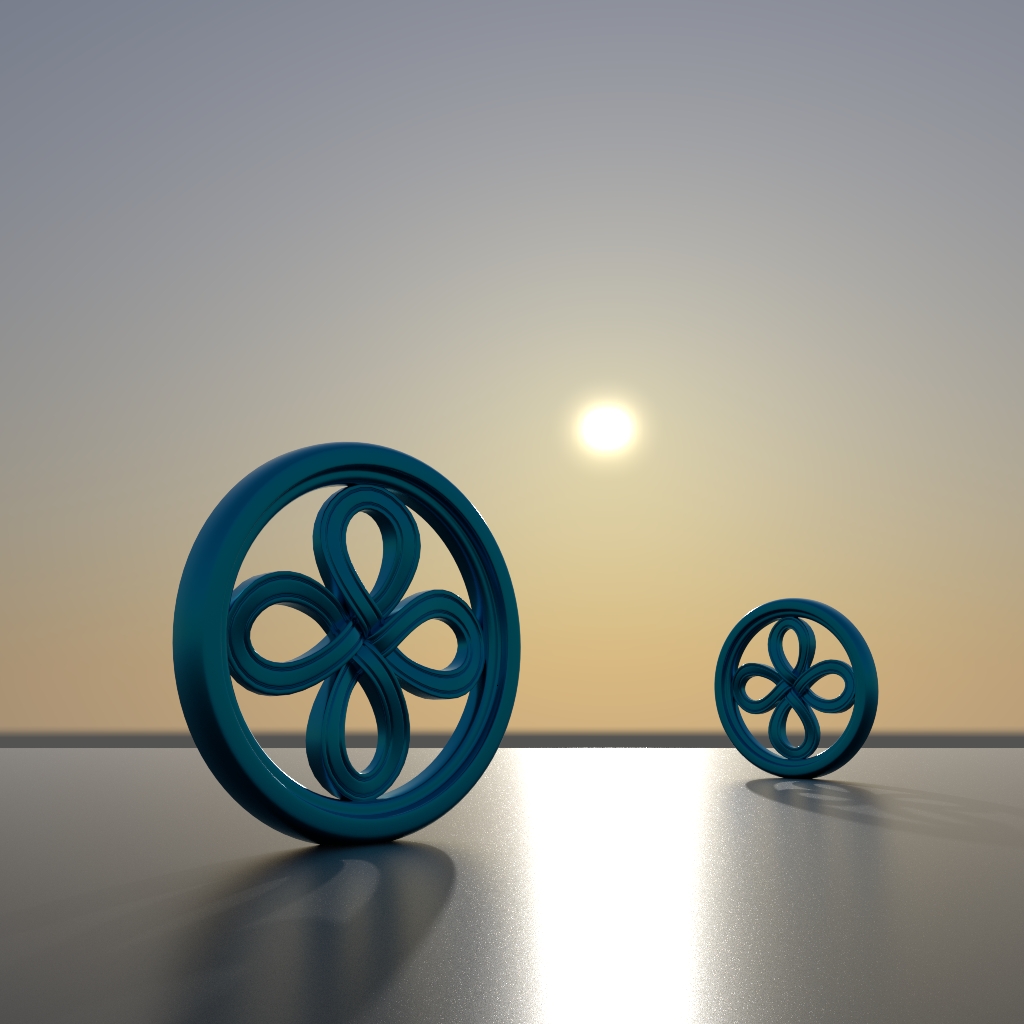
Sun glow: 0.1 |
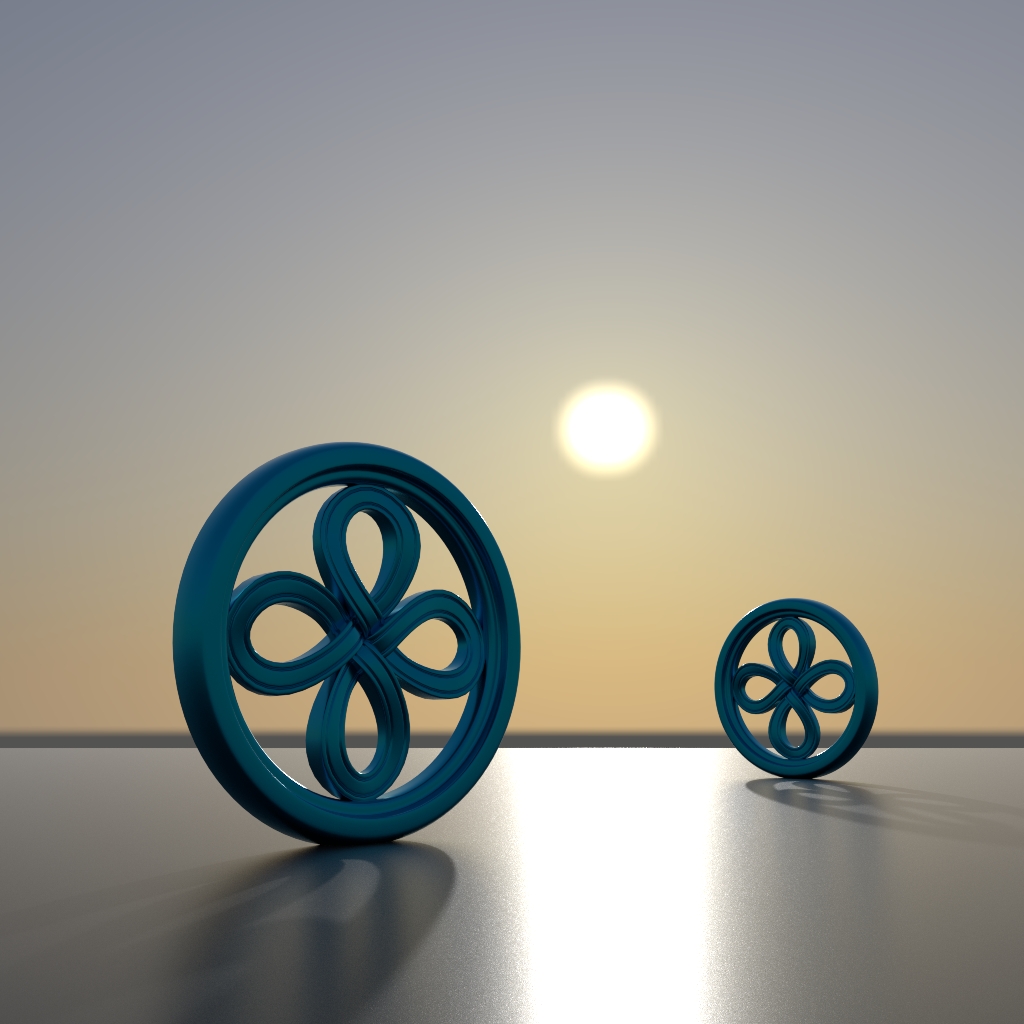
Sun glow: 0.3 |
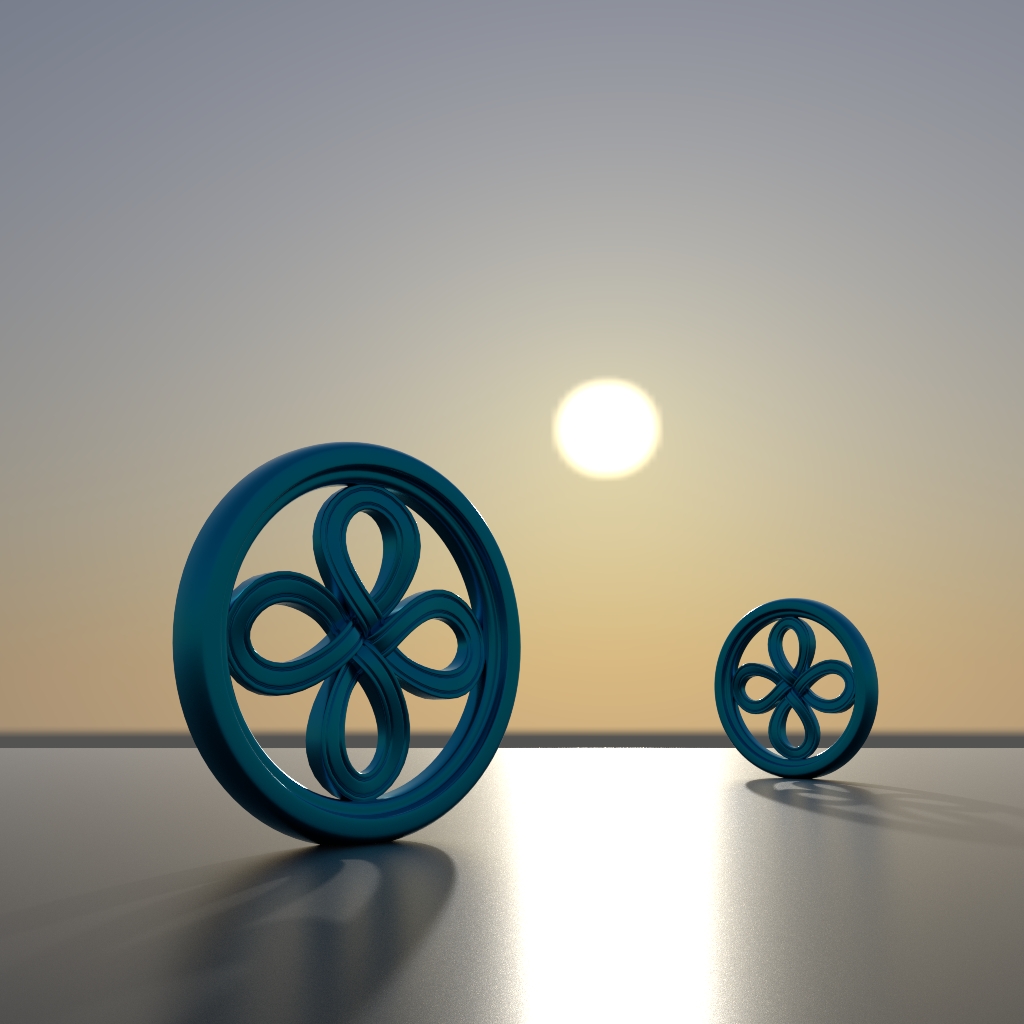
Sun glow: 1 |
Sun Disk Size
The Sun Disk Size parameter controls the visible size of the sun.
Note that increasing the sun disc size makes the scene look brighter as if more light is emitted, but does not affect the softness of shadows.
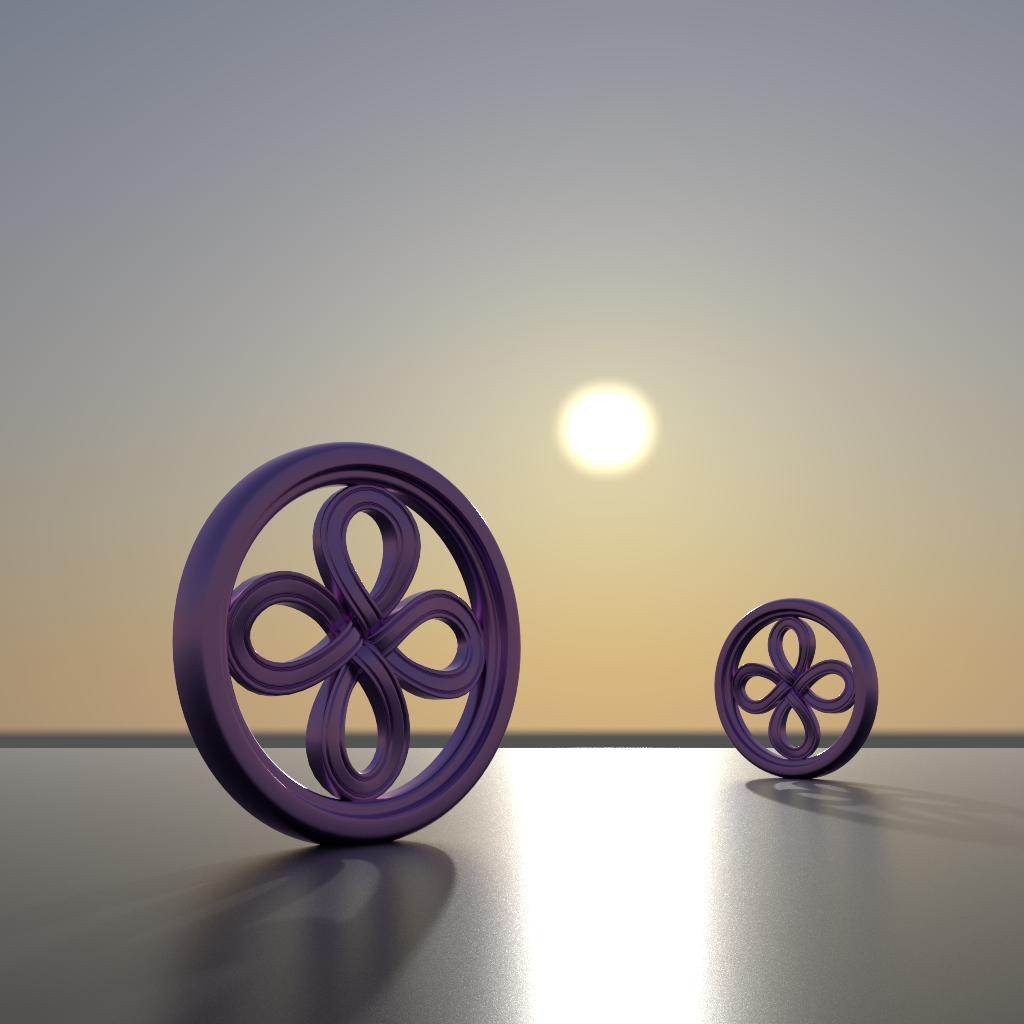
Sun disc: 1 |
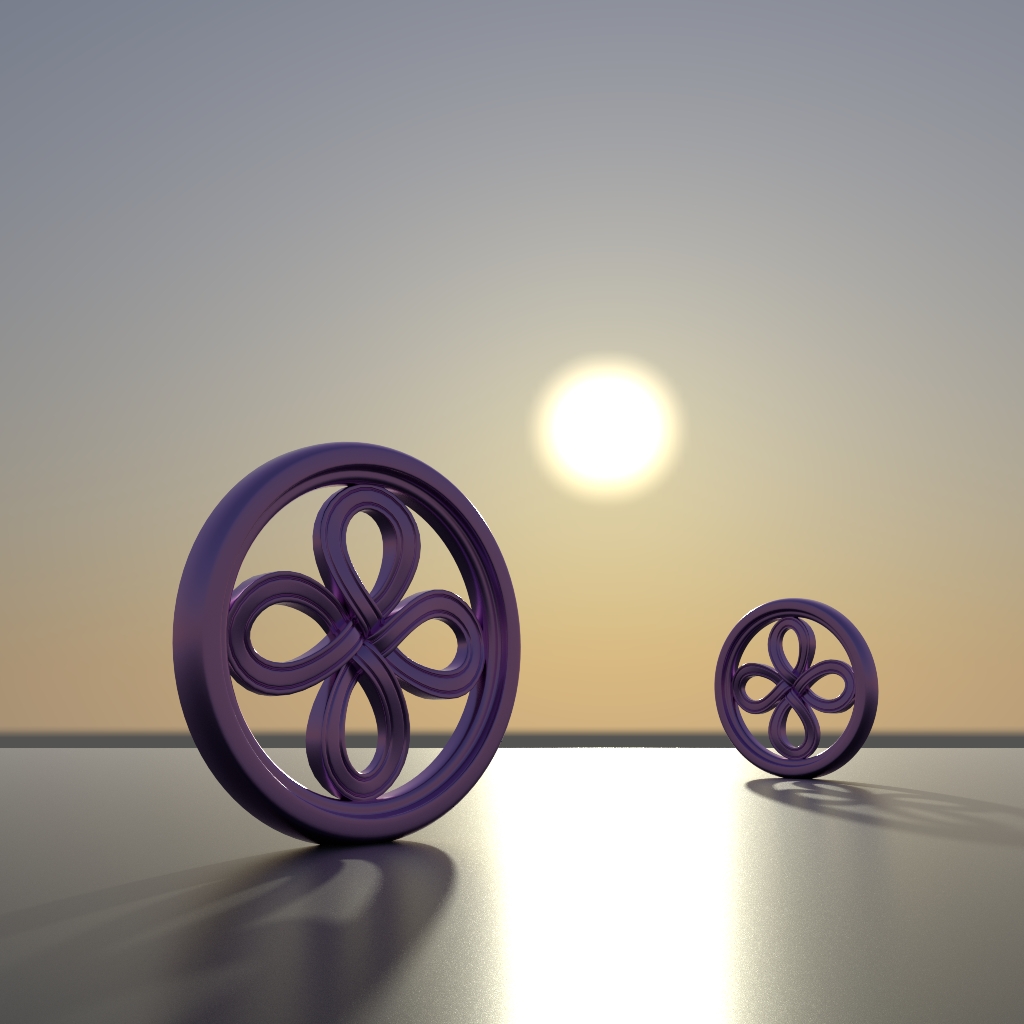
Sun disc: 1.5 |
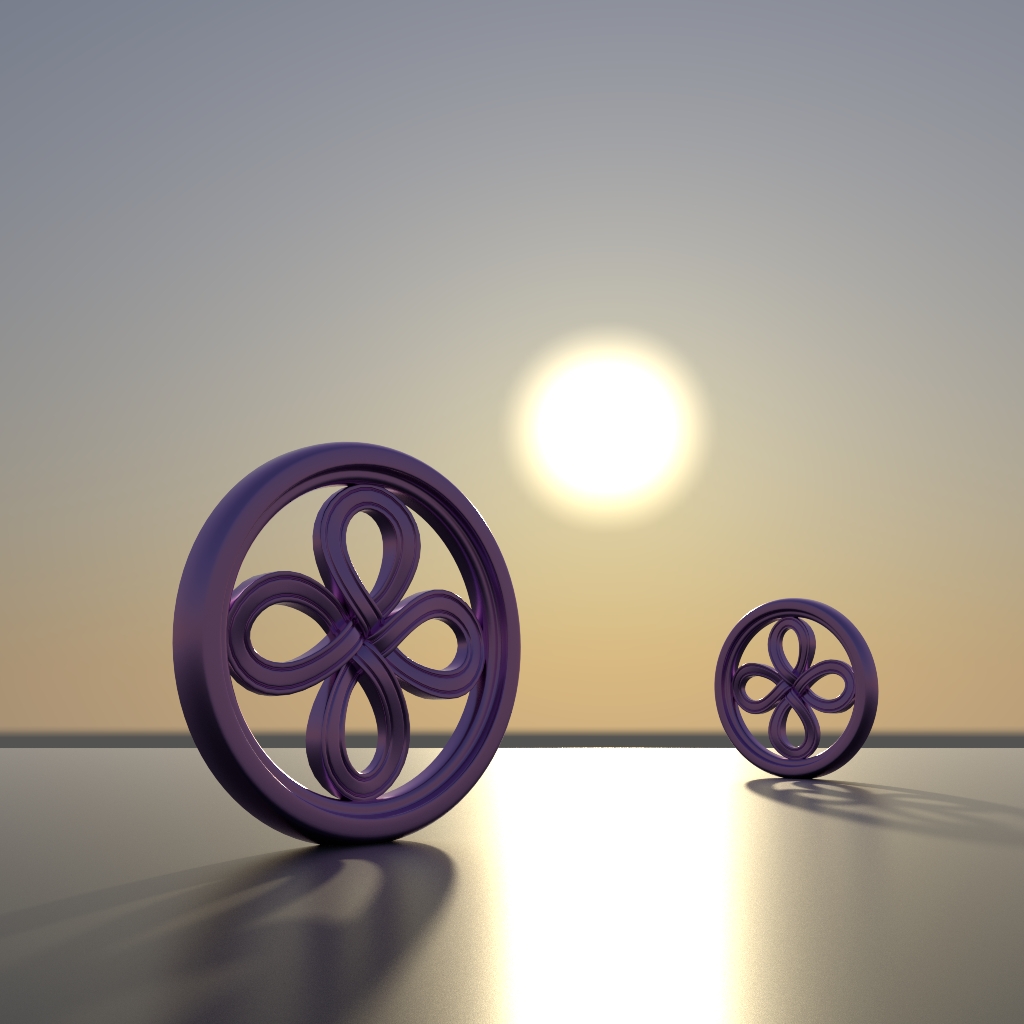
Sun disc: 2 |
Add Portal Mesh
The Add Portal Mesh parameter defines a mesh acting as a portal in the scene. For details, see the Portal Light section in the documentation.