Viewport Render
Viewport render provides a quick render preview of a still scene or a rough copy of an animation. It gives you an approximation of the expected output without the need to do the production render and wait for it to be generated.
The render preview mode enables interactive control over the scene and allows you to manipulate objects, lights and cameras, as well as set up materials and track real-time updates as any changes to the scene are made.
To switch to the AMD Radeon ProRender viewport, from the viewport menu, select Renderer > Radeon ProRender.
Note
When you switch to the viewport, an additional item becomes available on the menu — Radeon ProRender. Use this menu to choose a render mode or a render pass in the viewport, or work with the animation cache.
Preview Mode
Whenever the viewport render is started, it starts in the preview mode to enable the fastest possible display of the rendered scene. AMD Radeon ProRender makes a few iterations to fill in the whole screen in a matter of moments. To yield instant previews and allow more responsive editing, the preview mode is kept on while you are changing the camera position or making other modifications to the scene. Once any modifications are stopped, AMD Radeon ProRender fills the remaining samples in the viewport in its regular mode.
Viewport Quality and Sampling
Rendering in the viewport starts from a low quality image and refines it as new samples are added. With each new change made to the scene, the rendering process is started anew.
To improve the overall responsiveness and reduce the scene refresh time in the viewport, you can adjust down the Quality and Viewport Sampling settings. For complex scenes, this can help you achieve better interactivity, because generally a low level of detail is required for a render preview.
Viewport Modes
AMD Radeon ProRender supports a set of render modes in the viewport. These viewport modes can be useful for examining various aspects of the scene through fine-tuning and tweaking of the scene, or as a diagnostics tool.
To switch between the modes in the viewport:
From the viewport menu, select Renderer > Radeon ProRender to switch to the viewport.
From the viewport menu, select Radeon ProRender > Viewport Mode and choose the desired option.
The following render modes are available.
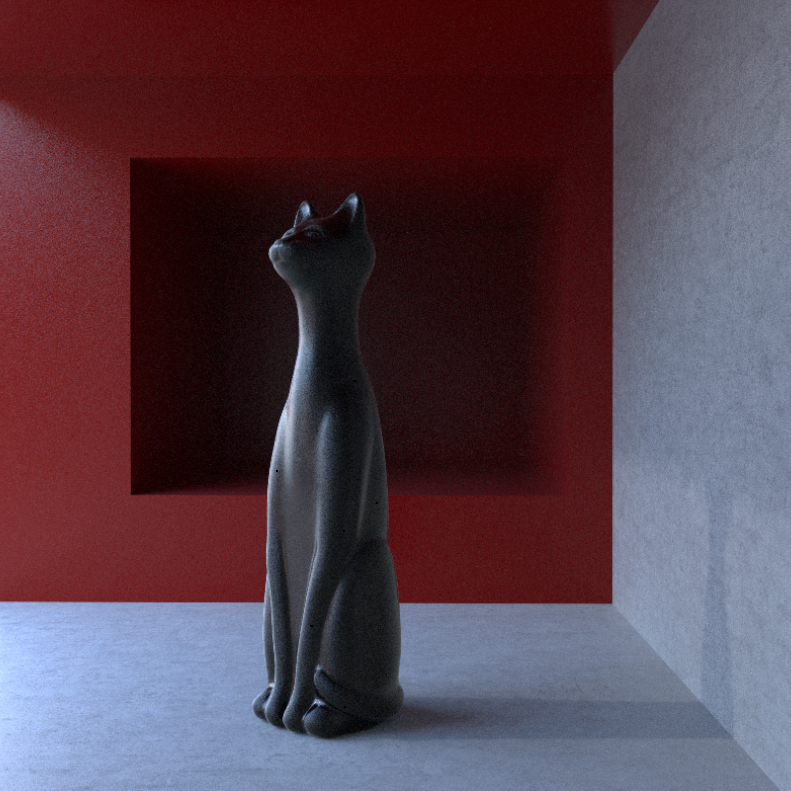
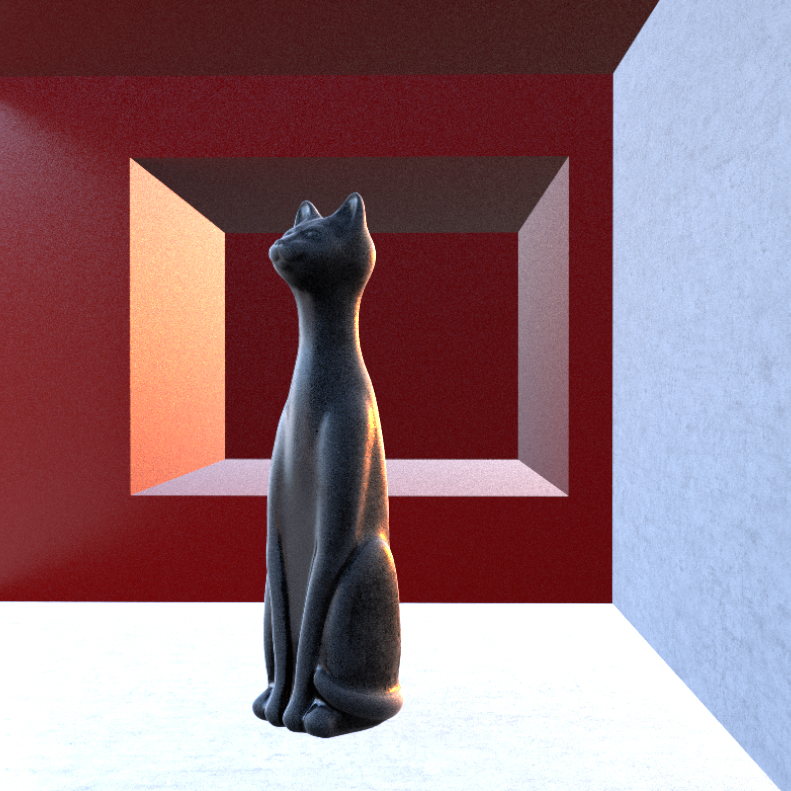
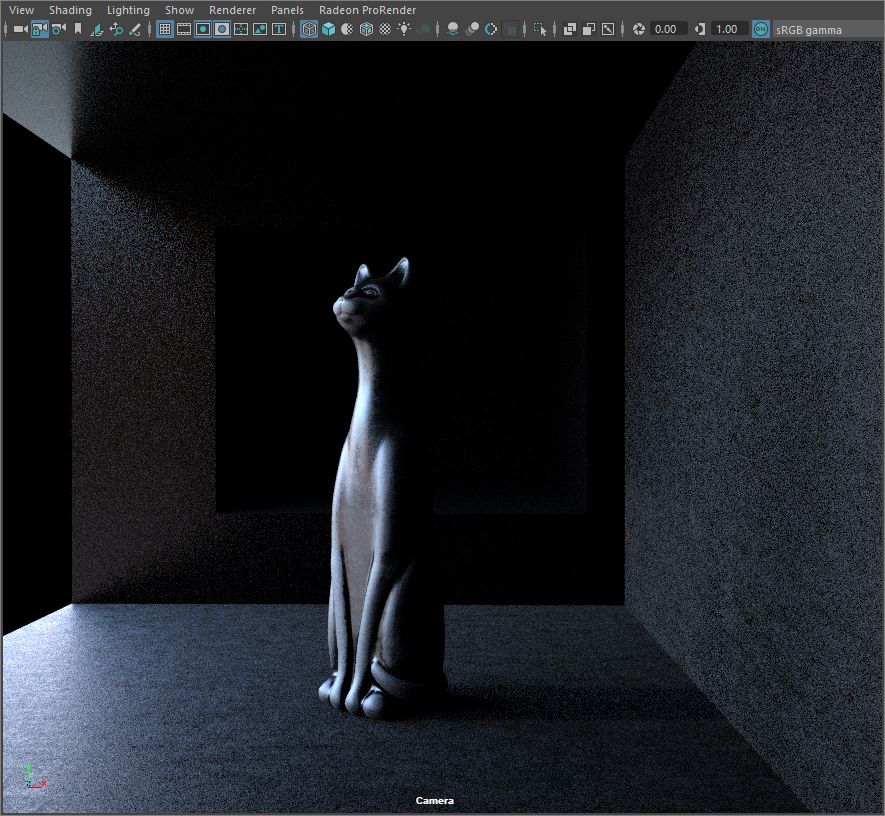
Global Illumination
Global illumination is the default ‘beauty’ render mode which renders the whole scene with full lighting (direct and indirect). This mode most accurately simulates all types of reflections, caustics and shadows, but is also the most time- and computation-consuming.
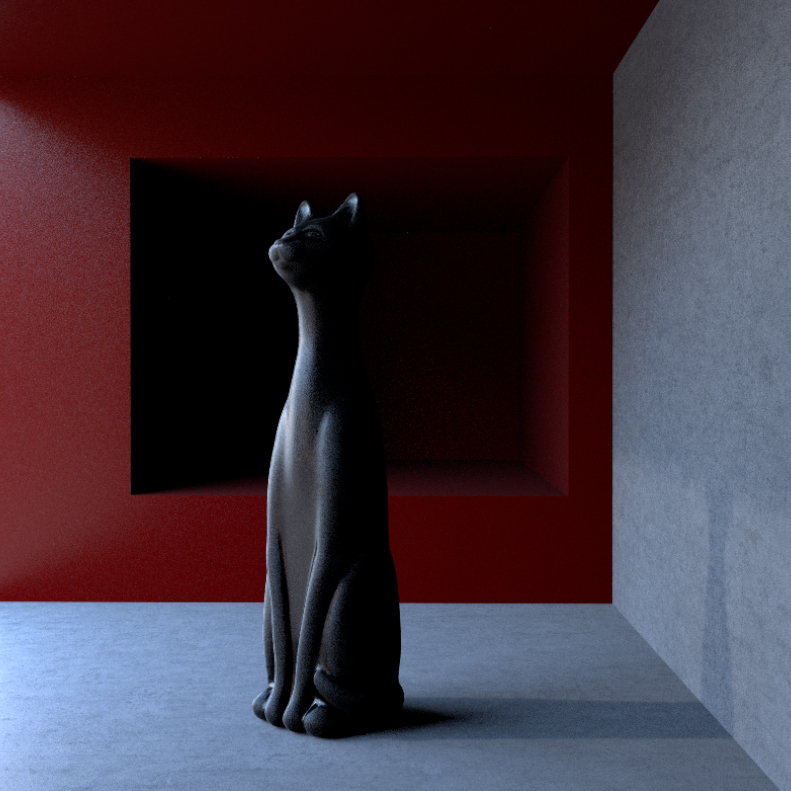
Direct Illumination
This mode renders a scene with shadows but with no global illumination (indirect lighting). Objects in the scene are illuminated with active light sources only, which gives ‘harsher’ renders. Light bouncing off the surface toward other surfaces is not taken into account.
Direct Illumination No Shadows
This mode includes direct lighting only, without any shadows or semi-shadows cast by objects.
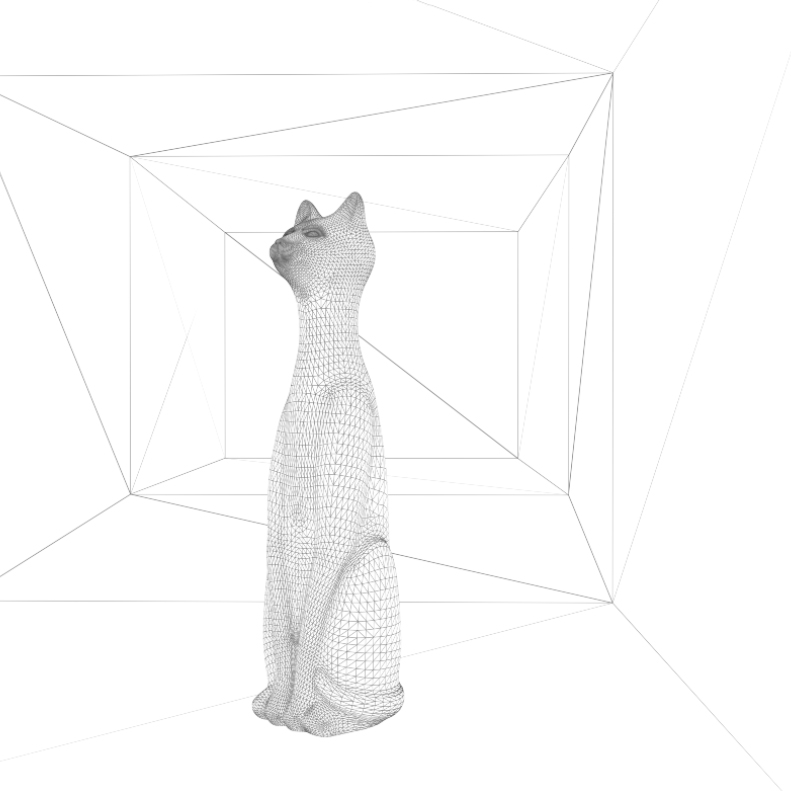
Wireframe
This mode shows wireframes for meshes in the scene.
Material ID
This mode renders masks of materials assigned to meshes in the scene. The material masks are differentiated with various shades of red.

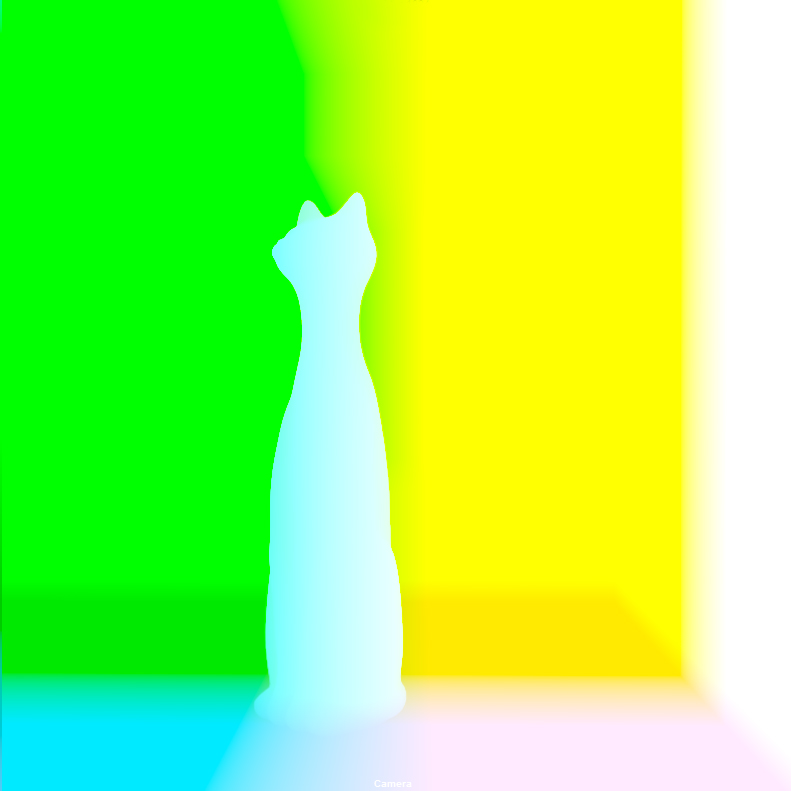
Position
In this mode, RGB color values correspond to XYZ coordinates in the 3D world space. Objects in the scene are colored in accordance with their positions in the world coordinate system.
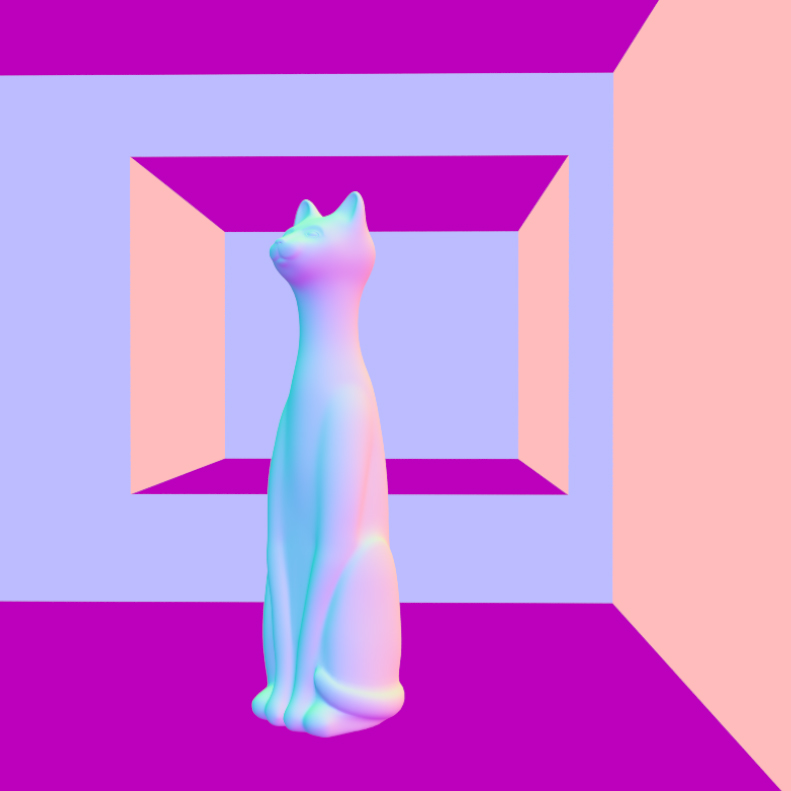
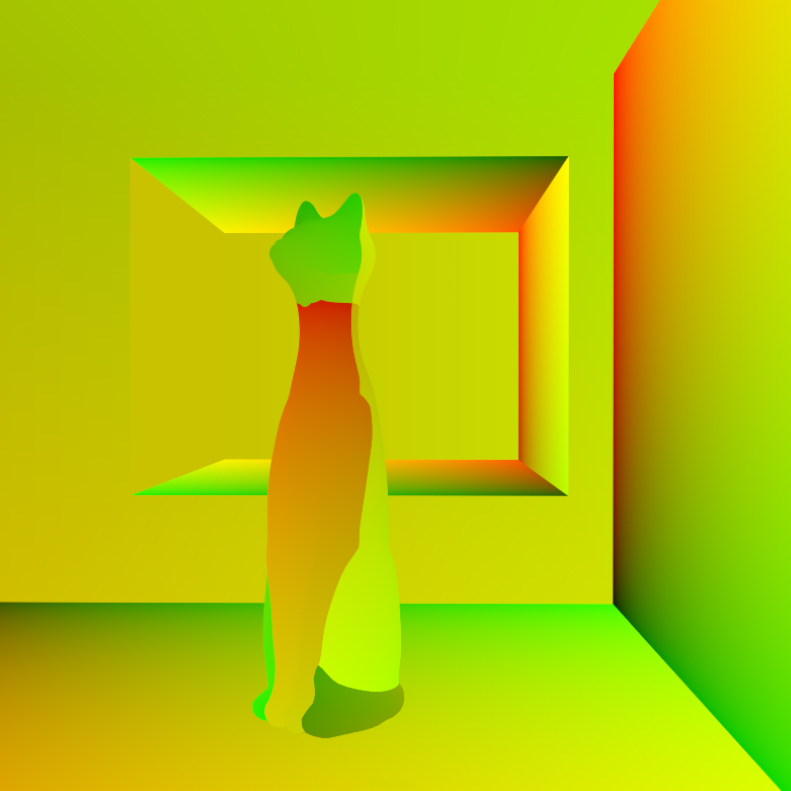
Normal
This mode renders surface normals used for shading.
Texture Coordinate
In this mode, color values correspond to texture UV coordinates (red for U, green for V).
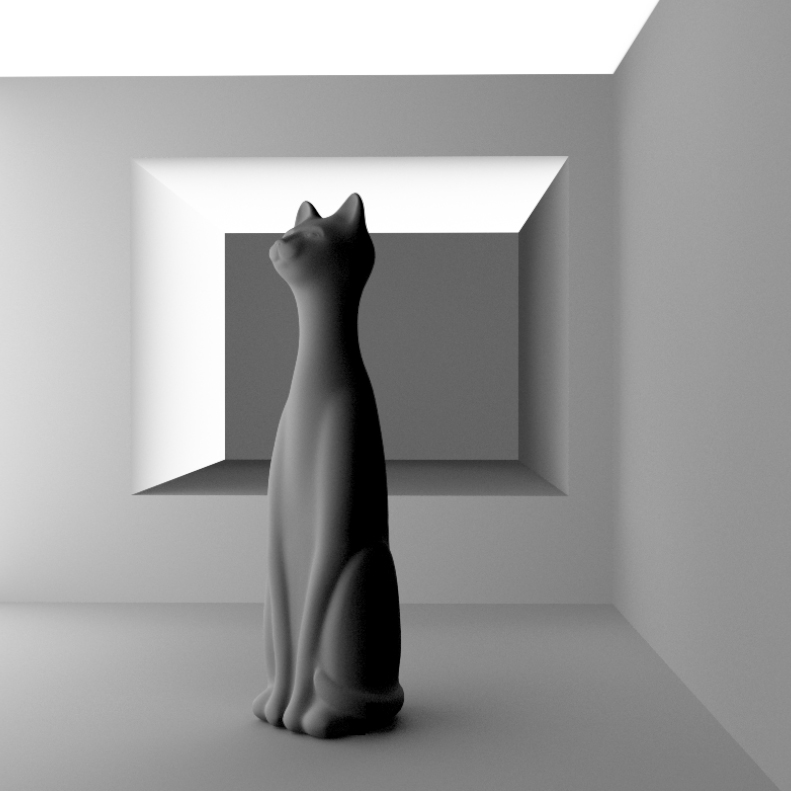
Ambient Occlusion
This mode renders a scene without textures by emulating interactions between inter-reflections of objects in the scene. It is used to display contact shadows which global illumination does not always catch.
Render Passes (AOVs)
In the viewport, you can preview any of the render passes (AOVs) available for postwork and compositing.
To preview render passes:
From the viewport menu, select Renderer > Radeon ProRender to switch to the viewport.
From the viewport menu, select Radeon ProRender > AOV and choose the desired option.
For a detailed description of passes available, see Render Passes in the documentation.
Animation Cache
The animation cache provides a quick preview of animated object(s) in the scene before you actually render the scene in the viewport.
The cache stores the render iteration for each animation frame, and is filled with data when the frame is first displayed. The next time the frame is displayed, AMD Radeon ProRender can show the cached version rather than having to render it again. This allows you to scrub through the animation time-line without having to re-render the cached frames.
By default, the animation cache is enabled.
To disable the cache, from the viewport menu, select Renderer > Radeon ProRender. This will switch you to the Radeon ProRender viewport, and will make the Radeon ProRender item available on the viewport menu. On the Radeon ProRender menu, disable the Animation cache option.
To clear the cache, from the viewport menu, select Renderer > Radeon ProRender. This will switch you to the Radeon ProRender viewport, and will make the Radeon ProRender item available on the viewport menu. On the Radeon ProRender menu, click the Clear animation cache option.
The cache is also cleared when you switch from the Radeon ProRender viewport to the standard Maya viewport.
Compare how the animation playback speed changes with and without the animation cache.