Using the Material Library
AMD Radeon ProRender comes with an extensive library of pre-configured physically-based materials to get you started. This section describes how to use the AMD Radeon ProRender Material Library in Blender.
First Steps
For installation instructions and a complete list of the materials included in the library, see Material Library.
Browsing Materials
To browse the Material Library in Blender:
Make sure that AMD Radeon ProRender is set as the active render engine in Blender.
For details, see Switching to Radeon ProRender for Blender.
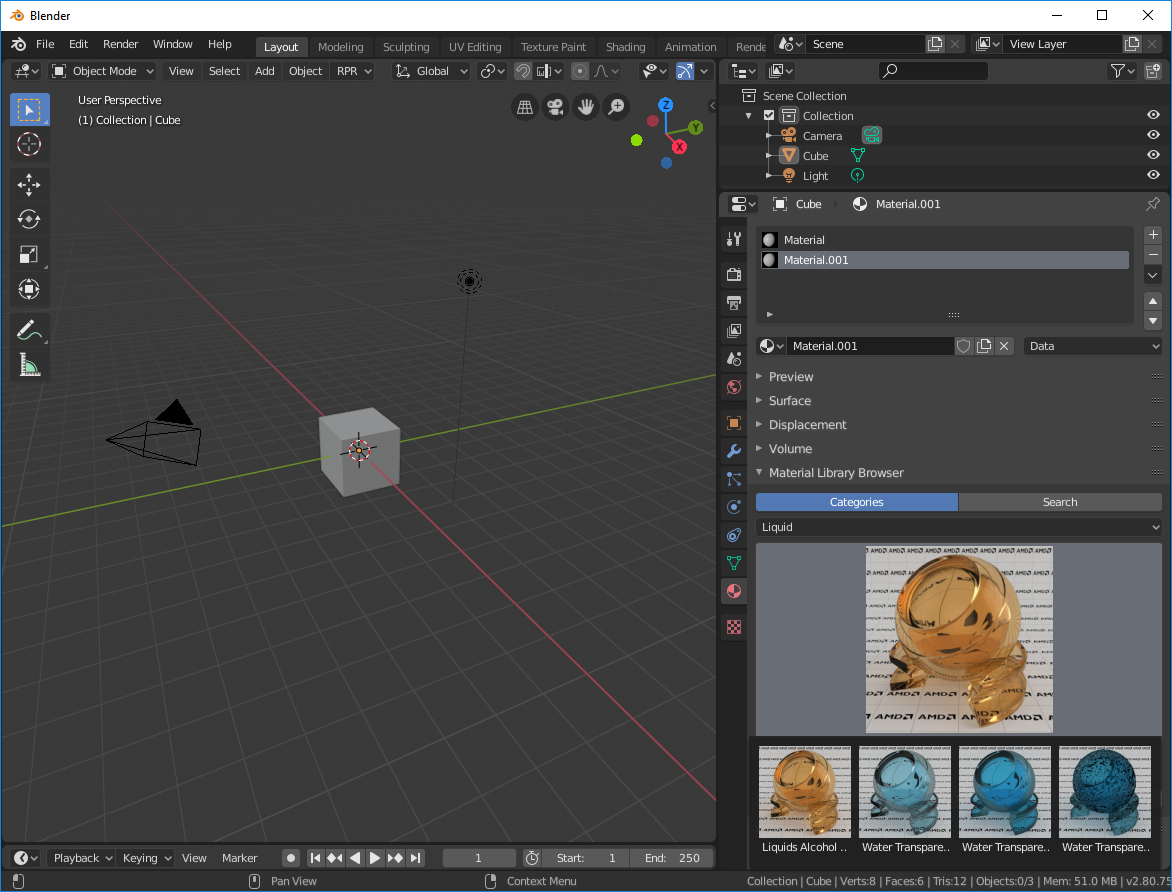
In the Blender Properties editor, switch to the Material tab.
Expand the Material Library Browser panel.
You can browse the materials in the library by category, or search for materials by name.
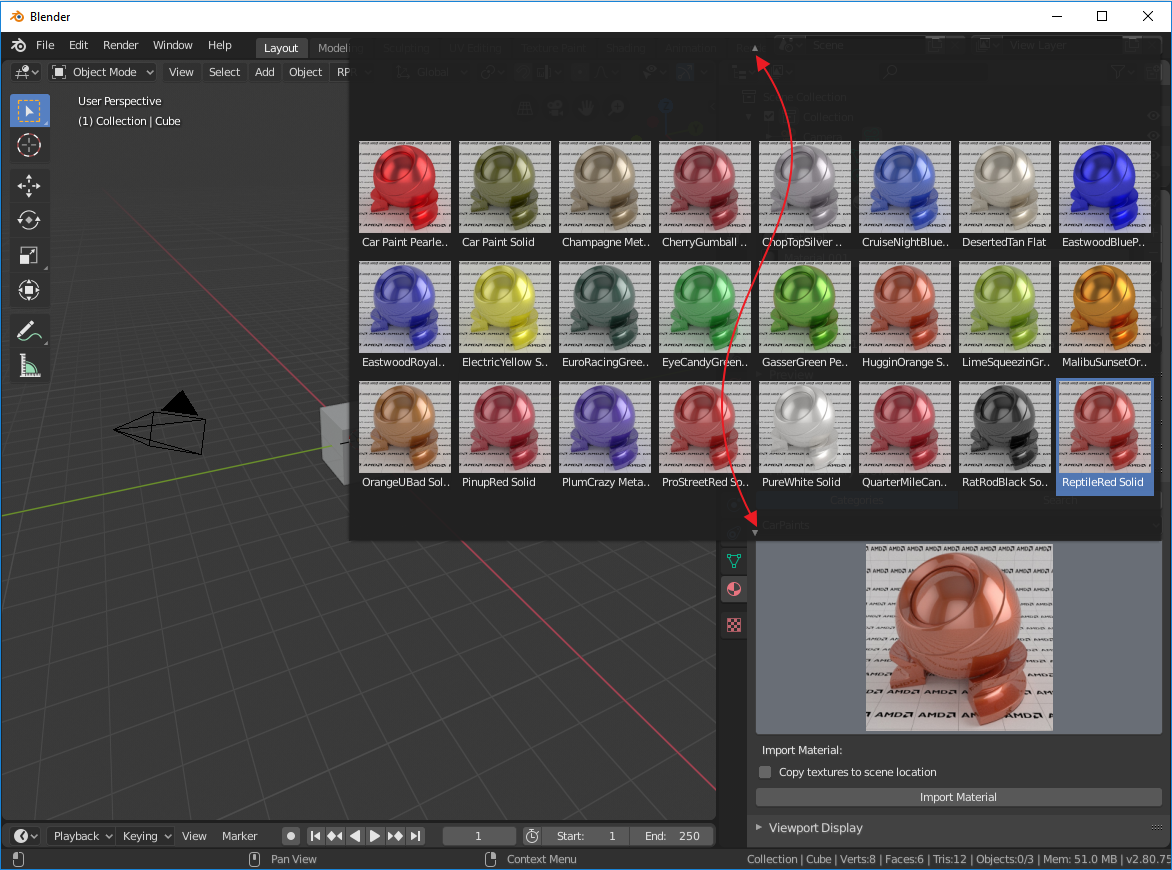
To browse materials by category, make sure the Categories mode is selected and choose the required category in the list. Then, click the material image to open the list of materials in the chosen category.
To search for materials, select the Search mode, type the full or partial name of the material and press Enter. Then, click the material image to view the results returned by the search.

In some cases, the list of materials can be too long to be displayed all at once. To navigate the list, use the Up and Down arrows at the top and bottom of the list, or scroll up and down the list using your mouse wheel.

Assigning Materials
To assign a material from the Material Library to an object:
In the Material Library Browser panel, choose the required material.
For details, see Browsing Materials.
If the material includes textures, select the Copy textures to scene location checkbox to save the texture files in the
rprmaterialssubfolder next to the scene. Note that if this option is not selected, the material will instead refer to the Material Library installation folder for these texture files.Storing your textures in the Material Library folder will help save disk space. However, to be able to easily move the scene to another computer, you should copy the textures to the scene location.
Click Import Selected Material.
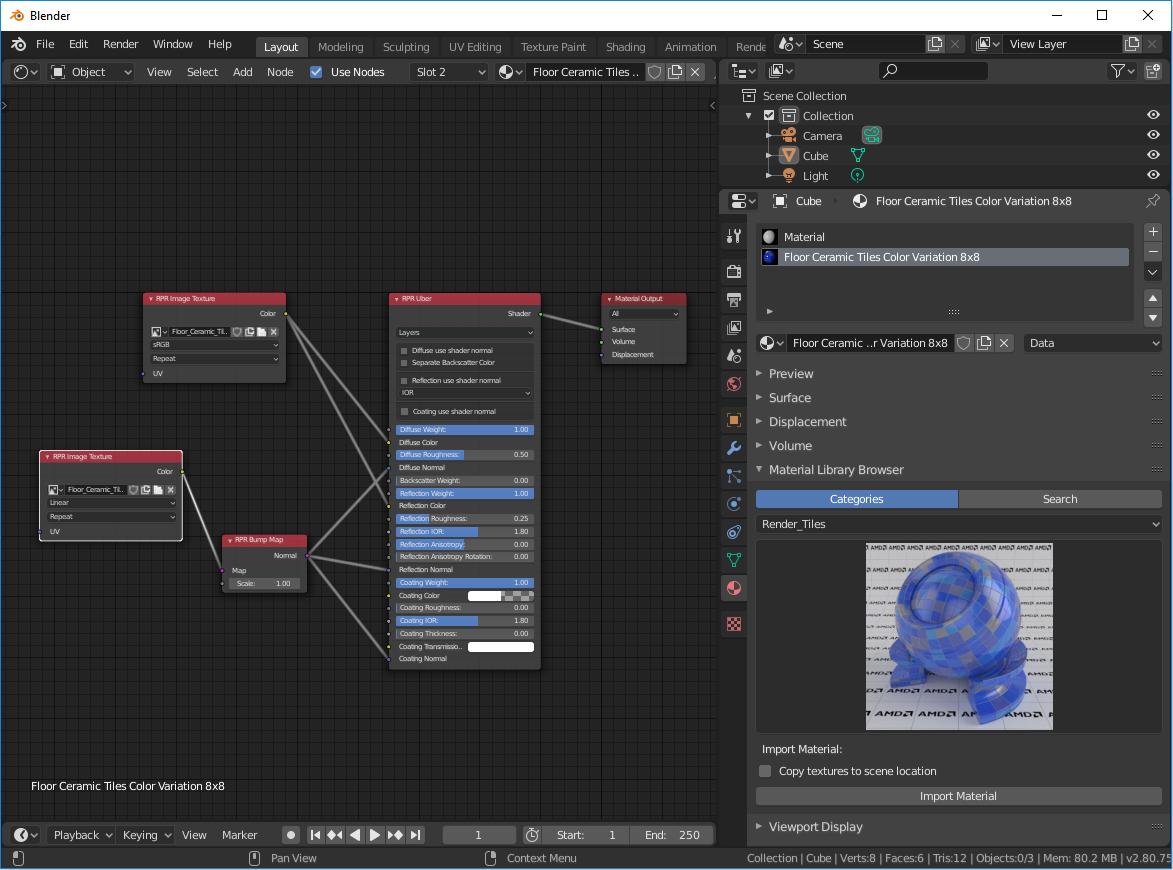
Switch to the Shader Editor and make sure that the material node network is displayed.

Changing Material Properties
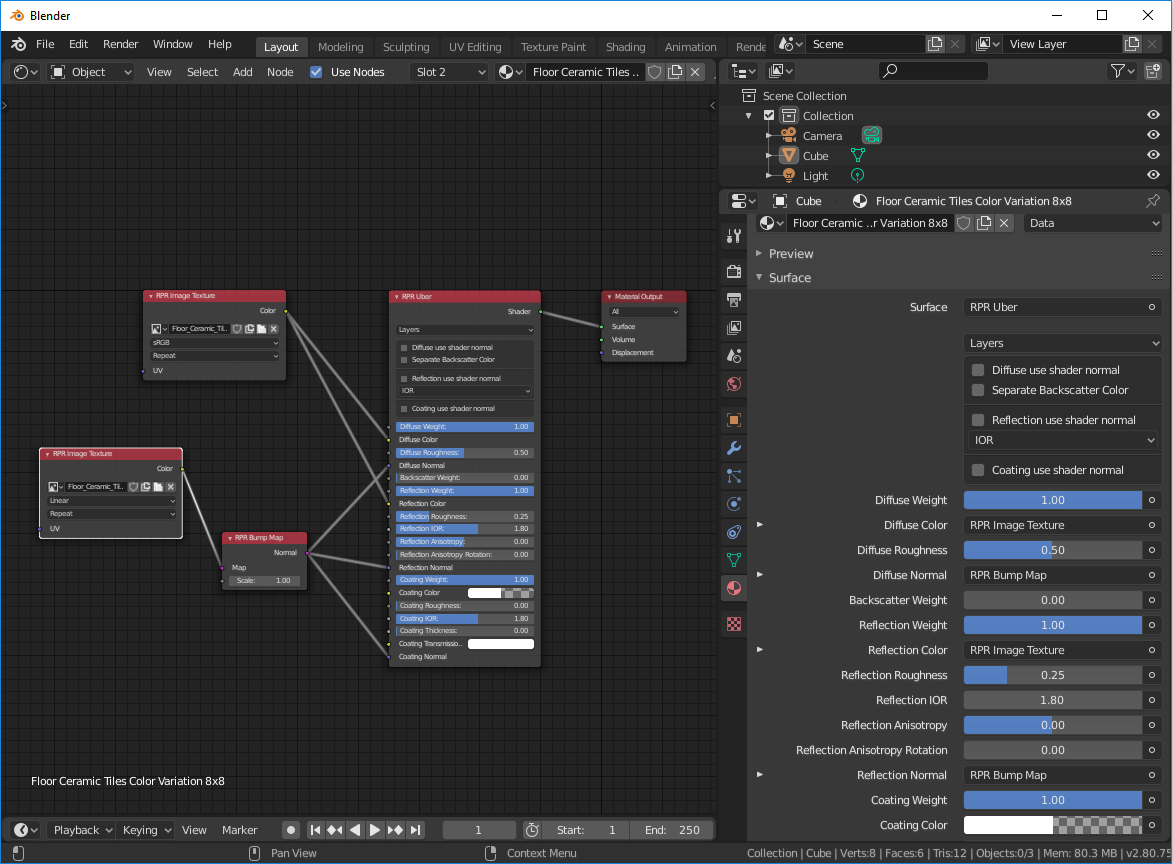
To tune material properties, you can use either the Material > Surface panel in the Properties editor, or work with the material node network in Blender’s Shader Editor.
The backbone of any material in the Material Library is the Uber Shader. Using its components and properties, you can change the look and feel of the pre-configured material. For details, see the Uber Shader and Using Uber Shader in Blender sections of the documentation.
In addition to the Uber Shader, some materials include Radeon ProRender nodes (such as image texture or bump map nodes) to support specific surface properties. You can use the parameters and inputs of these nodes to tune the material to your liking. Note that some Radeon ProRender nodes are available only as part of the Material Library and cannot be added to construct a material from scratch.
