Overriding Materials
When working on a scene, you might sometimes need to render objects with a plain-looking material, or do a clay render. This, for example, might be required if you want to preview and tune the lighting in the scene without being distracted by fancy textures and effects, or if you need to render a prototype of a model. In this case, you can replace (override) the materials in the scene with one simple material.
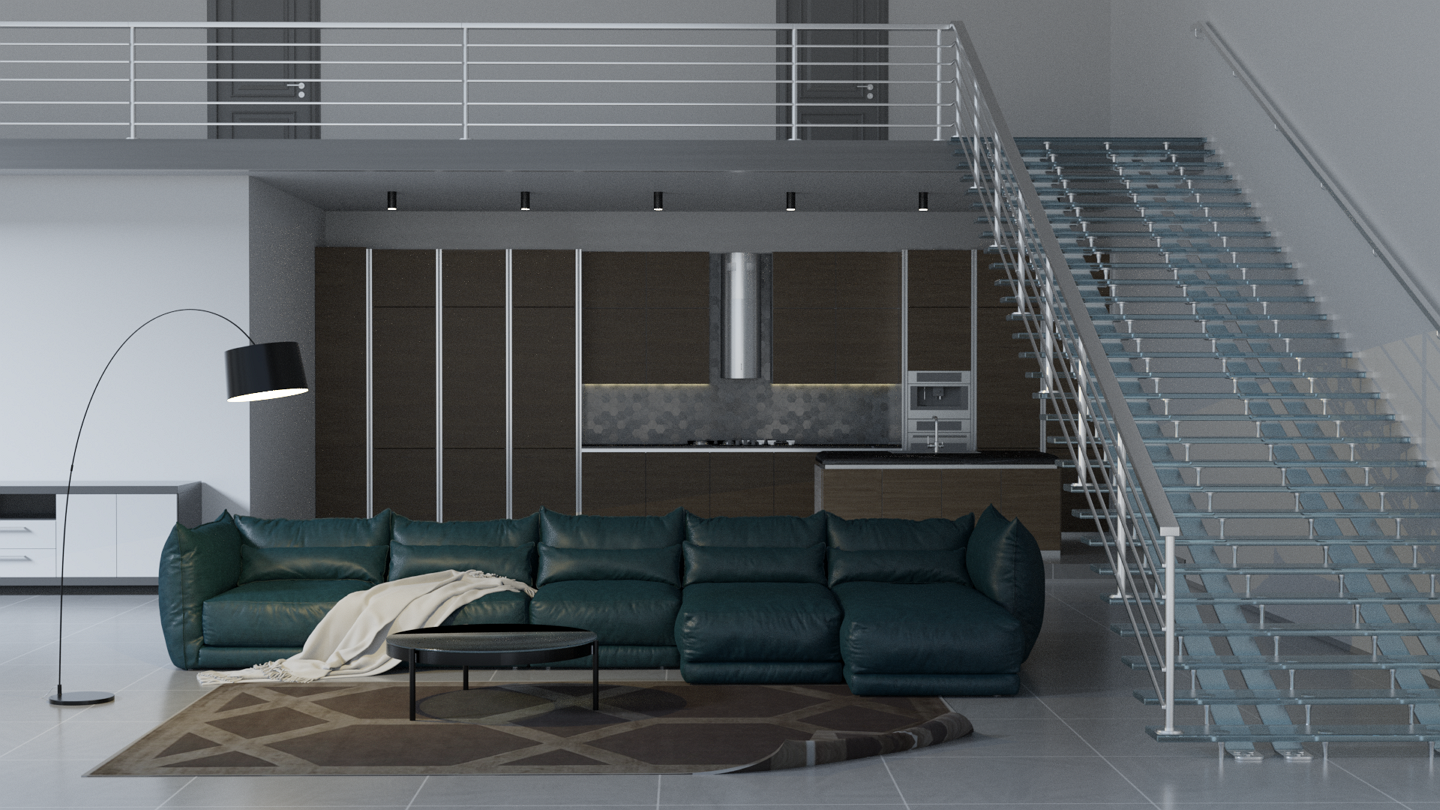
Regular shading |
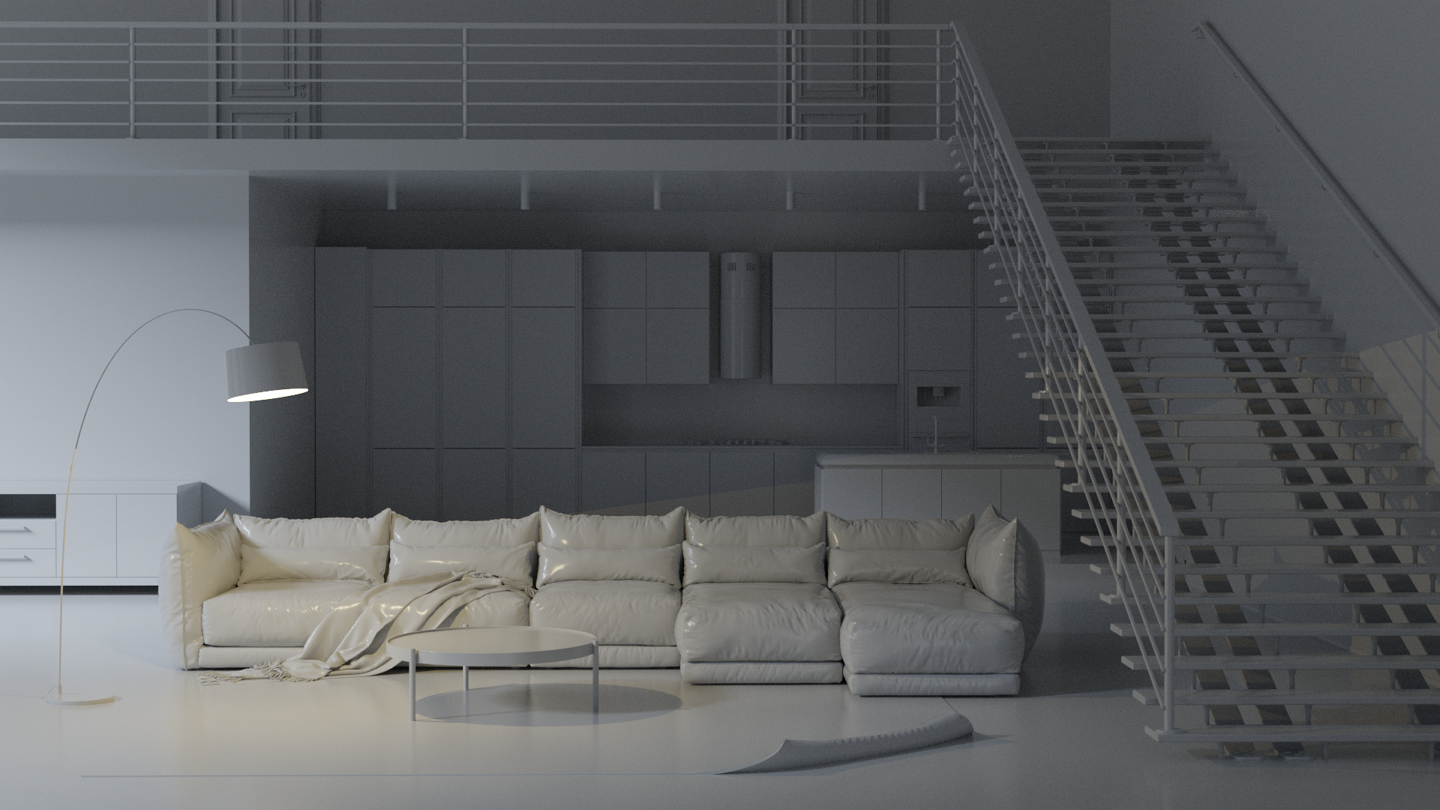
Overridden materials |
Material override works both for viewport and final rendering, and results in much faster render times. Materials are overridden per View Layer, so you can set different override materials for different layers if necessary.
To override materials for objects in a View Layer:
Create or choose the basic material to be used as an override.
Usually, this is a diffuse light gray, clay-like material.
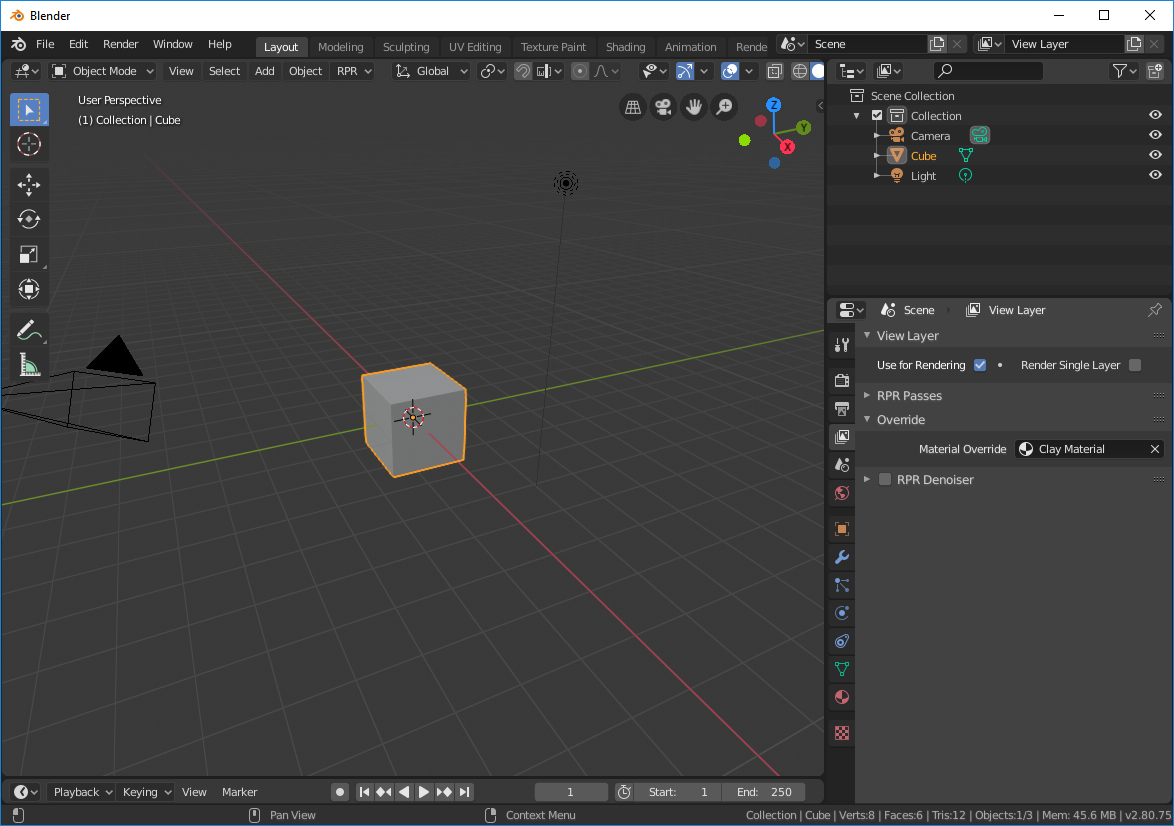
Select the View Layer to render.
In the Blender Properties editor, switch to the View Layer tab.
Expand the Override panel and choose the replacing material in the Material Override list.
Render the View Layer in the viewport or run the final render.