Tone Mapping
Tone mapping is a technique used in image processing and computer graphics to map one set of colors to another to approximate the appearance of HDR images in a medium that has a more limited dynamic range (for details, see Tone Mapping).
Tone Mapping Operators
AMD Radeon ProRender supports several tone mapping operators:
Linear
The Linear operator allows you to raise or lower the brightness of the scene by increasing or decreasing the Scale value.
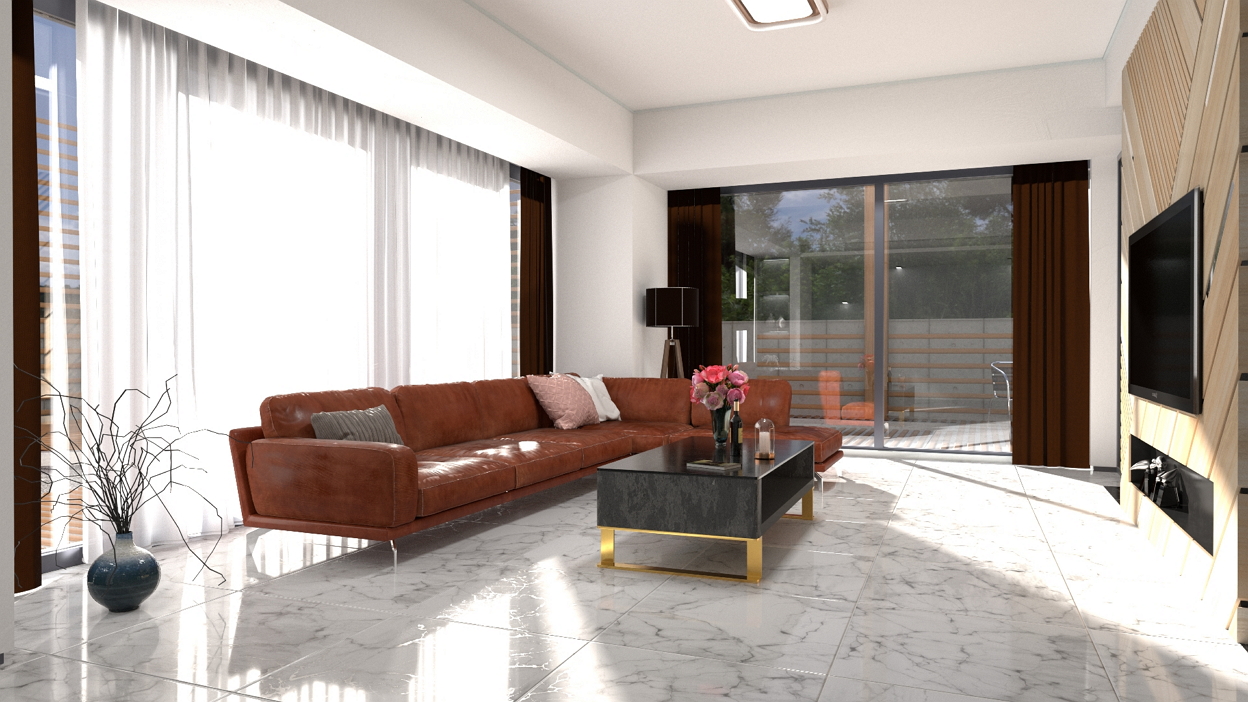
No tone mapping |
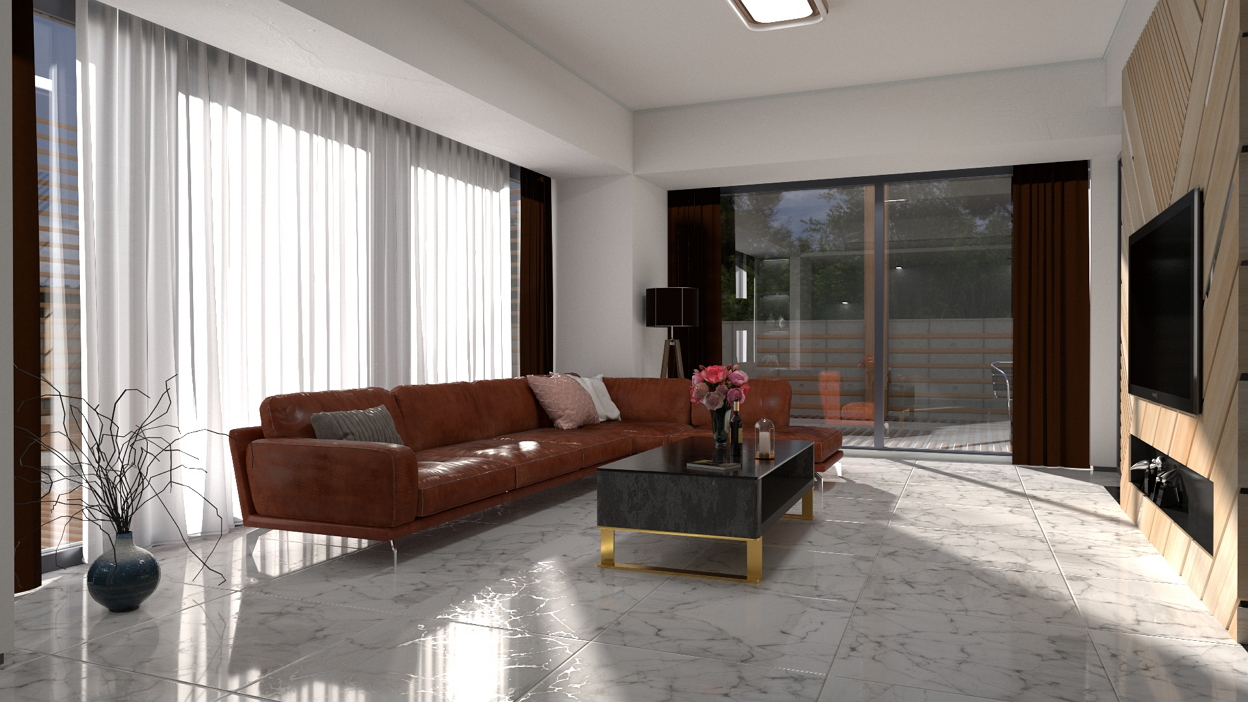
Scale: 0.5 |
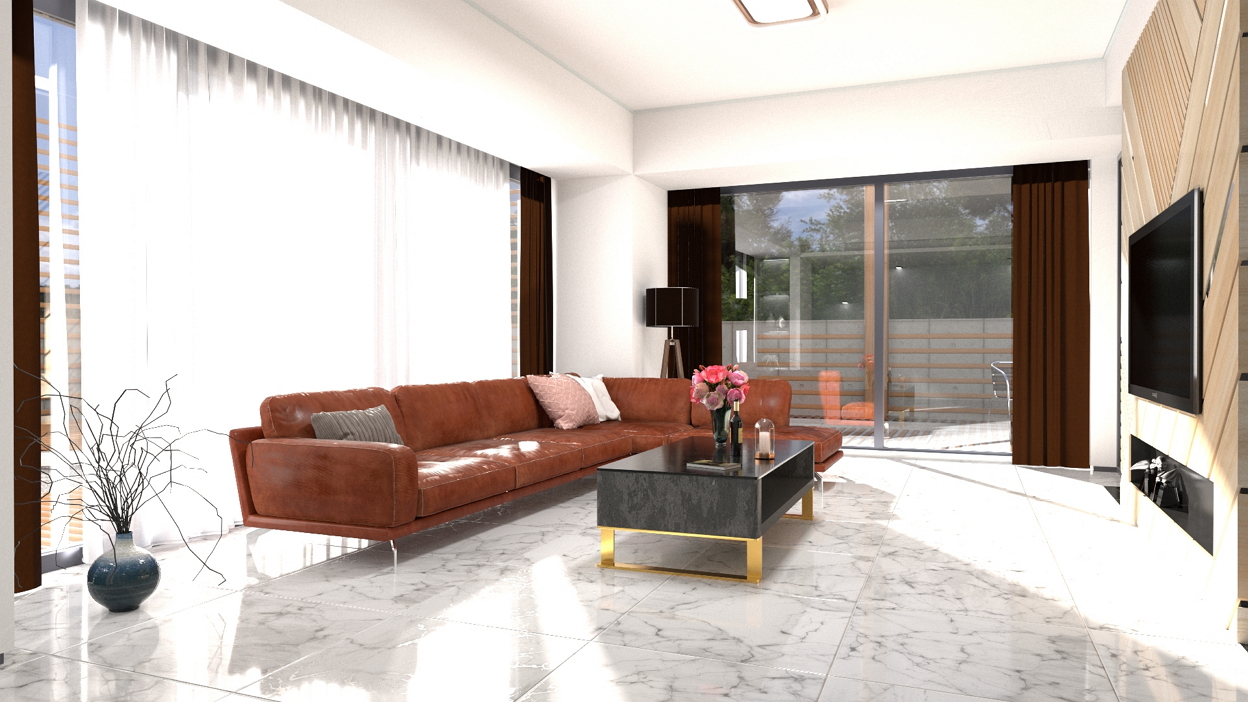
Scale: 1.5 |
Photolinear
The Photolinear operator is based on real-life camera settings.
Sensitivity describes how much light is let into the image.
Exposure controls how long the shutter stays open to let the light in.
F-stop is the aperture width that follows the regular camera settings: the smaller the value, the wider the aperture and the more light is transmitted onto the film.

No tone mapping |
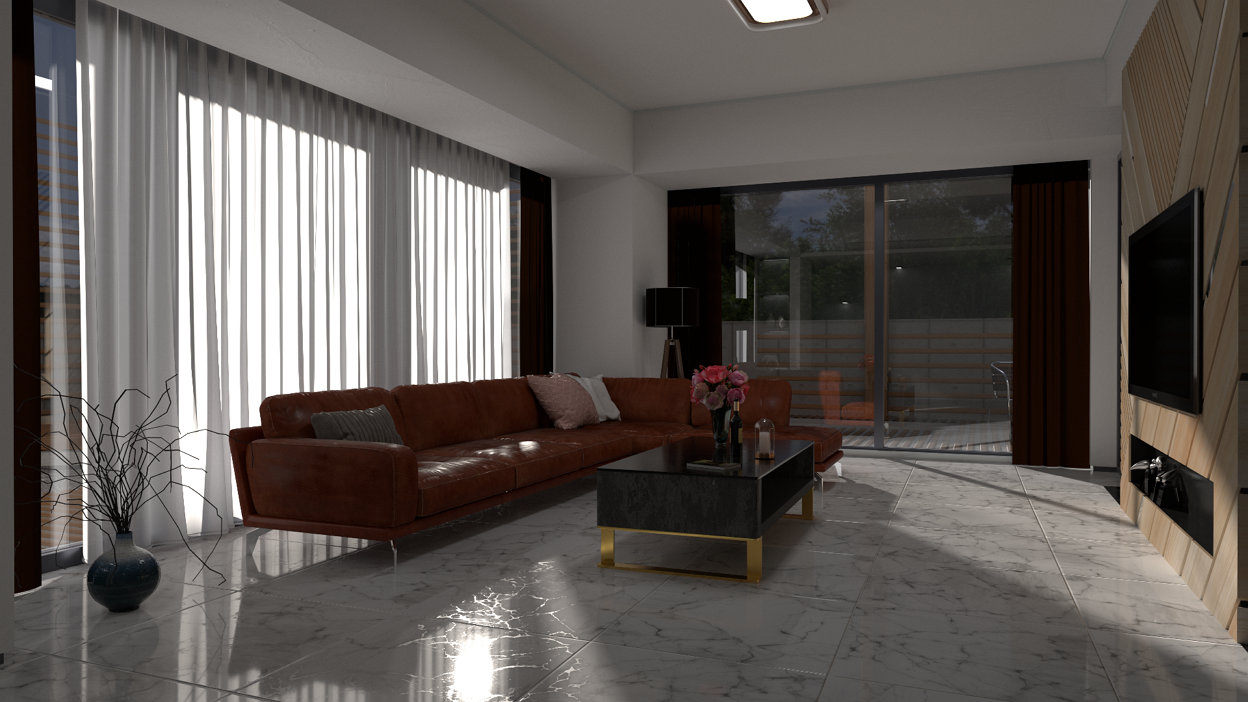
Sensitivity: 0.4, Exposure: 0.9, Fstop: 8 |
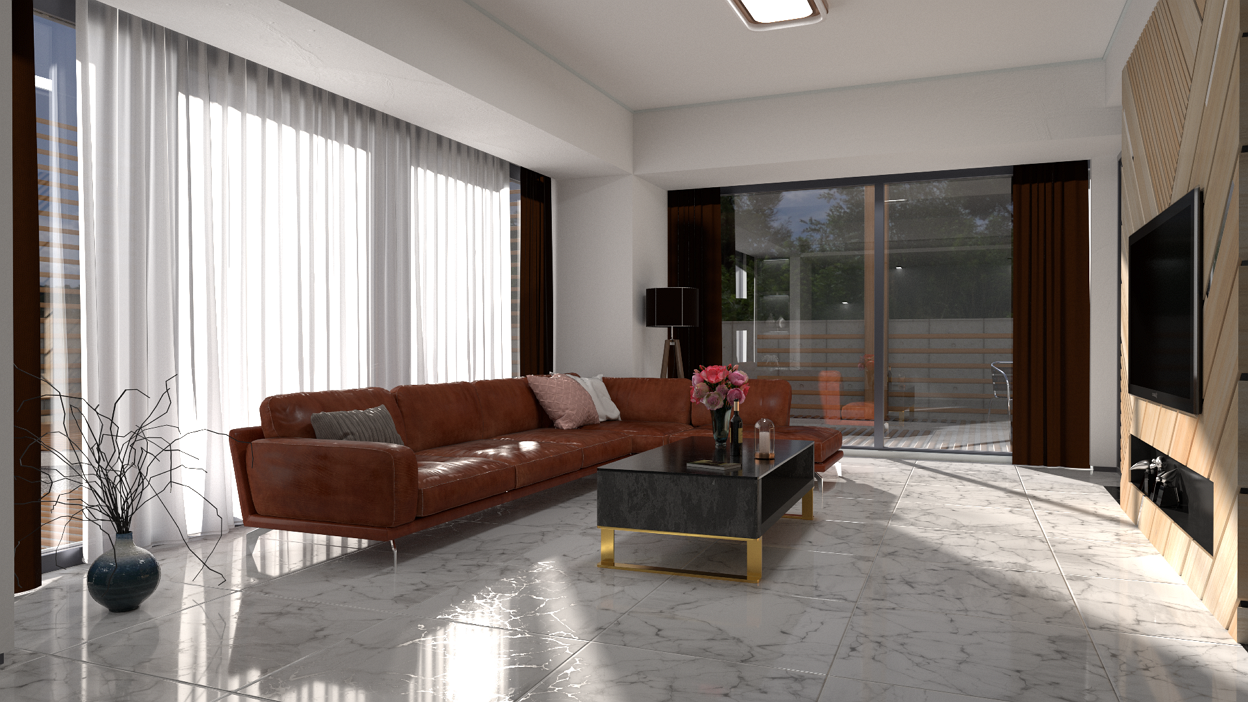
Sensitivity: 1, Exposure: 0.9, Fstop: 8 |
Autolinear
The Autolinear operator is a photographic tone mapper that uses the default camera characteristics and an average luminance of a picture.

No tone mapping |
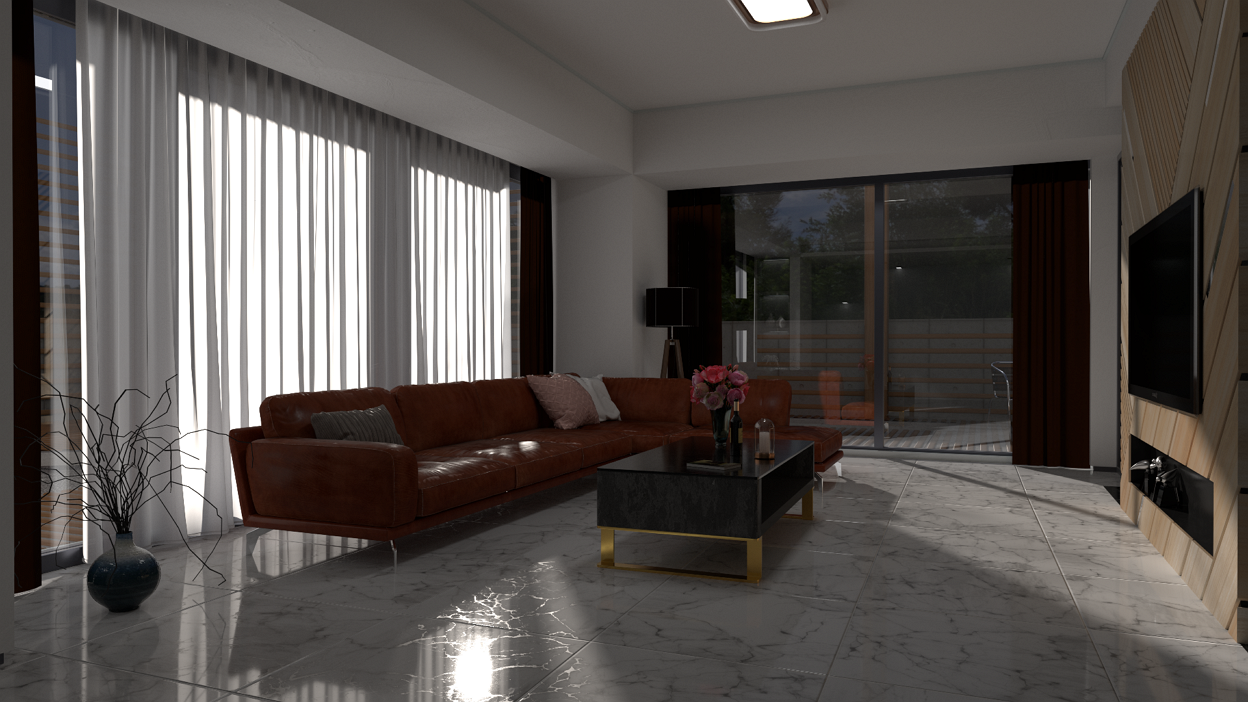
Autolinear tone mapping |
Max White
The Max White operator determines the brightest pixel in the image and sets it to white. The remaining pixels in the image are scaled relative to this brightest pixel. This operator gives best results with limited-contrast images; in case there are very bright regions in the image, the remaining ones will appear very dark or even black.

No tone mapping |
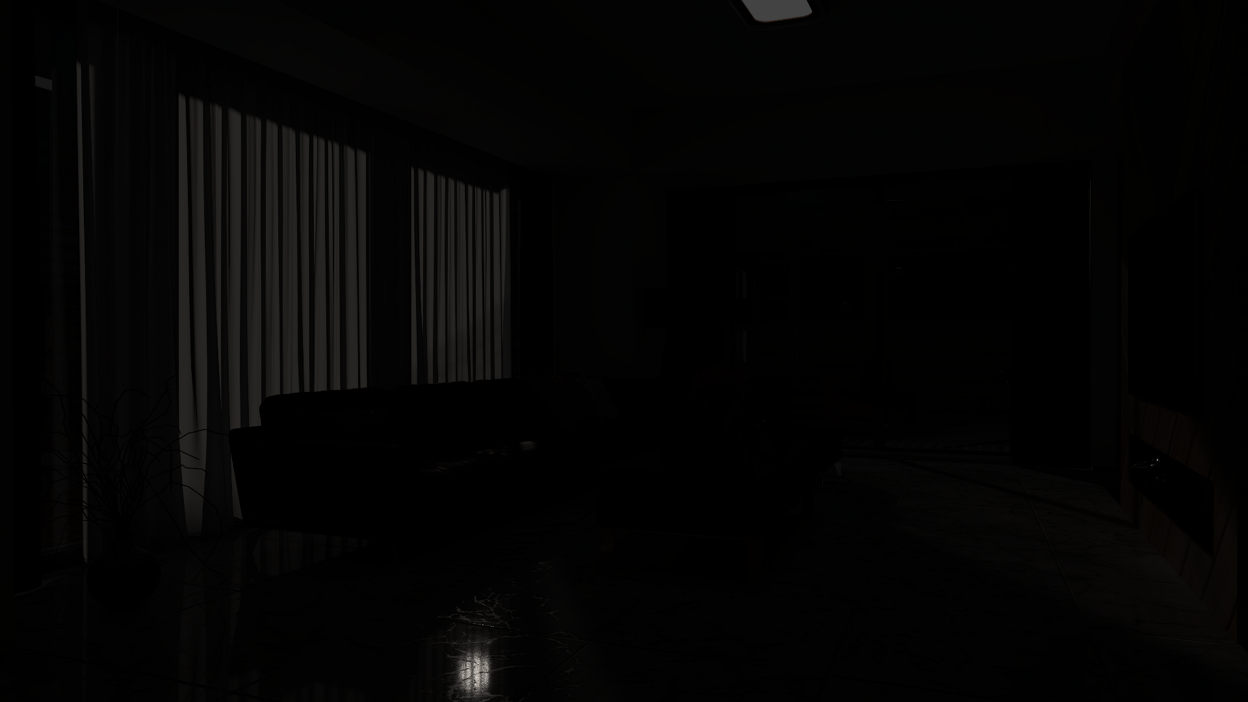
Max White tone mapping |
Reinhard02
The Reinhard02 operator is aimed at adapting the high dynamic range of real world lighting to the screen based on the tone mapping techniques used in photography.
Pre Scale affects the brightness of darker areas, such as shadows.
Post Scale controls the final brightness of the image after it has been tone mapped.
Burn is used to tweak the brightness of highlights in the image based on its darker areas.

No tone mapping |
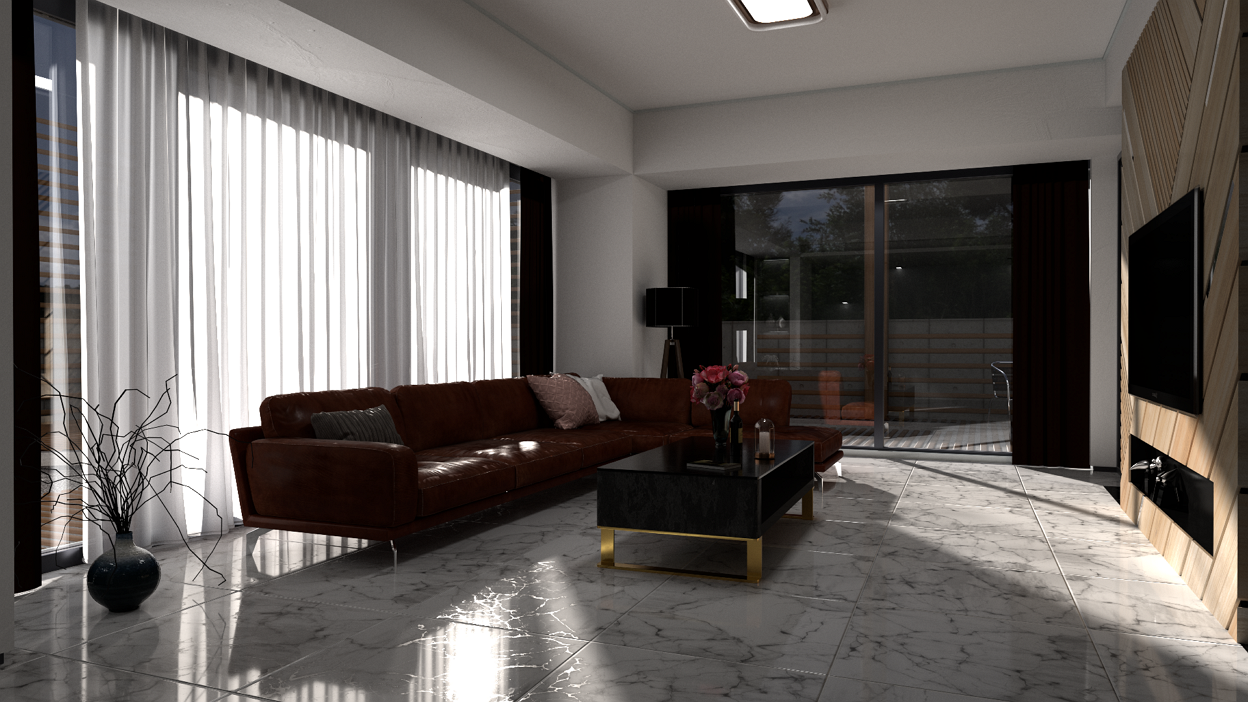
Pre Scale: 0.1, Post Scale: 8, Burn: 30 |
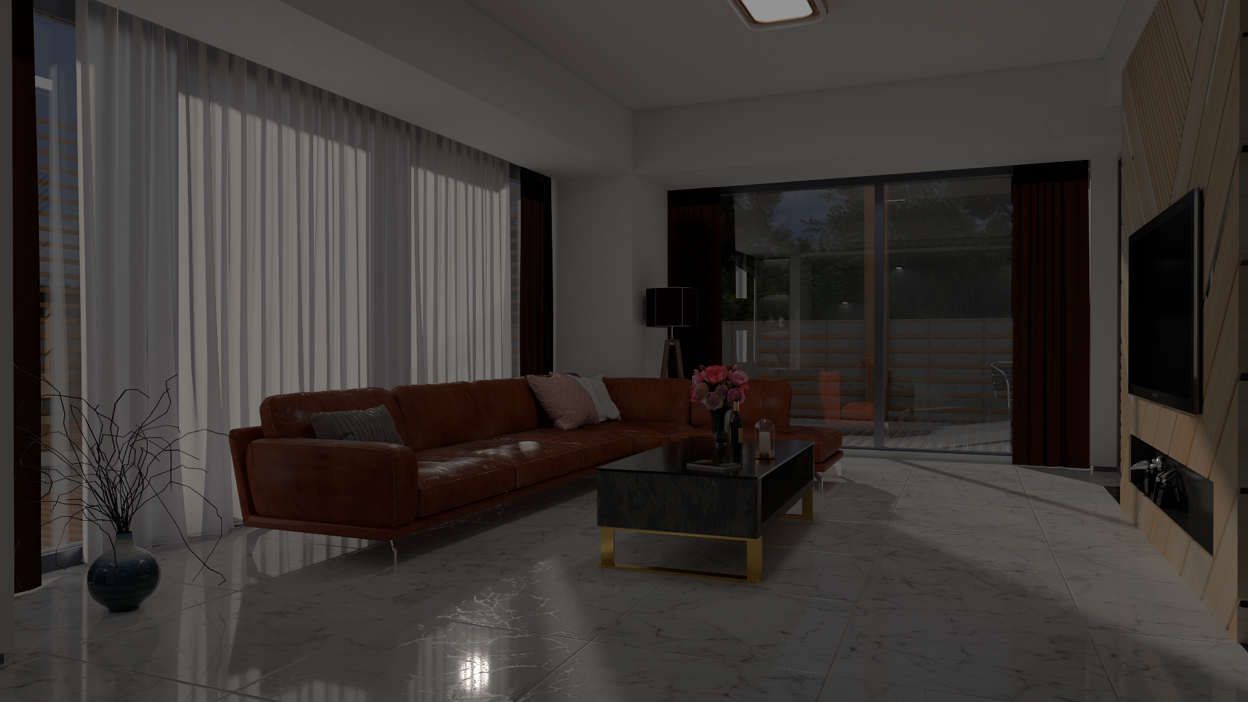
Pre Scale: 2, Post Scale: 1, Burn: 30 |
Simple
The Simple operator uses exposure and contrast correction factors to determine the brightness and overall contrast of the rendered image.
The Exposure parameter (the first slider in the bigger red box), with the default value of 0, adjusts exposure of the image, bright to dark (see the images below).
The Contrast parameter (the other slider), with the default value of 1, adjusts contrast of the image, as you would have with a TV set or monitor.
The Tonemap flag, when switched on, activates the Exposure and Contrast parameters. The other types of Tone Mapping (other than Simple) do not have this flag.
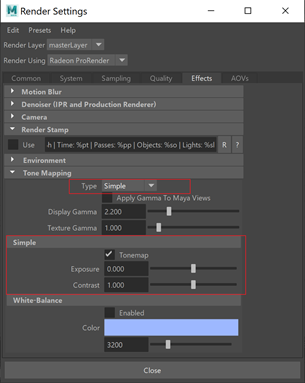
This is how a scene looks like with Tonemap on, Exposure = 0 and Contrast = 1:
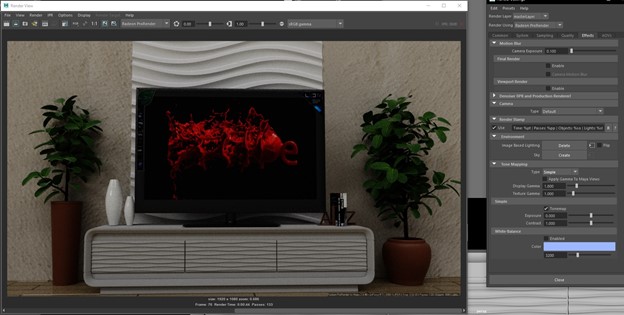
The same scene with Tonemap off:
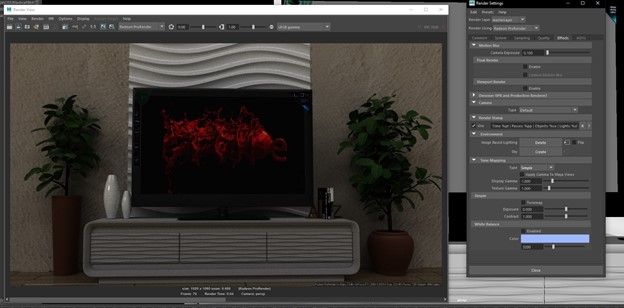
The same scene with Tonemap on, Exposure = -5 and Contrast = 1:
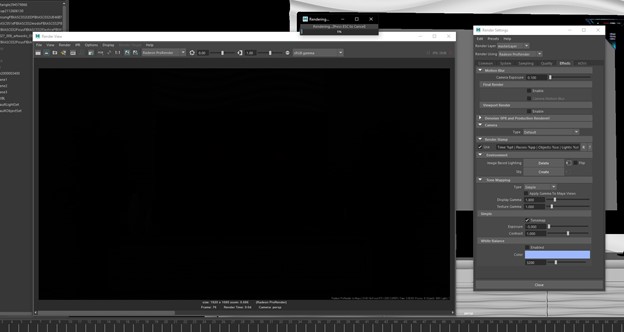
The same scene with Tonemap on, Exposure = -1 and Contrast = 1:
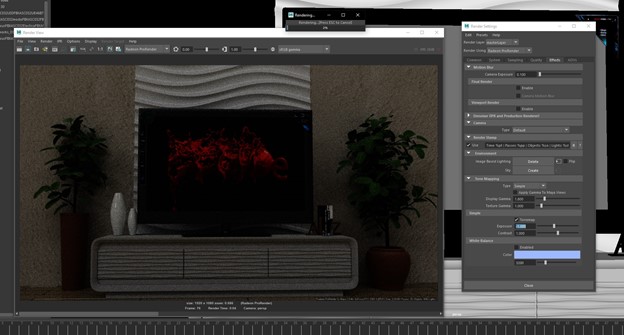
The same scene with Tonemap on, Exposure = 2.273 and Contrast = 1:
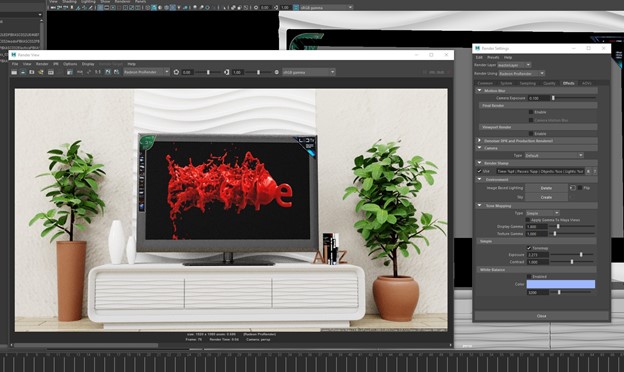
The same scene with Tonemap on, Exposure = 0 and Contrast = 0.512:
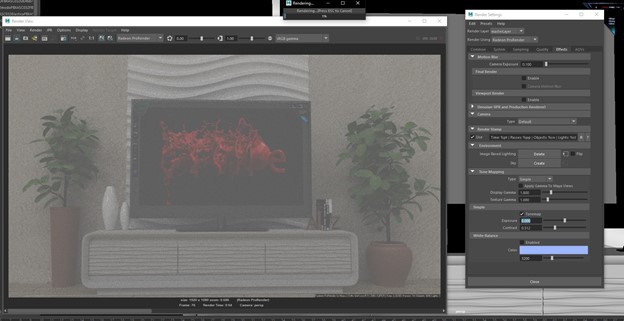
The same scene with Tonemap on, Exposure = 0 and Contrast = 1.488:

Display and Texture Gamma
These parameters allow you to control the amount of gamma correction.
The Display Gamma parameter allows you to apply a gamma correction for the output image to appear correctly on the monitor. The default gamma correction value is 2.2. A value of 1 means that gamma is not corrected.
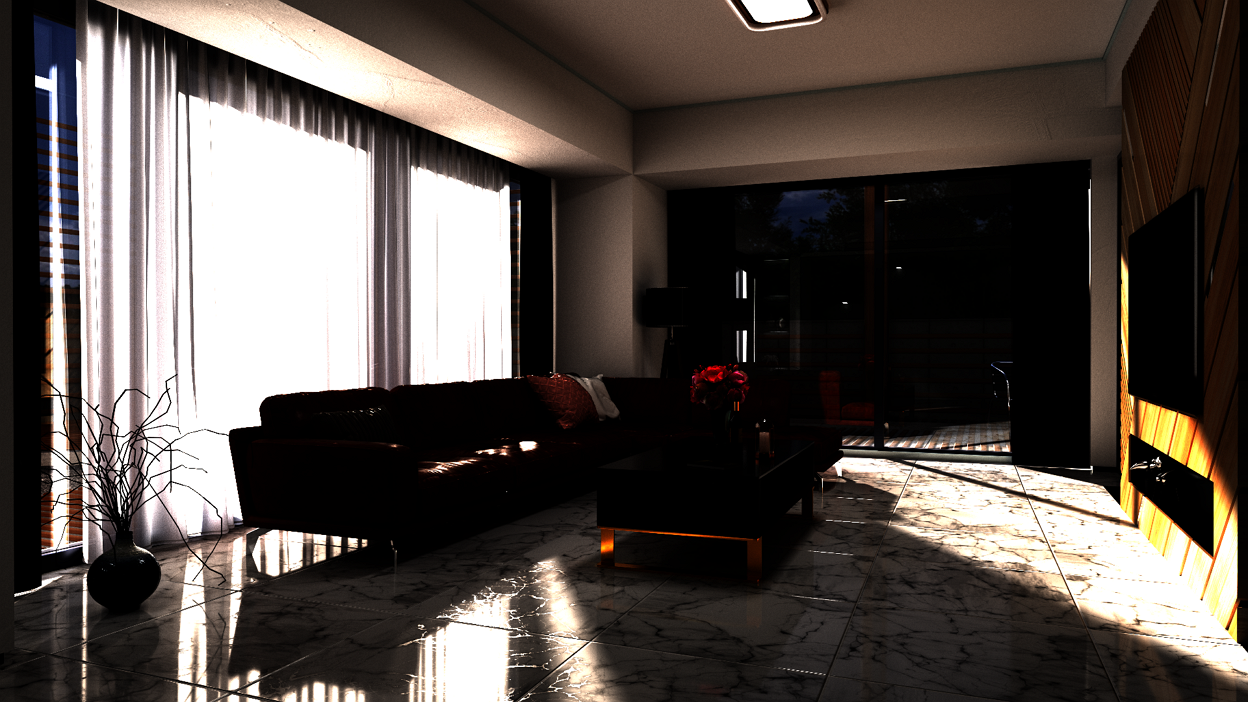
Gamma: 0.45 |

Gamma: 1.0 |

Gamma: 2.2 |
The Texture Gamma parameter is used to compensate for the gamma value for textures that already have gamma correction pre-applied. In this case, you can use a reciprocal of the gamma as the Texture Gamma value to de-gamma the textures before shading and make sure they do not look washed out in the final render.
This parameter is applied to all textures in the scene. A value of 1 means that gamma is not corrected for textures (textures are in linear color space).
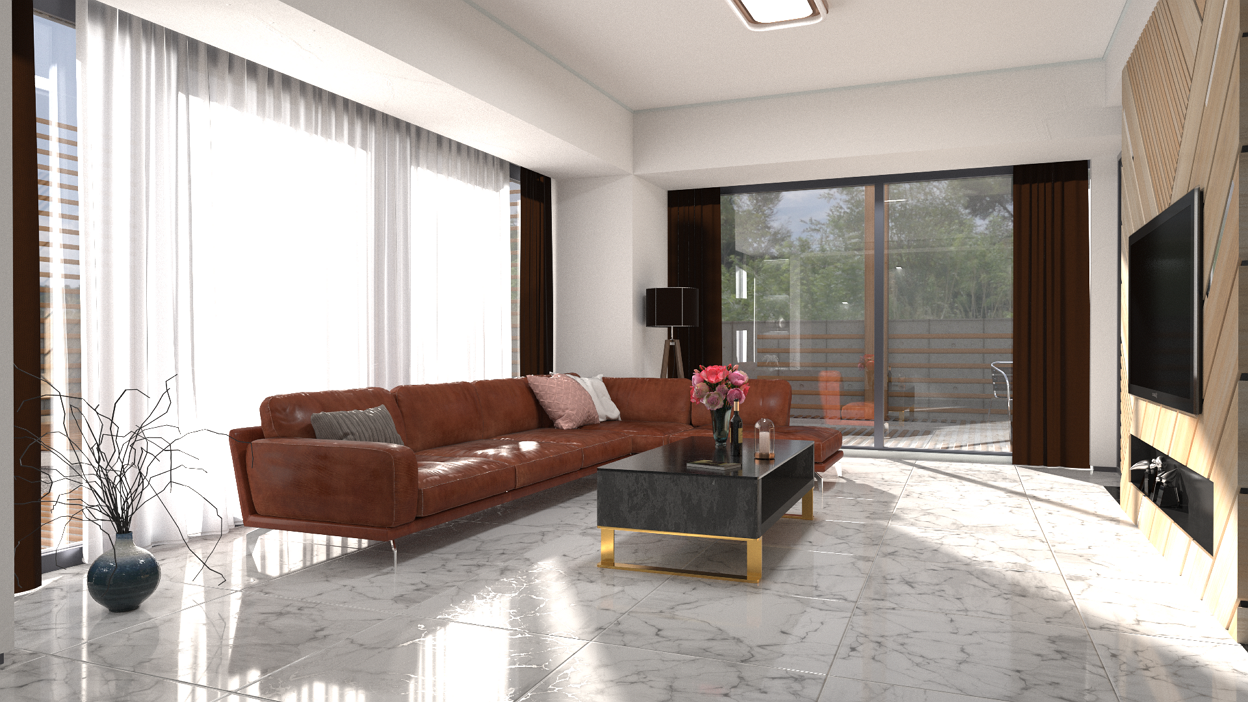
Gamma: 0.45 |
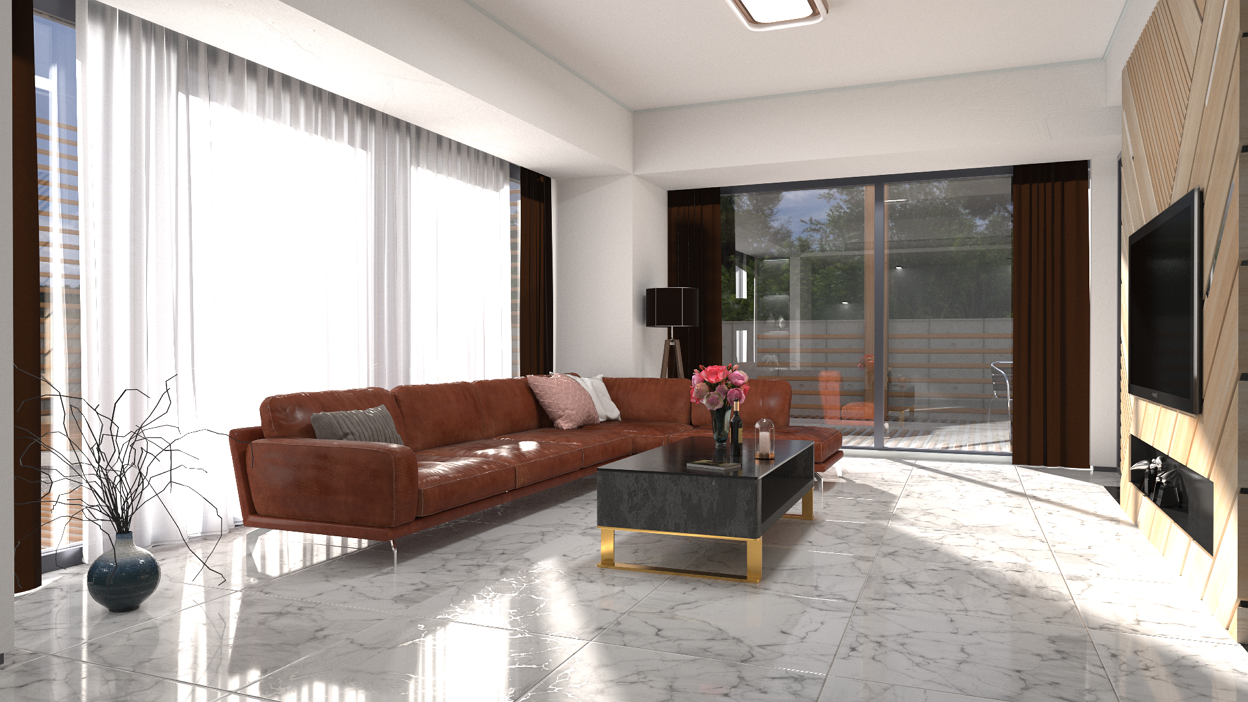
Gamma: 1.0 |
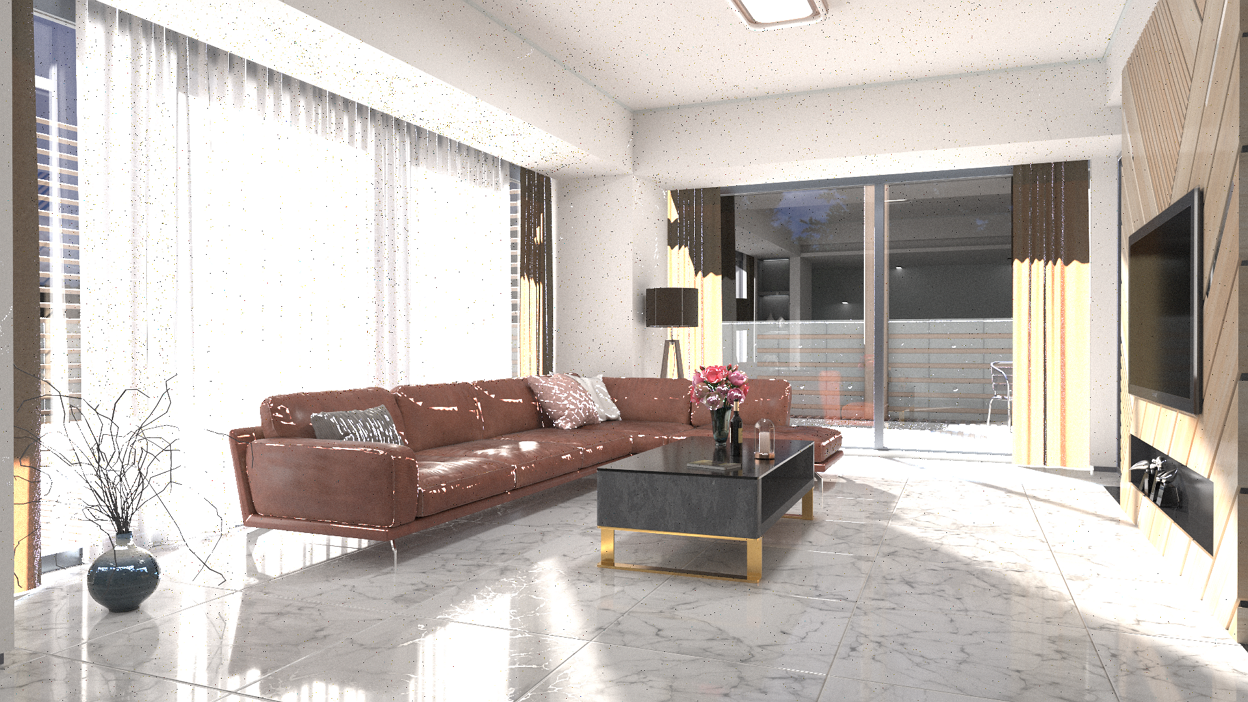
Gamma: 2.2 |
Note
Remember that when saving the render output, you can choose to apply the display and texture gamma values (save the output with color management applied), or save the raw output.
Apply Gamma to Maya Views
The Apply Gamma to Maya Views parameter controls whether the gamma settings will be applied to transform colors in the render output. With this option enabled, it is recommended to set the View Transform to Raw, or disable it. Otherwise, the colors will be transformed twice (by Radeon ProRender, and by Maya) and will not be displayed correctly.
Compare the two images below. The first image has gamma of 2.2 applied once, while the second one has the same gamma value applied twice.

Gamma: 2.2 |
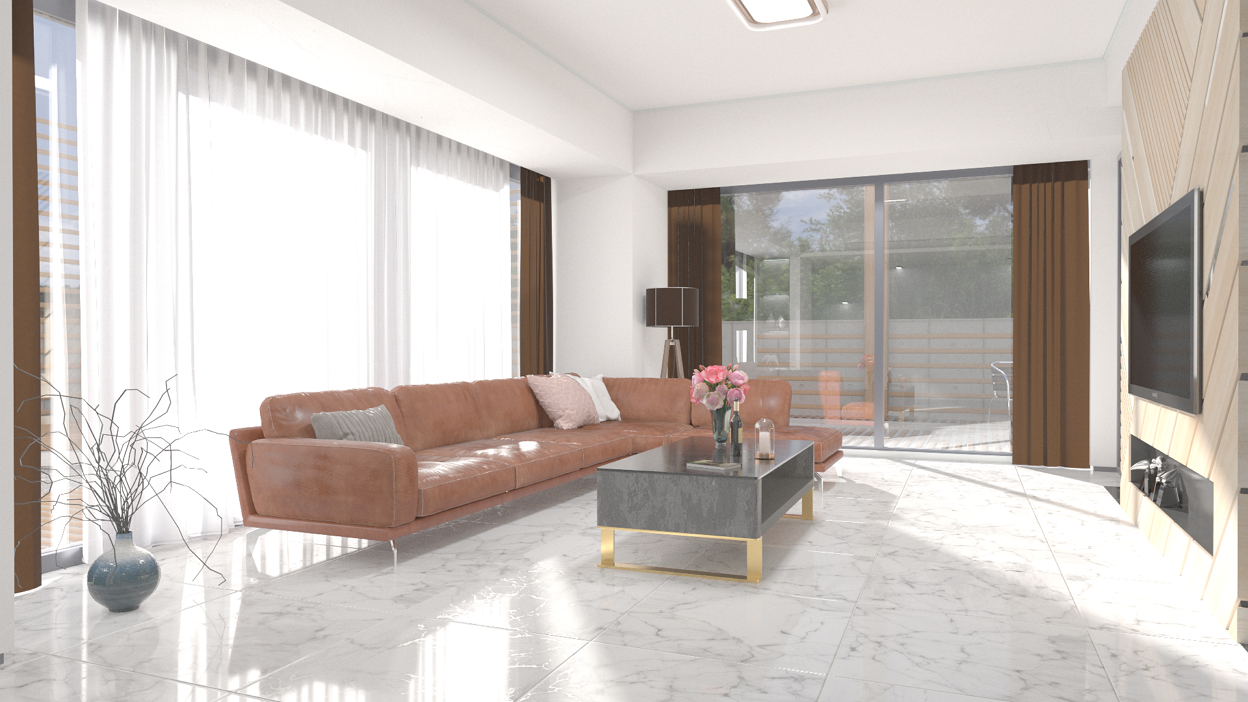
Gamma: 4.4 |
Always enable this option to apply color management settings to the output created with the batch render. With this option disabled, the batch render will output raw images (without color management applied).
White Balance
The White Balance parameter follows the basic settings of a digital camera letting you set the color temperature of the light in the image. Supported values are from 1000 (for a cool blue tint) to 12000 (for a warm red tint). A value of 6500 is considered the white point.

White balance: 3500 |
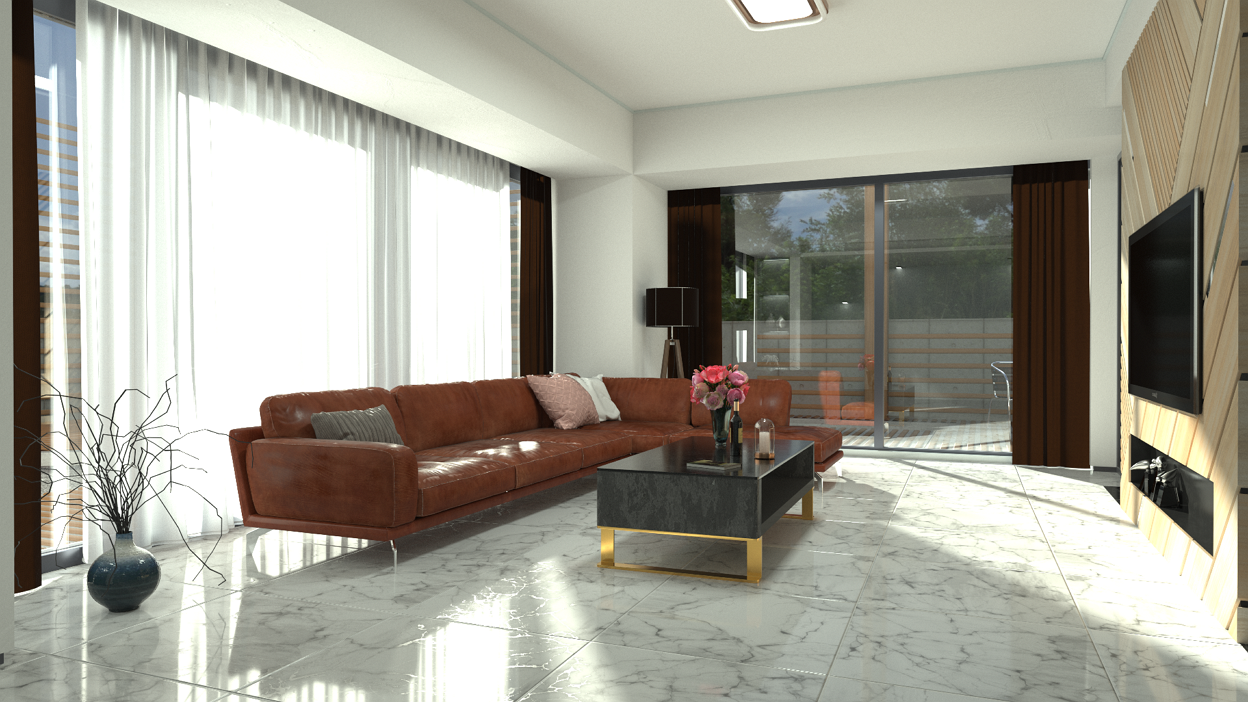
White balance: 6500 |
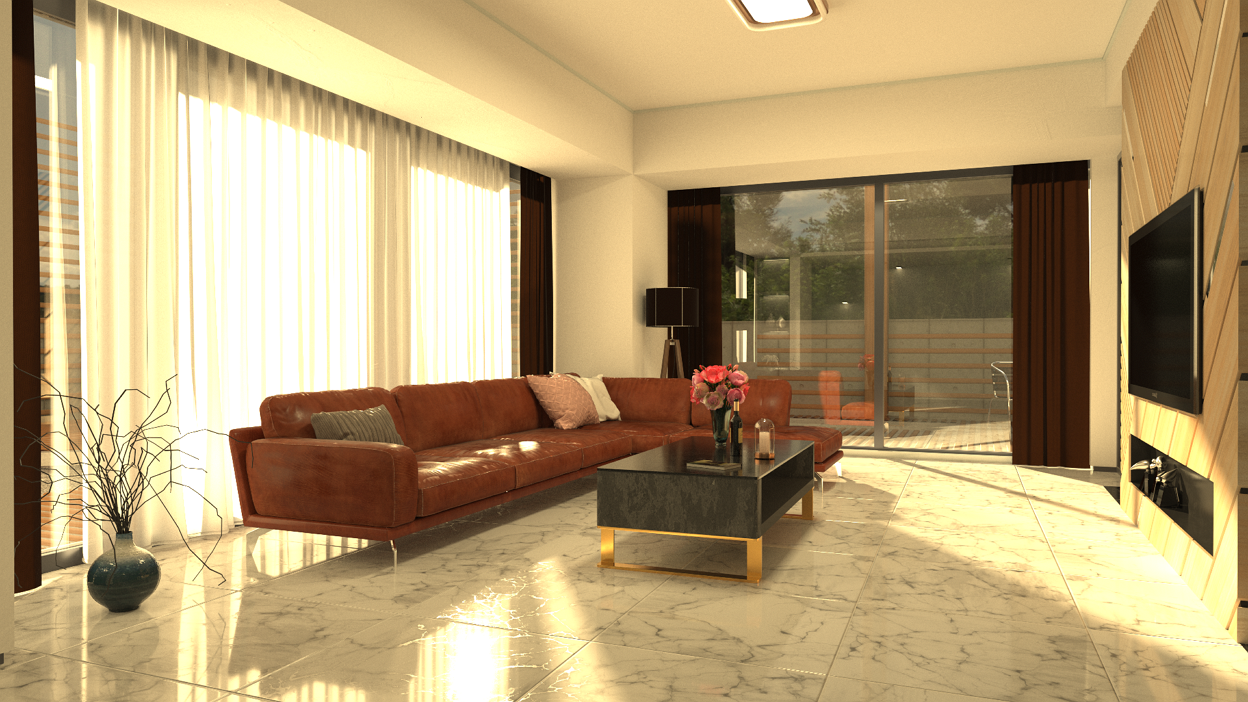
White balance: 9500 |